FPS Gaming Build Guide
Today we have a topic revolving around on how to build FPS gaming build in general. Even though the prices of the graphics card are way above the MSRP, we will still take a look in detailed way on how to do it. There are loads of factors that need to be taken into consideration when building a computer, so we are going to go through all of them.
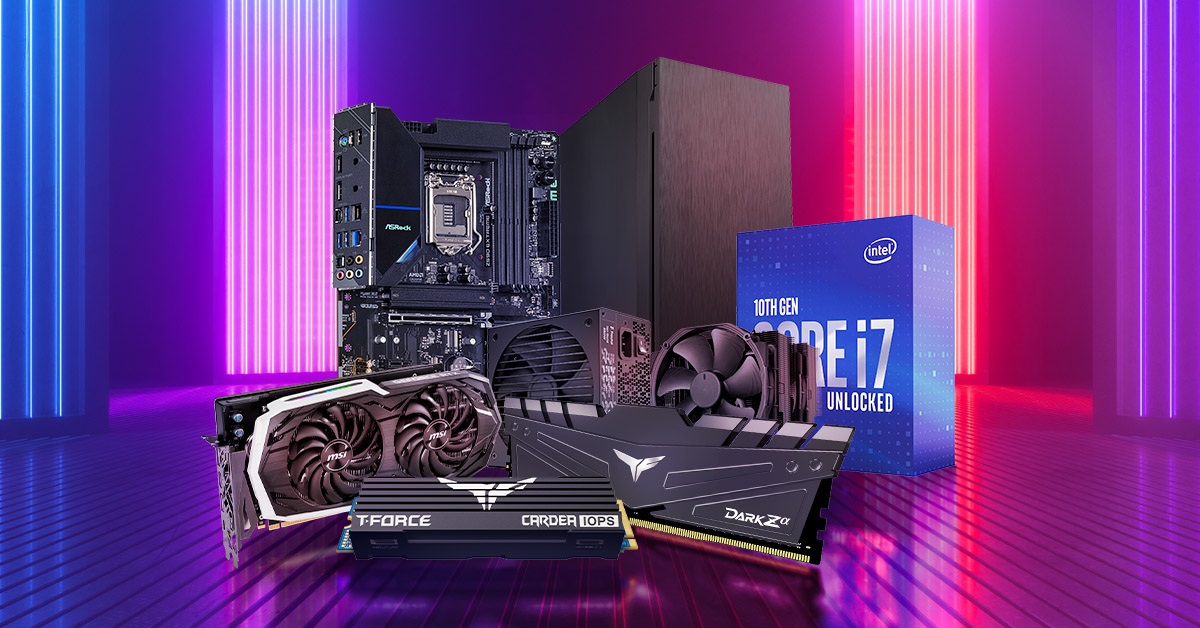
First, the computer components that you need to build it.
You will need:
In addition to those parts, if you are getting a processor that already had a stock cooler and that is solid, you do not need an additional CPU cooler like a tower cooler or an AIO. Our advice is also to check out a case that already has some pre-installed fans that will create a good air flow through the case and help the coolers on the graphics card and processor get fresh air.
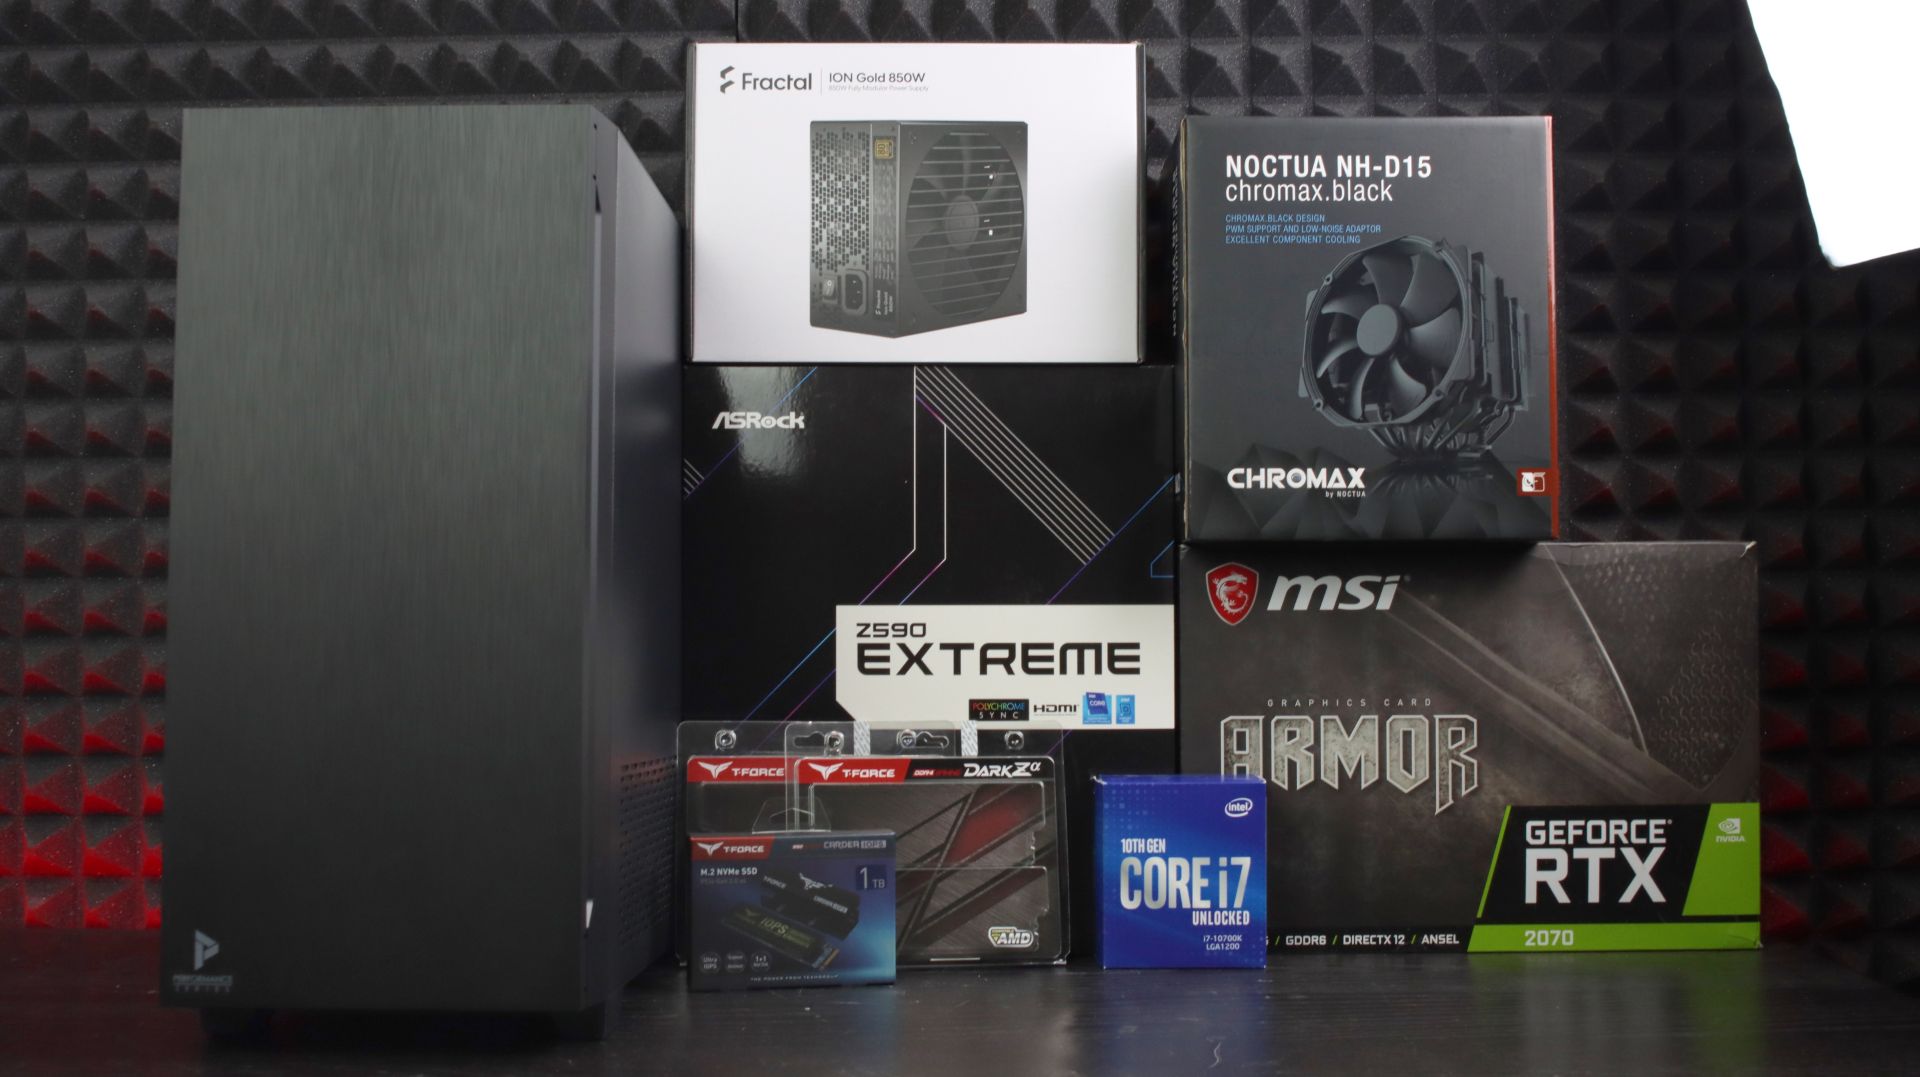
Let us check out the parts individually.
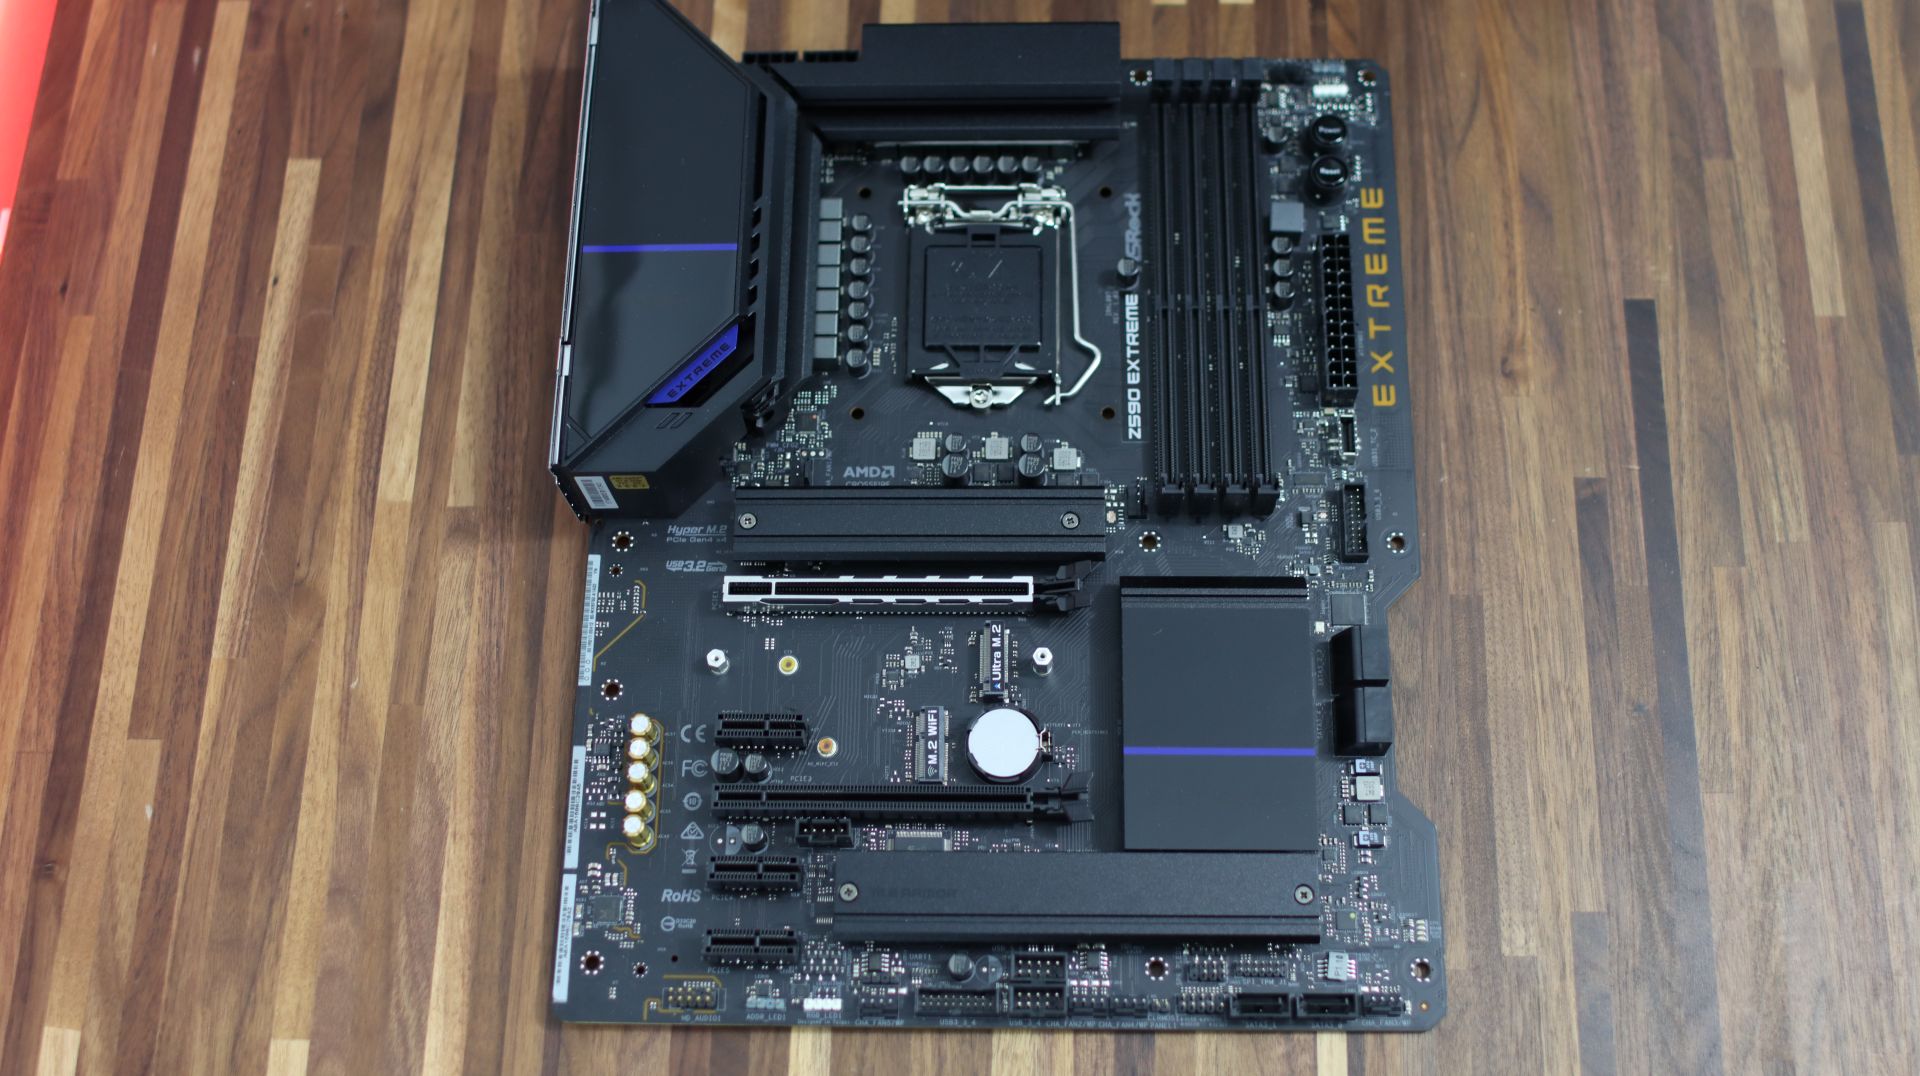
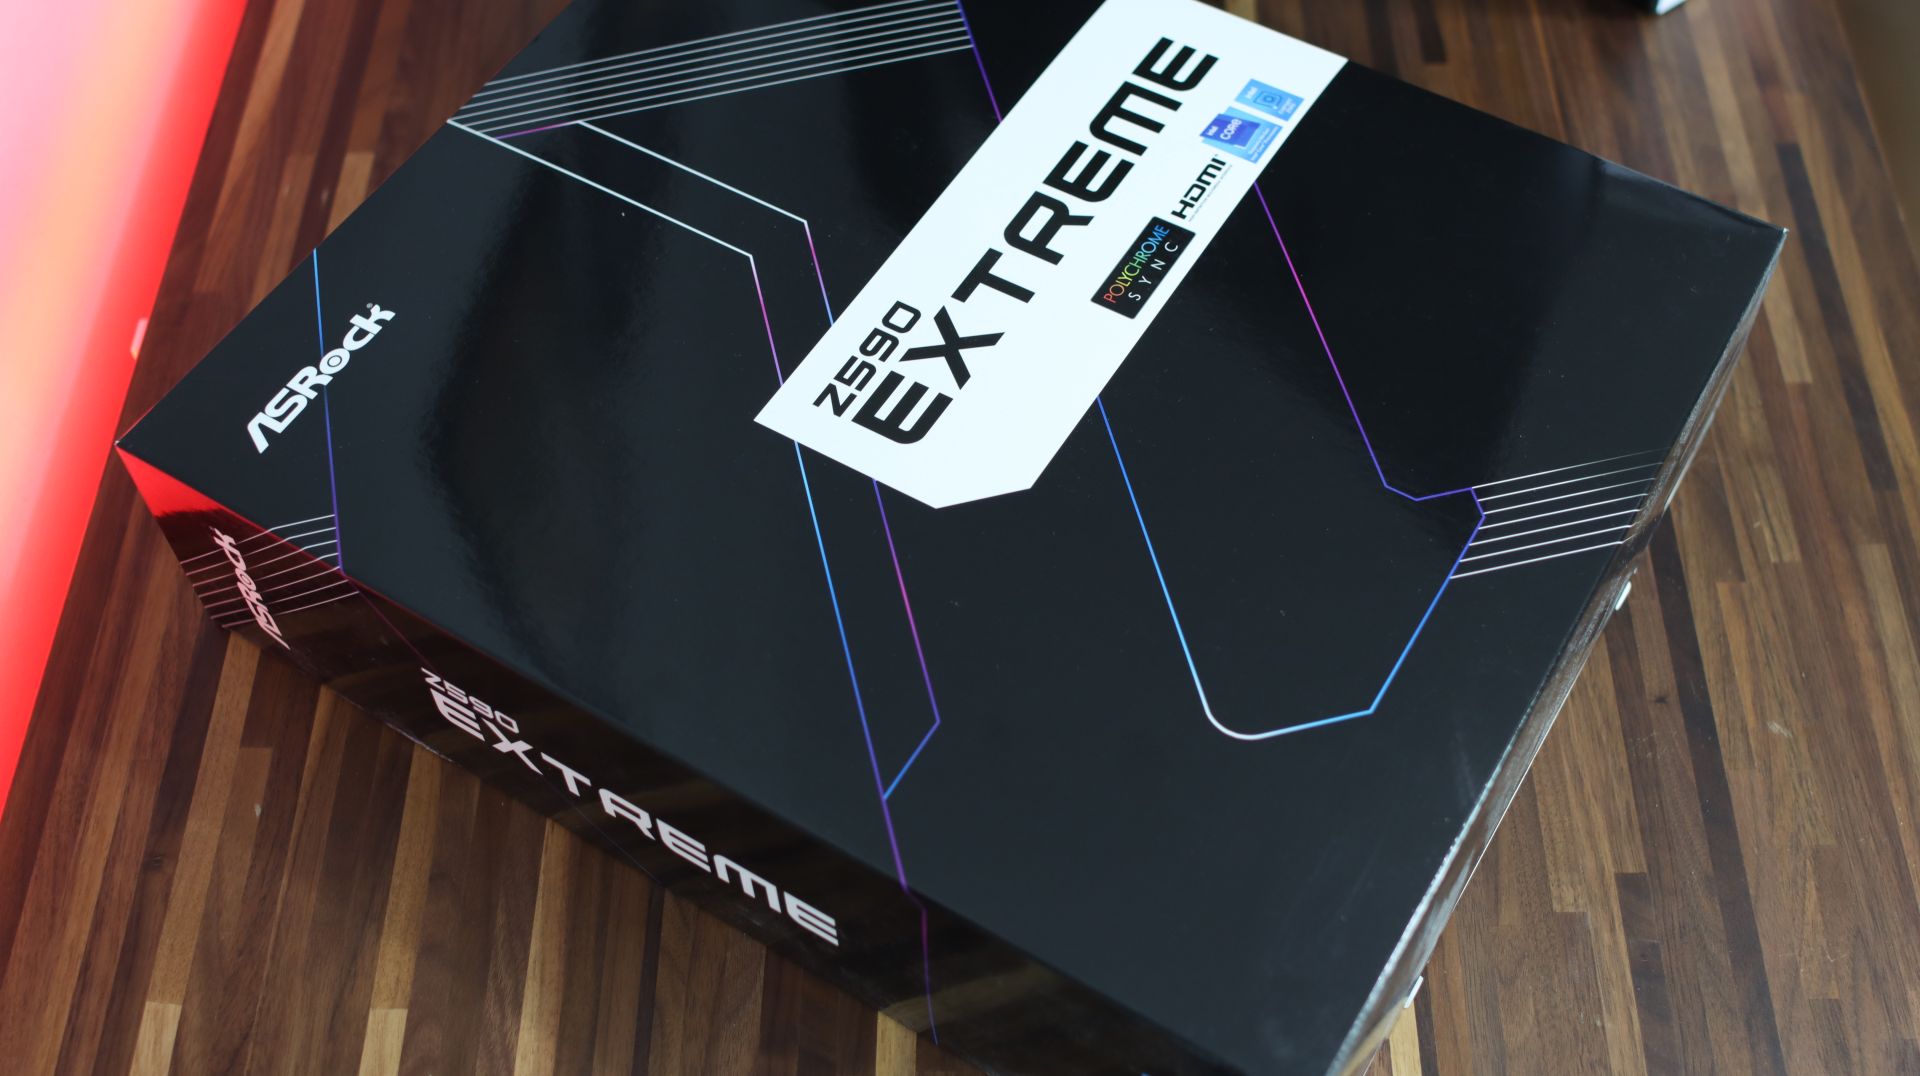
There is always a possibility to go lower or higher with the motherboard, but we will be using this one as an example. It supports 10th and 11st Generation of Intel Core processors but also supports PCIe 4.0 graphics cards and Gen 4x4 NVMe M.2 SSDs with some other cool features. If you are not comfortable with overclocking your processor, you can always go with a lower grade model of a motherboard.
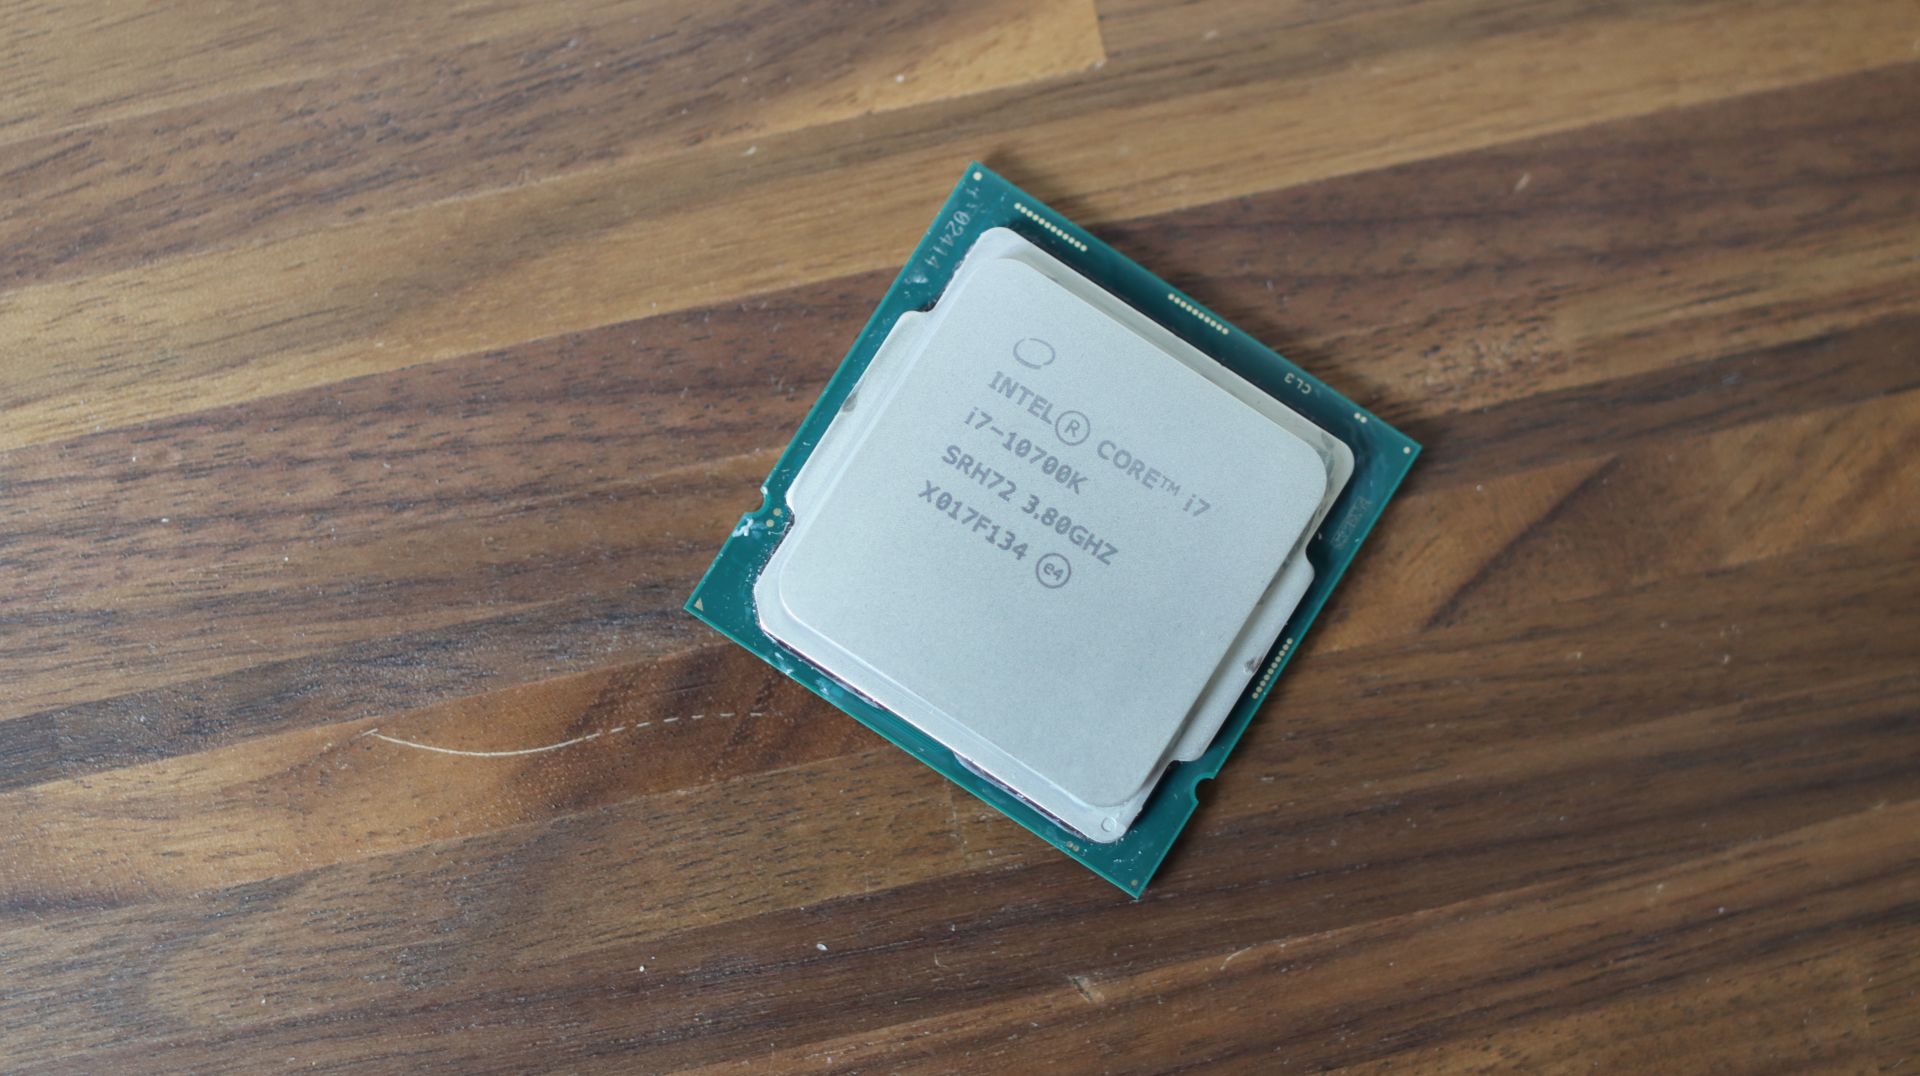
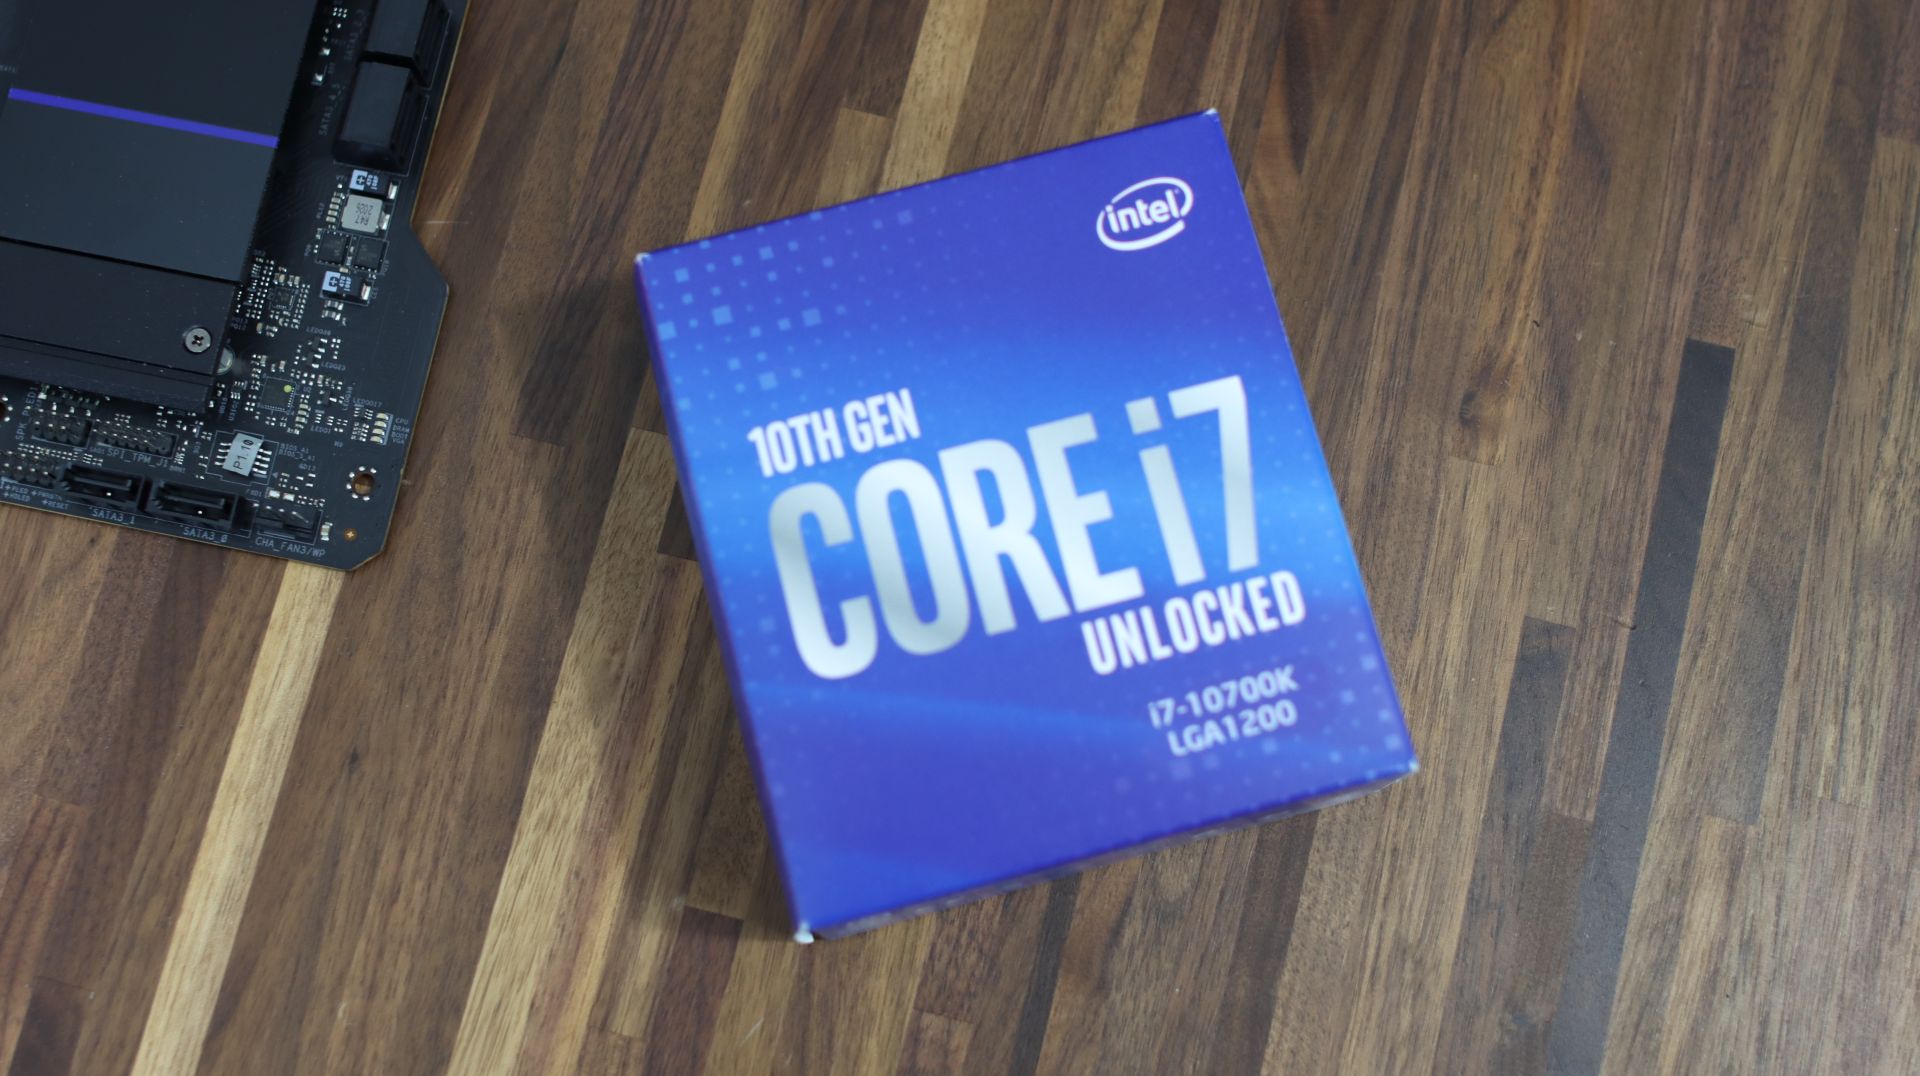
Even though 11st Generation of Intel Core processors is well on the market, suggestion for the processor that packs a punch doesn't heat up much compared to the 11st Generation is this one. We are talking about a processor that has 8 Cores and 16 Threads, Base Frequency of 3.8GHz and Turbo Boost Frequency on 5.1Ghz with 16MB Cache memory. Maximum power consumption of this processor is rated around 125W.
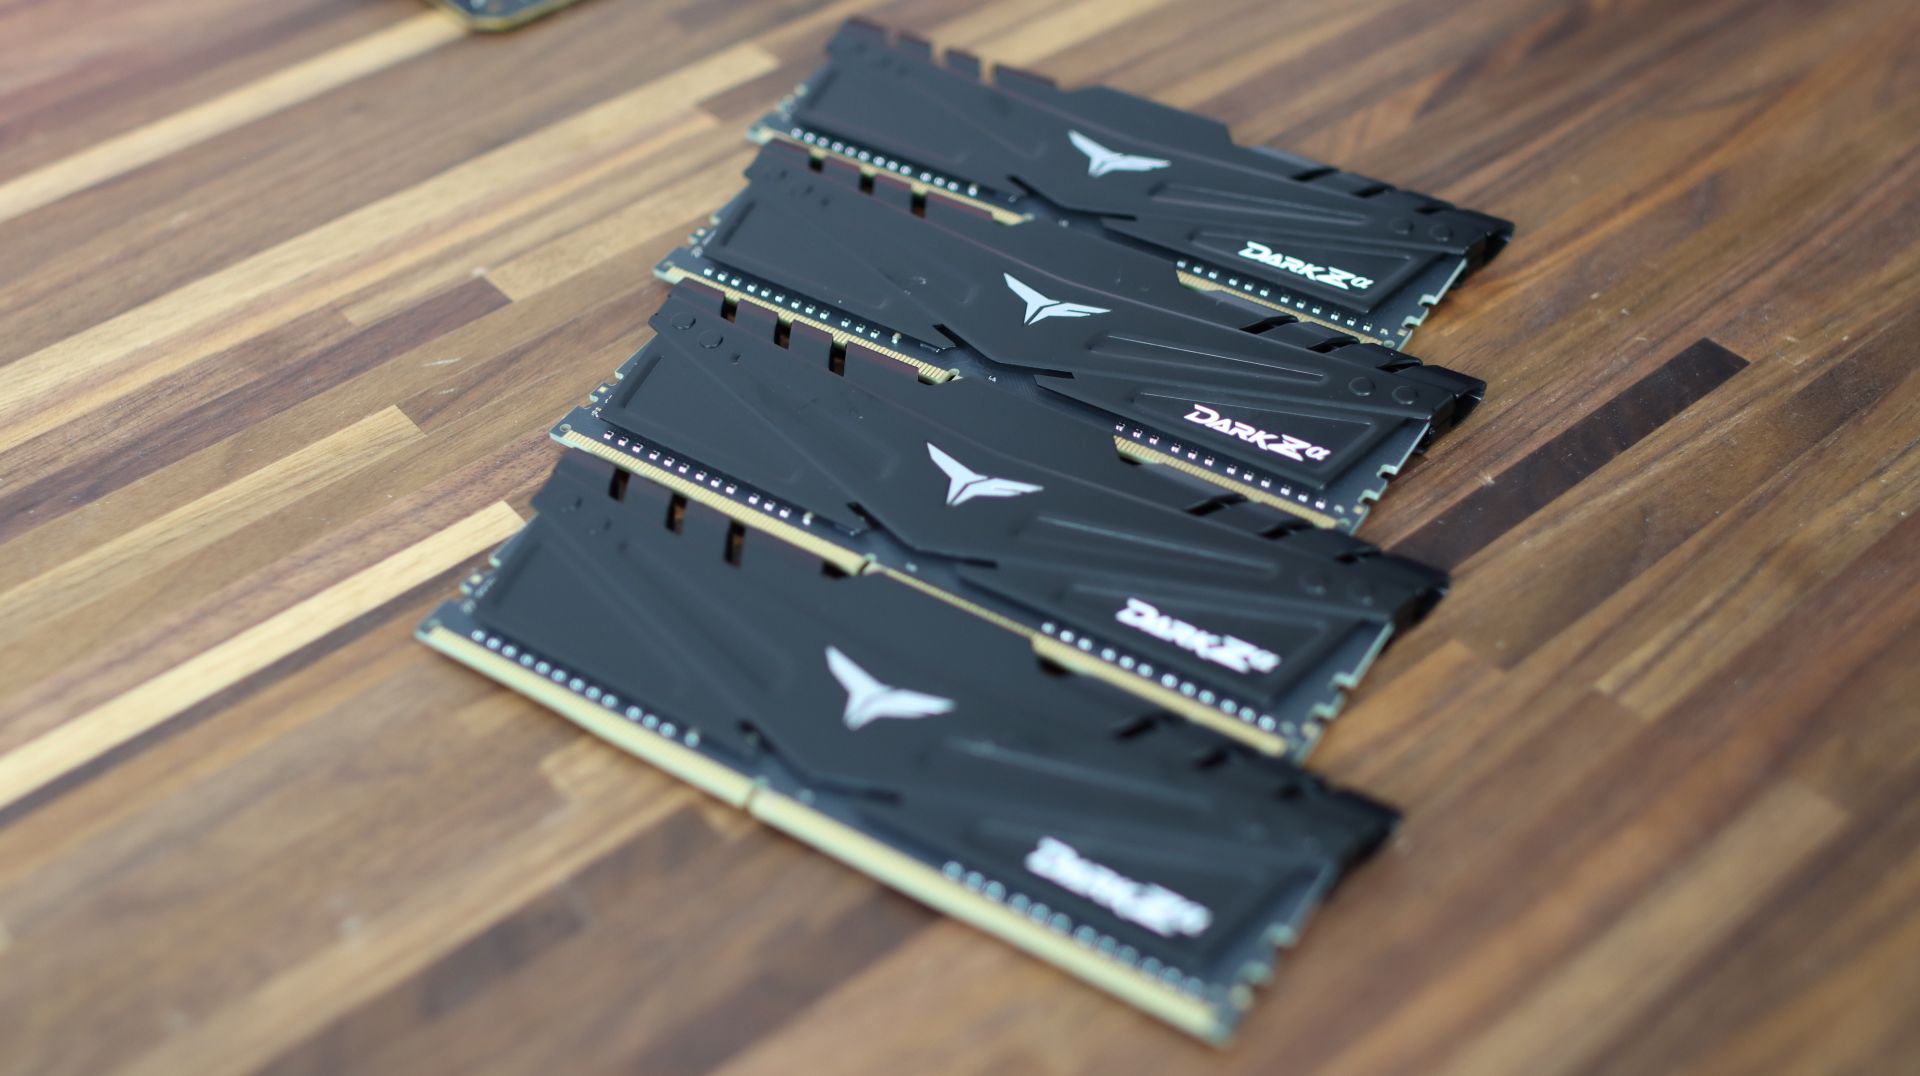
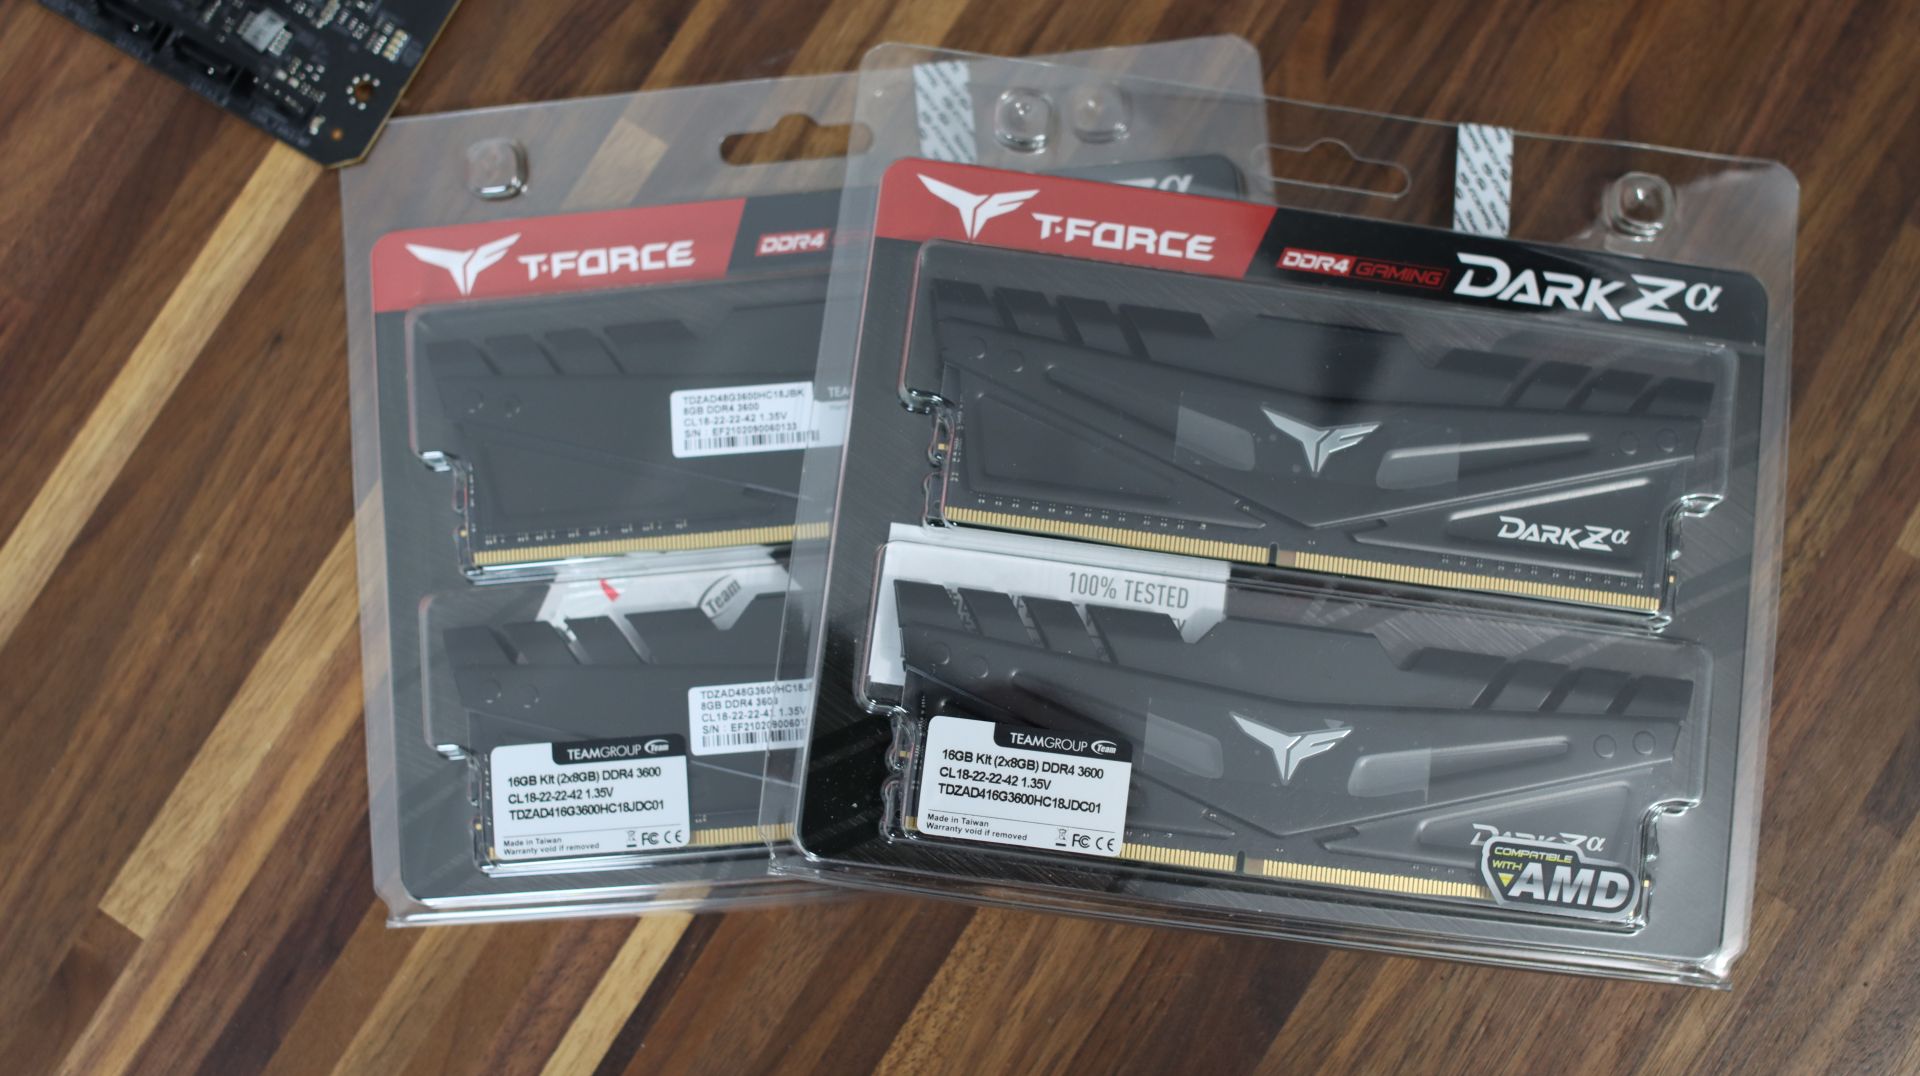
The amount of memory which is enough for todays gaming PCs is 16GB. That is somewhat a sweet spot, but we are going to use 32GB just to fill up all the slots for future proof and for the looks. Also, if someone wants to start with some PhotoShop or video editing, this would be just the right amount. We are choosing Team Group T-FORCE DARK Z Alpha 4x 8GB on 3600MHz. If this PC was more in the budget category, we would go with 2x 8GB on 3200MHz.
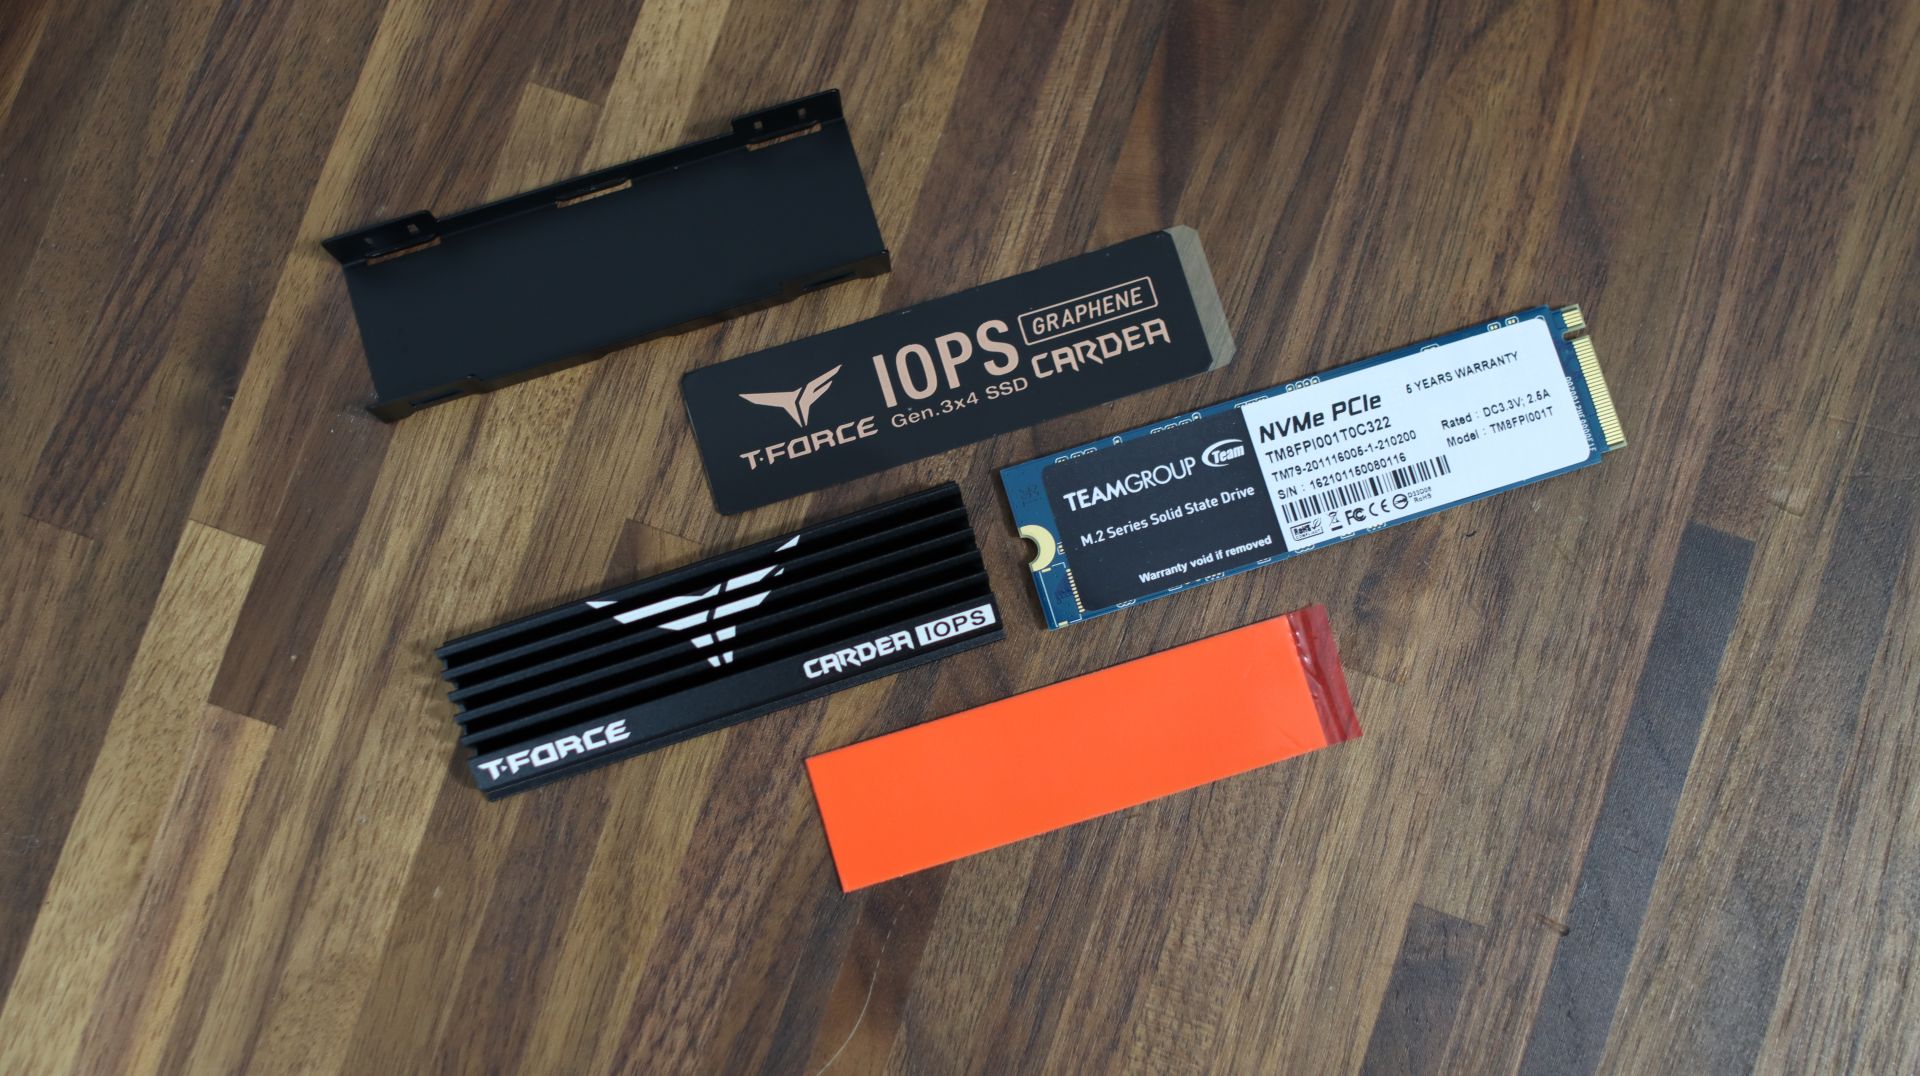
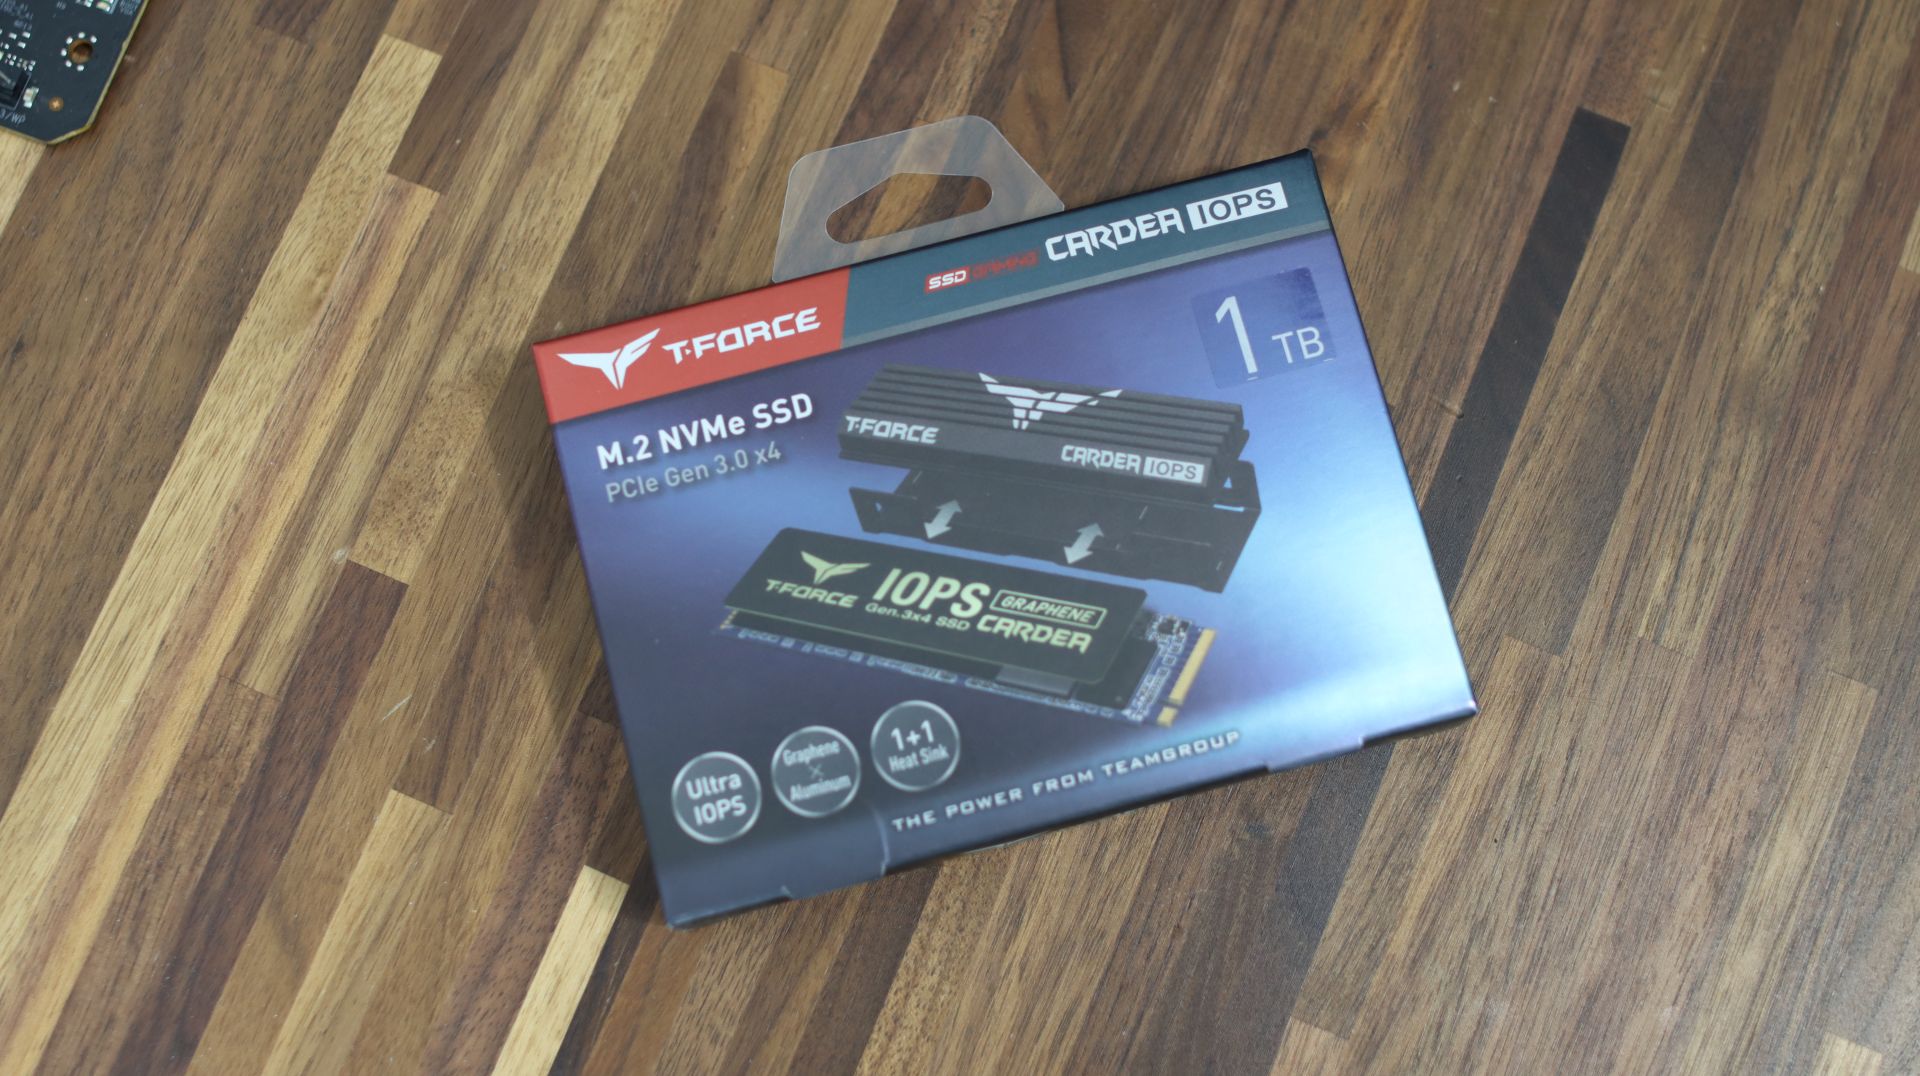
Our advice is to go with NVMe M.2 SSD to lose the wires inside the case and of course to achieve greater read and write speeds. With Team Group T-FORCE CARDEA IOPS NVMe M.2 SSD with storage of 1TB you will be good for operation system Windows 10, some main applications and loads of games (of course if you don't include Call of Duty – then you are good for couple of games). In addition to that if you are looking for an actual storage, hard drive of 2TB on 7200RPM would be just alright.
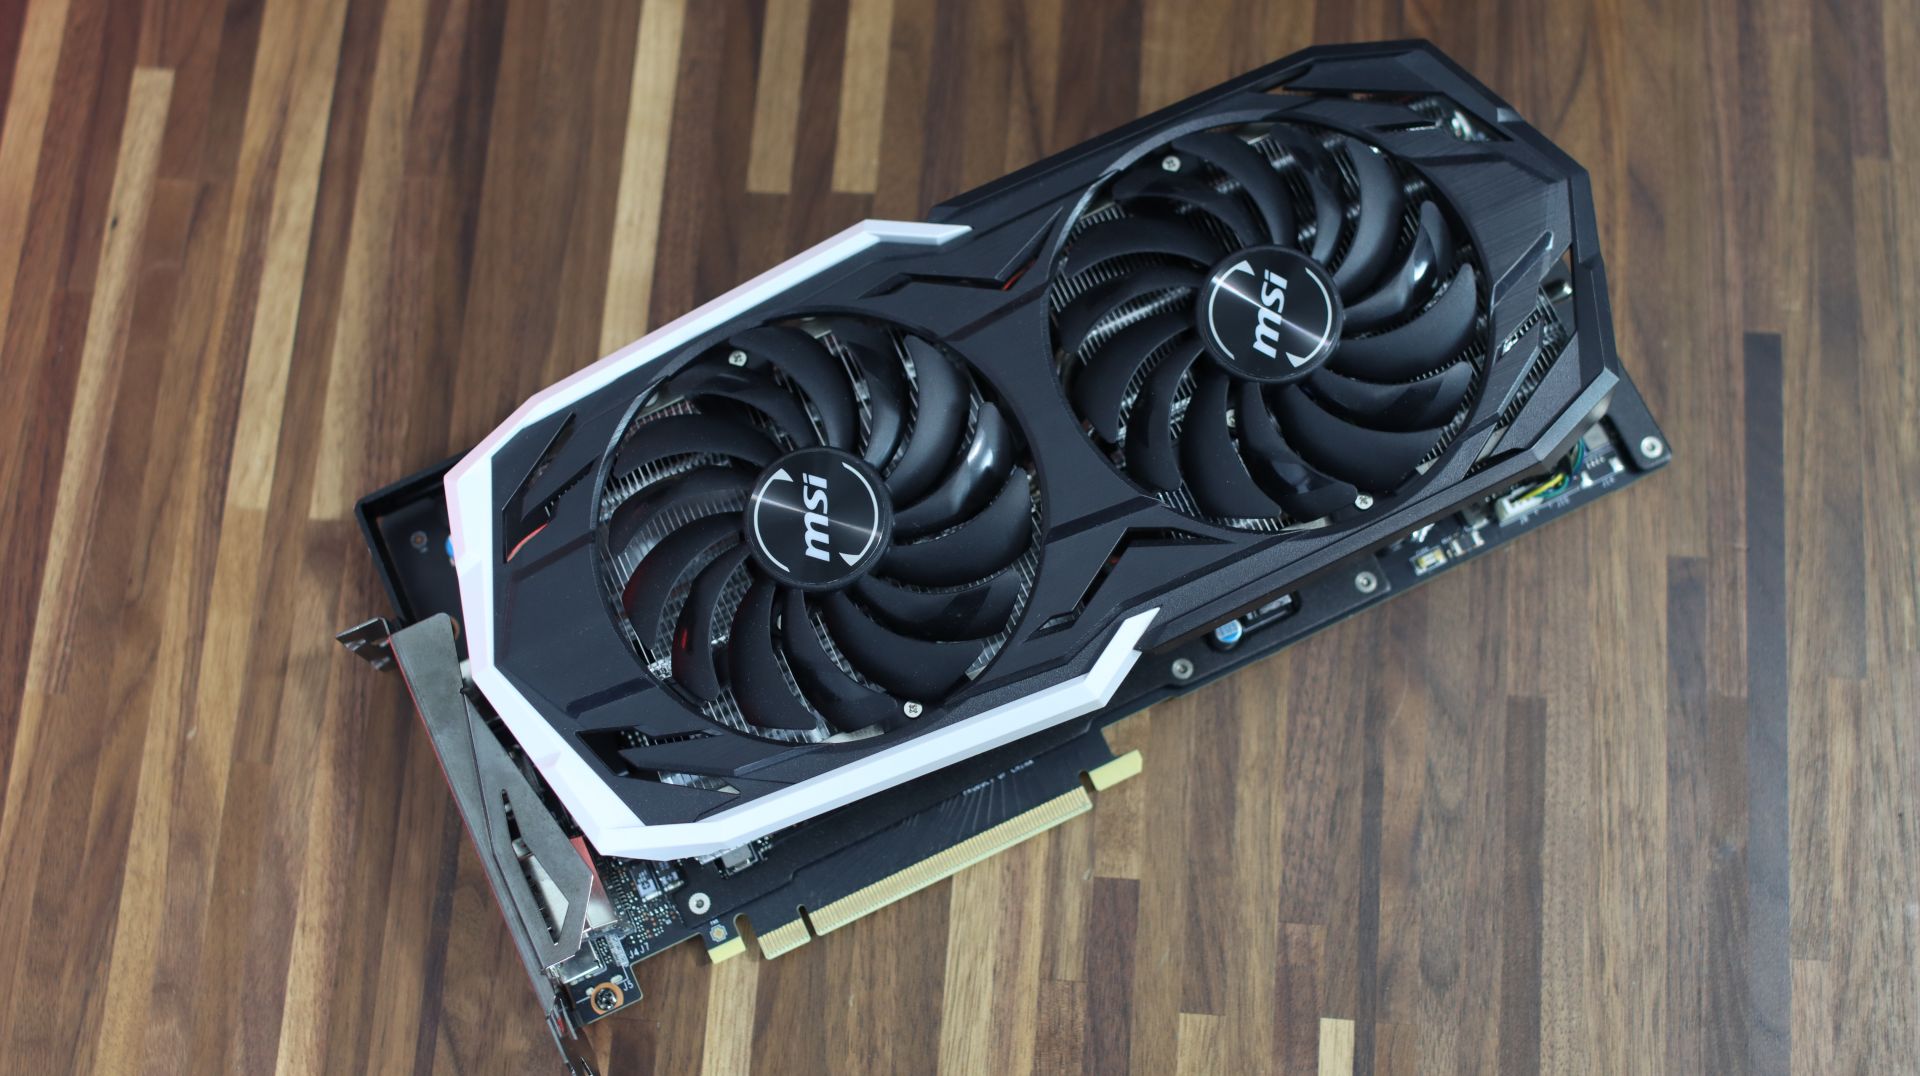
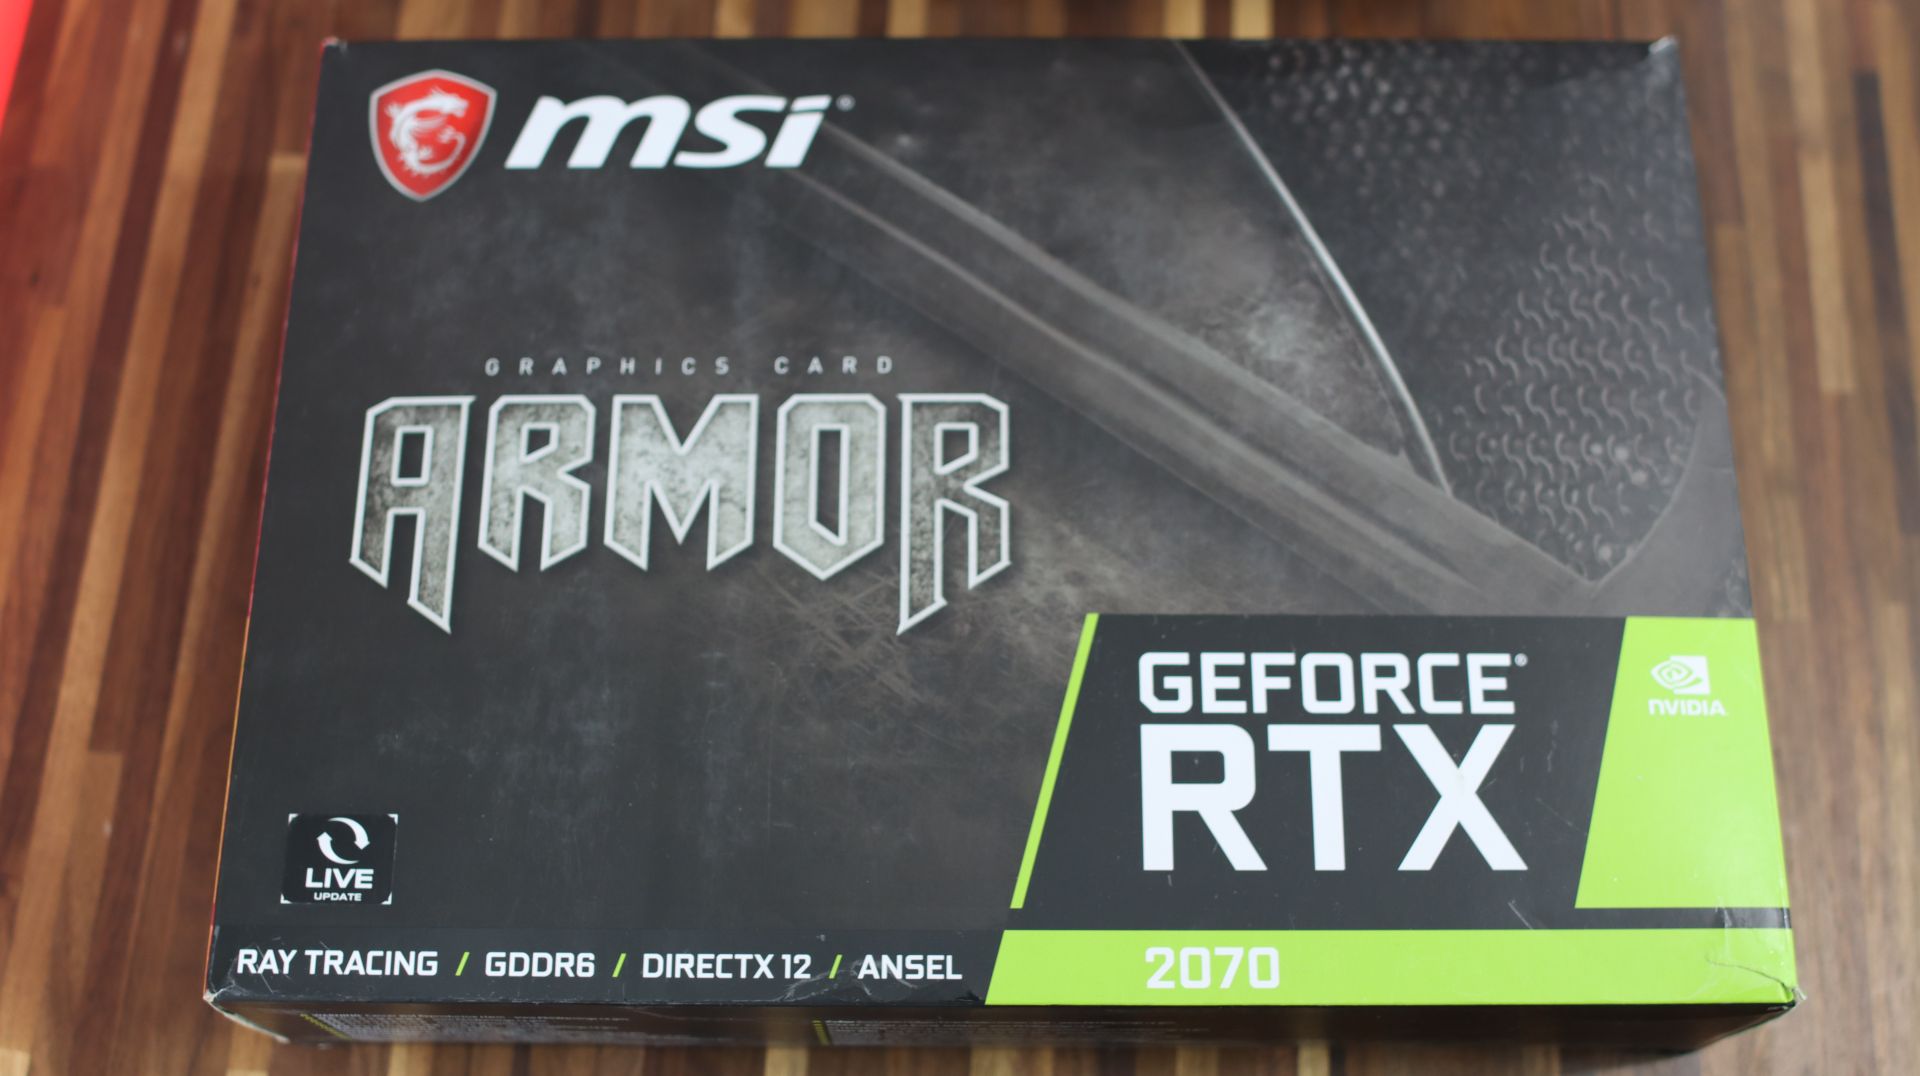
In the current situation, it is hard to acquire a graphics card at all, let alone with a decent price. But nevertheless, we will use a decent card for gaming even though it is two generations back. We will use MSI GeForce RTX 2070 ARMOR with 8GB of memory. This one will be quiet alright even for 1440p gaming on medium settings achieving well above 60FPS in most games.
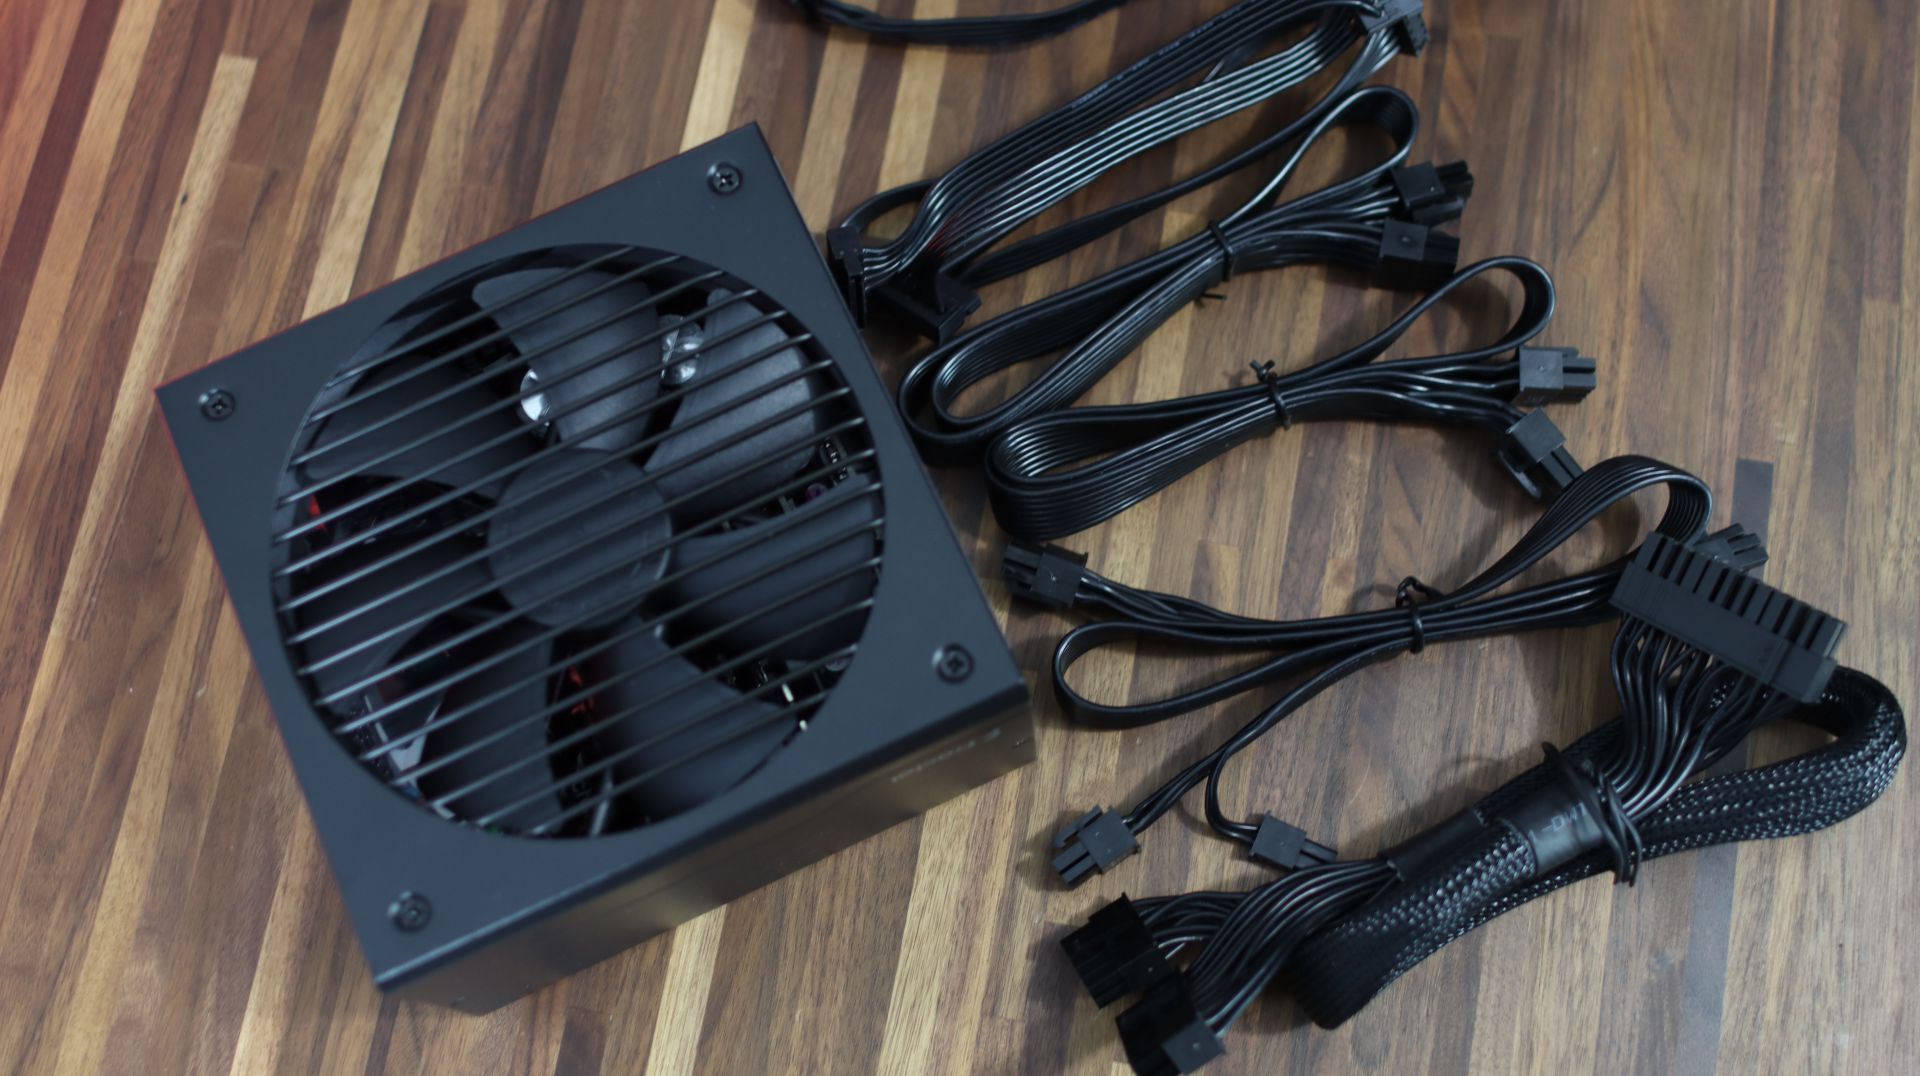
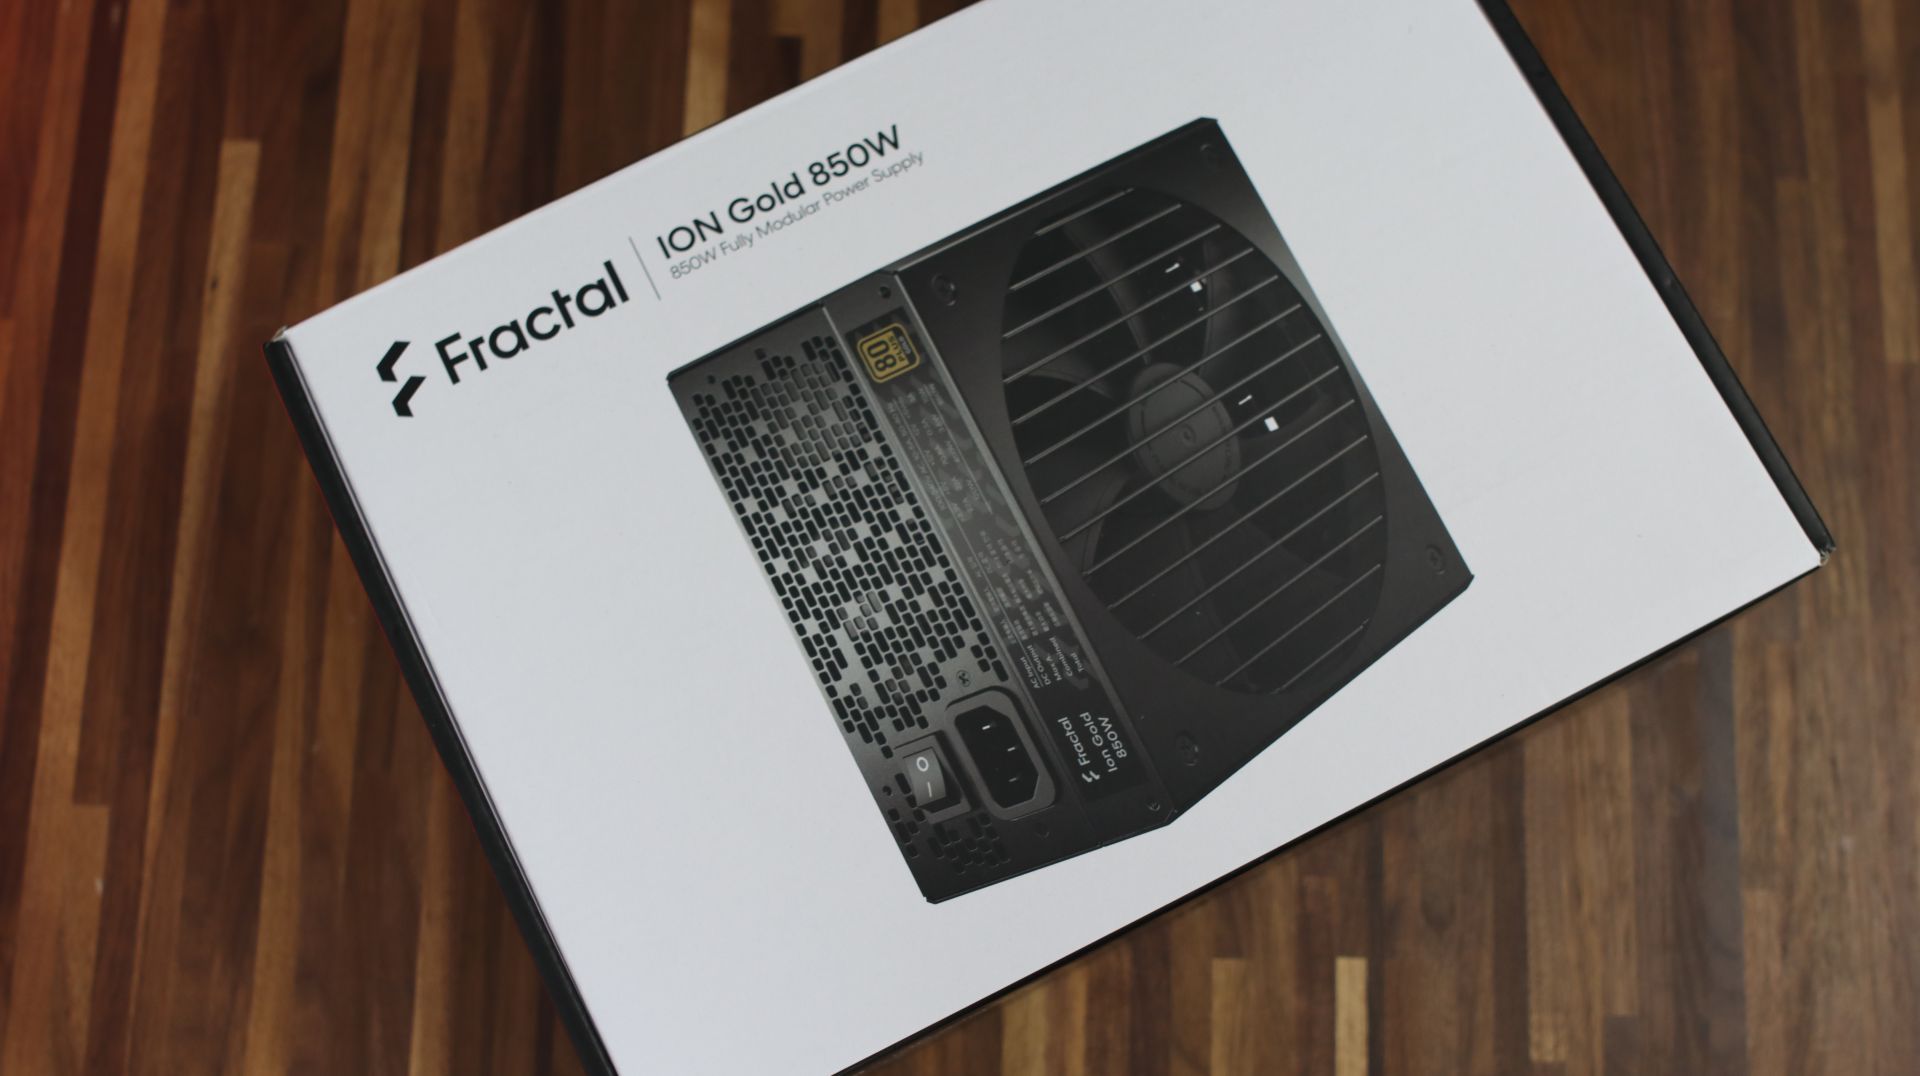
Something to power up your computer, the power supply. There are cheaper solutions with lower efficiency rating, less watts (for this PC 600-700W is quiet enough) and non-modular but we also want to show you what are the benefits of a modular power supply. We choose Fractal Design ION Gold 850W. As said, not that we need 850W, but just as an example in building a computer.
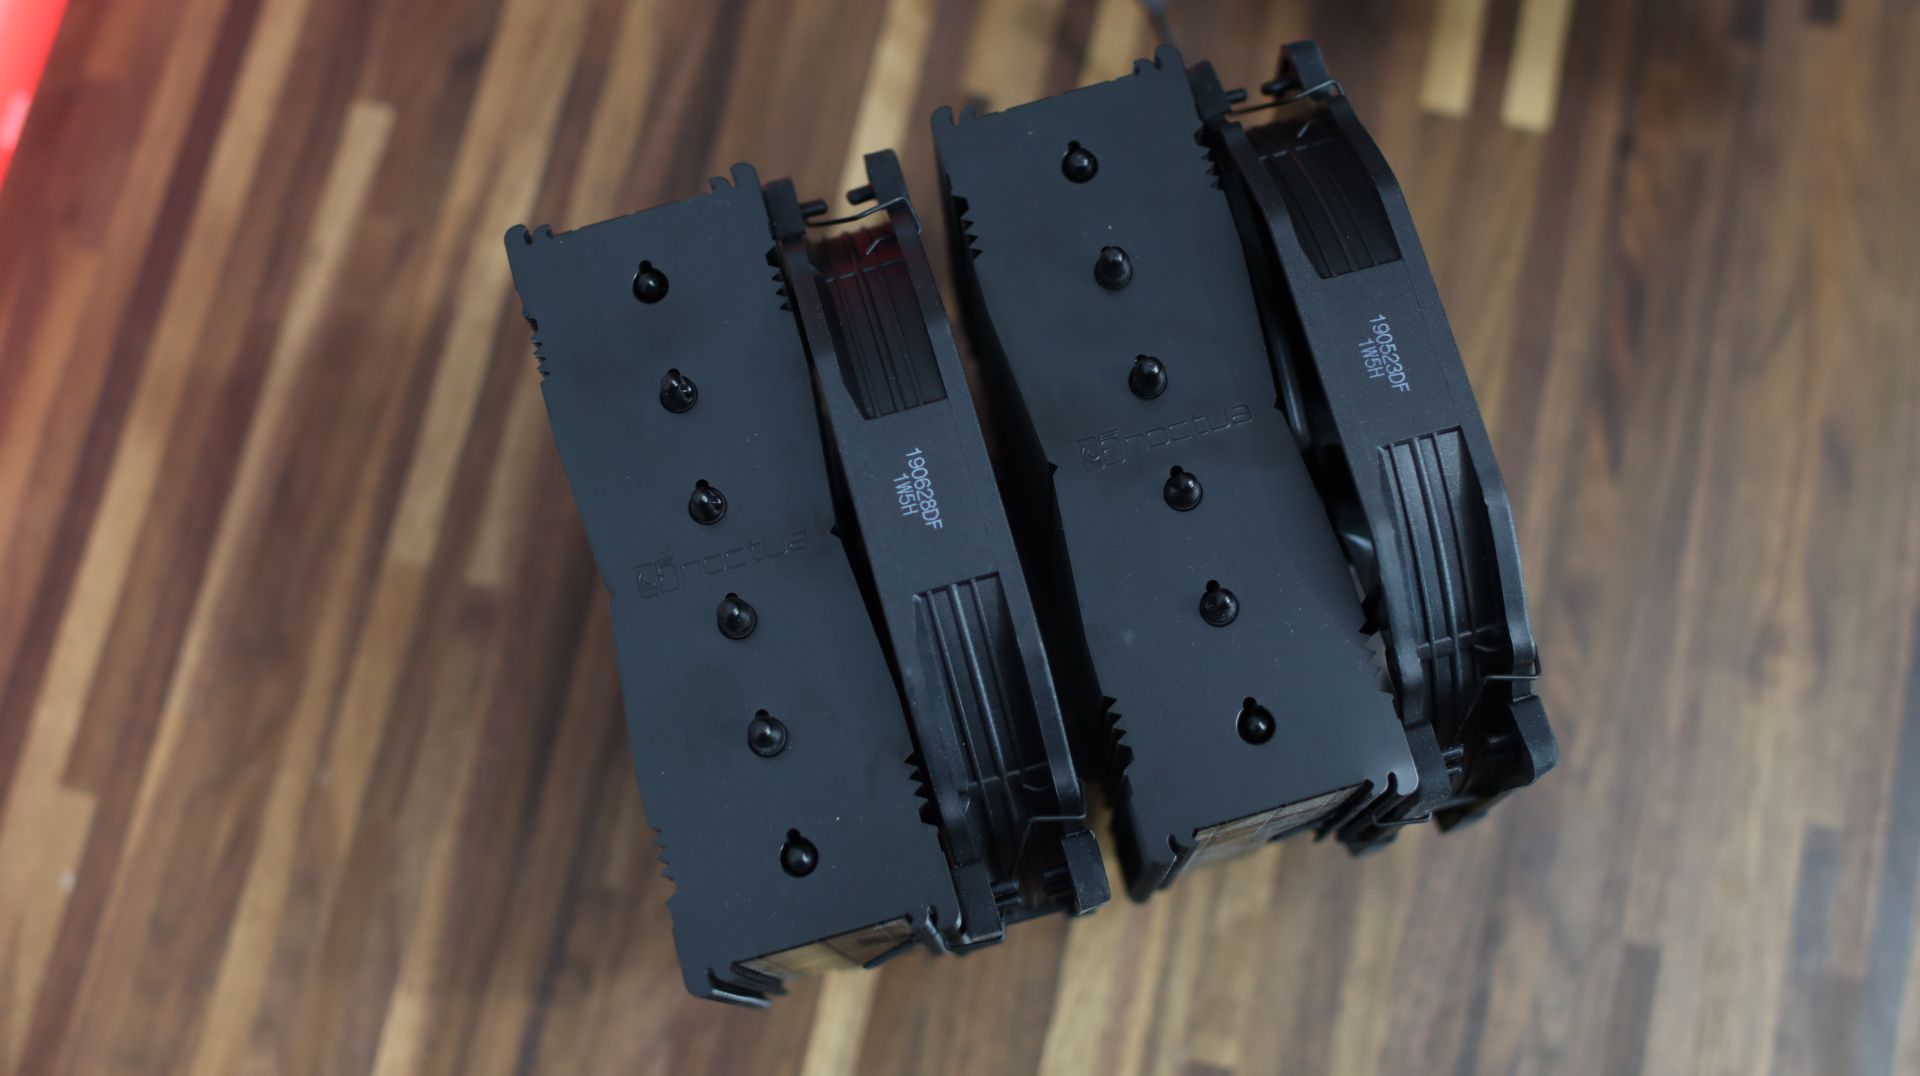
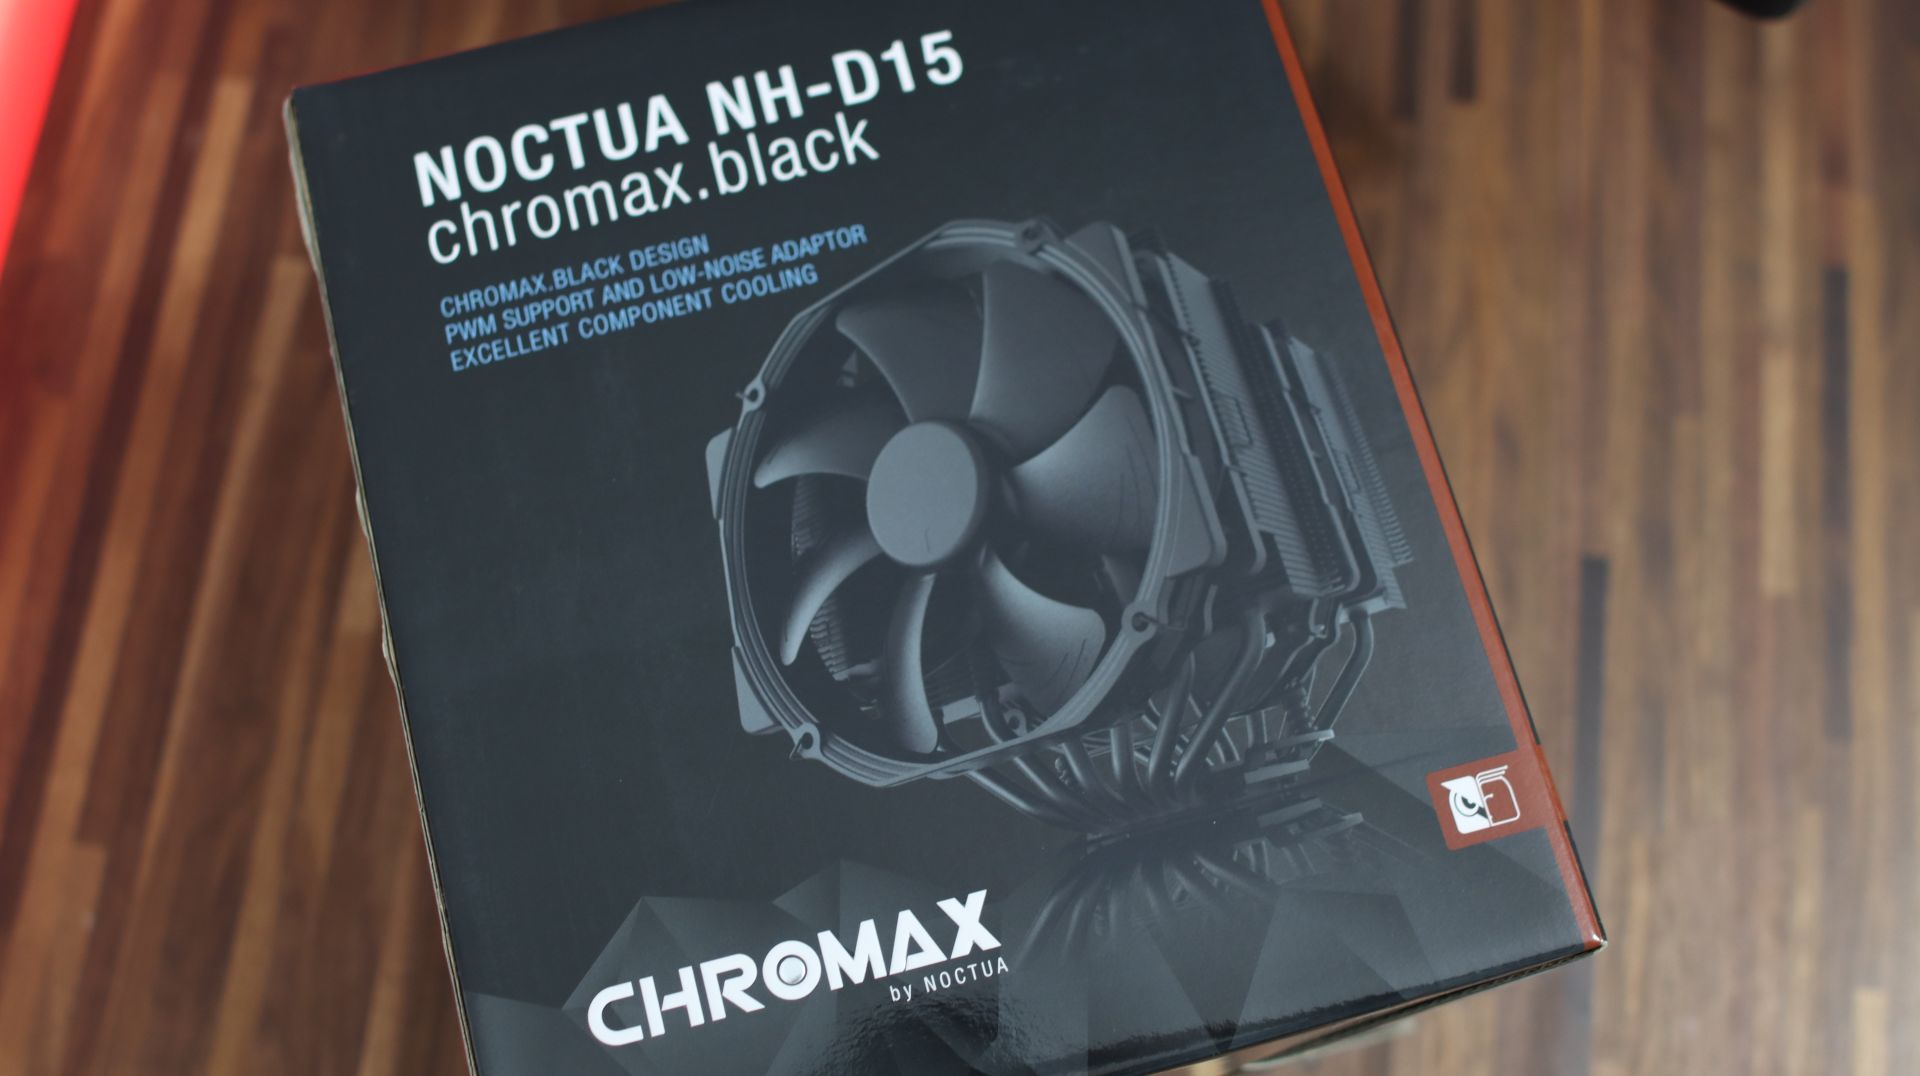
You can choose to use the stock CPU cooler, or you can go advance and get an aftermarket CPU tower cooler or even an AIO liquid cooling system with closed loop. Since we are using a bit stronger CPU, to keep the temperatures lower at higher load, we are going to use Noctua NH-D15 chromax.black which is more than enough for this processor.
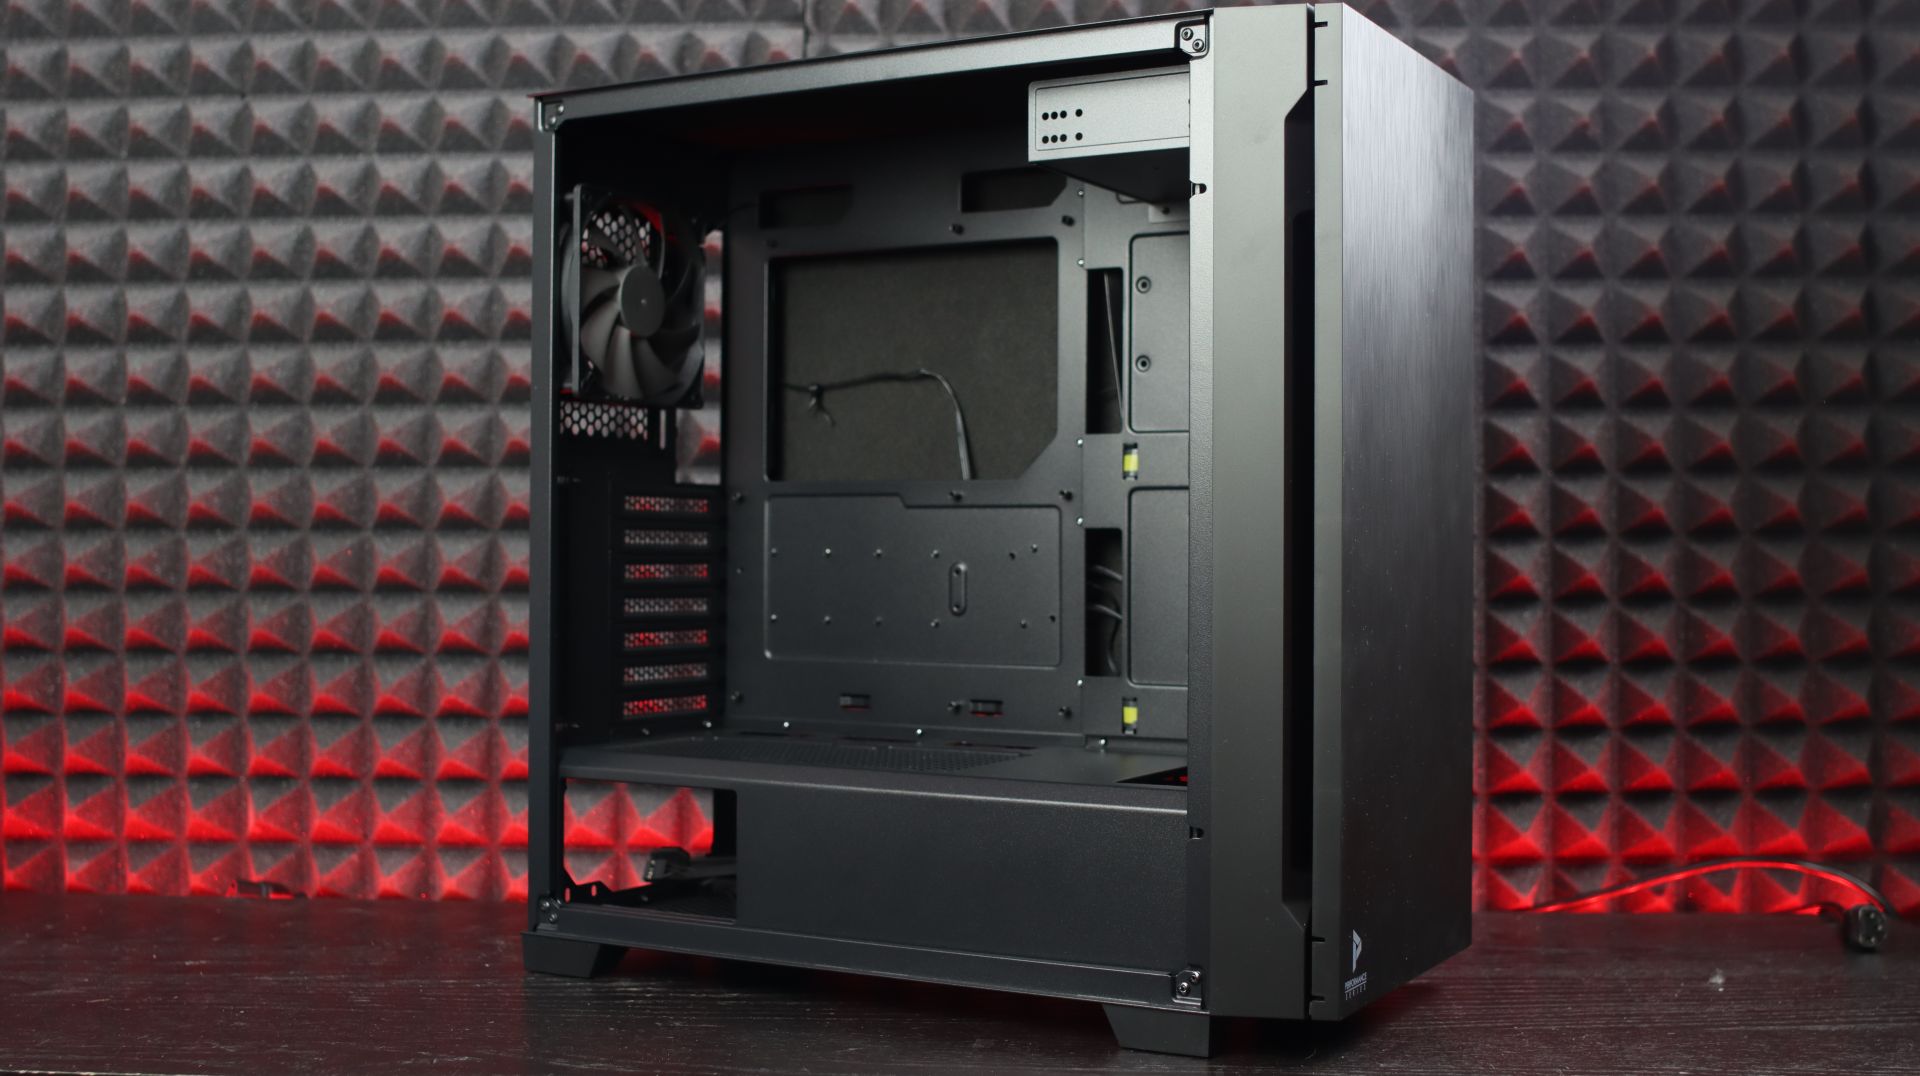
Choosing a right case is also important when it comes to building your computer. If it has some pre-installed fans, you are already half way done when it comes to cooling since the initial cooling is solved and the air flow is already designed.
First, we will start by removing the motherboard from the box and add all the components we can on it before placing it inside the case.
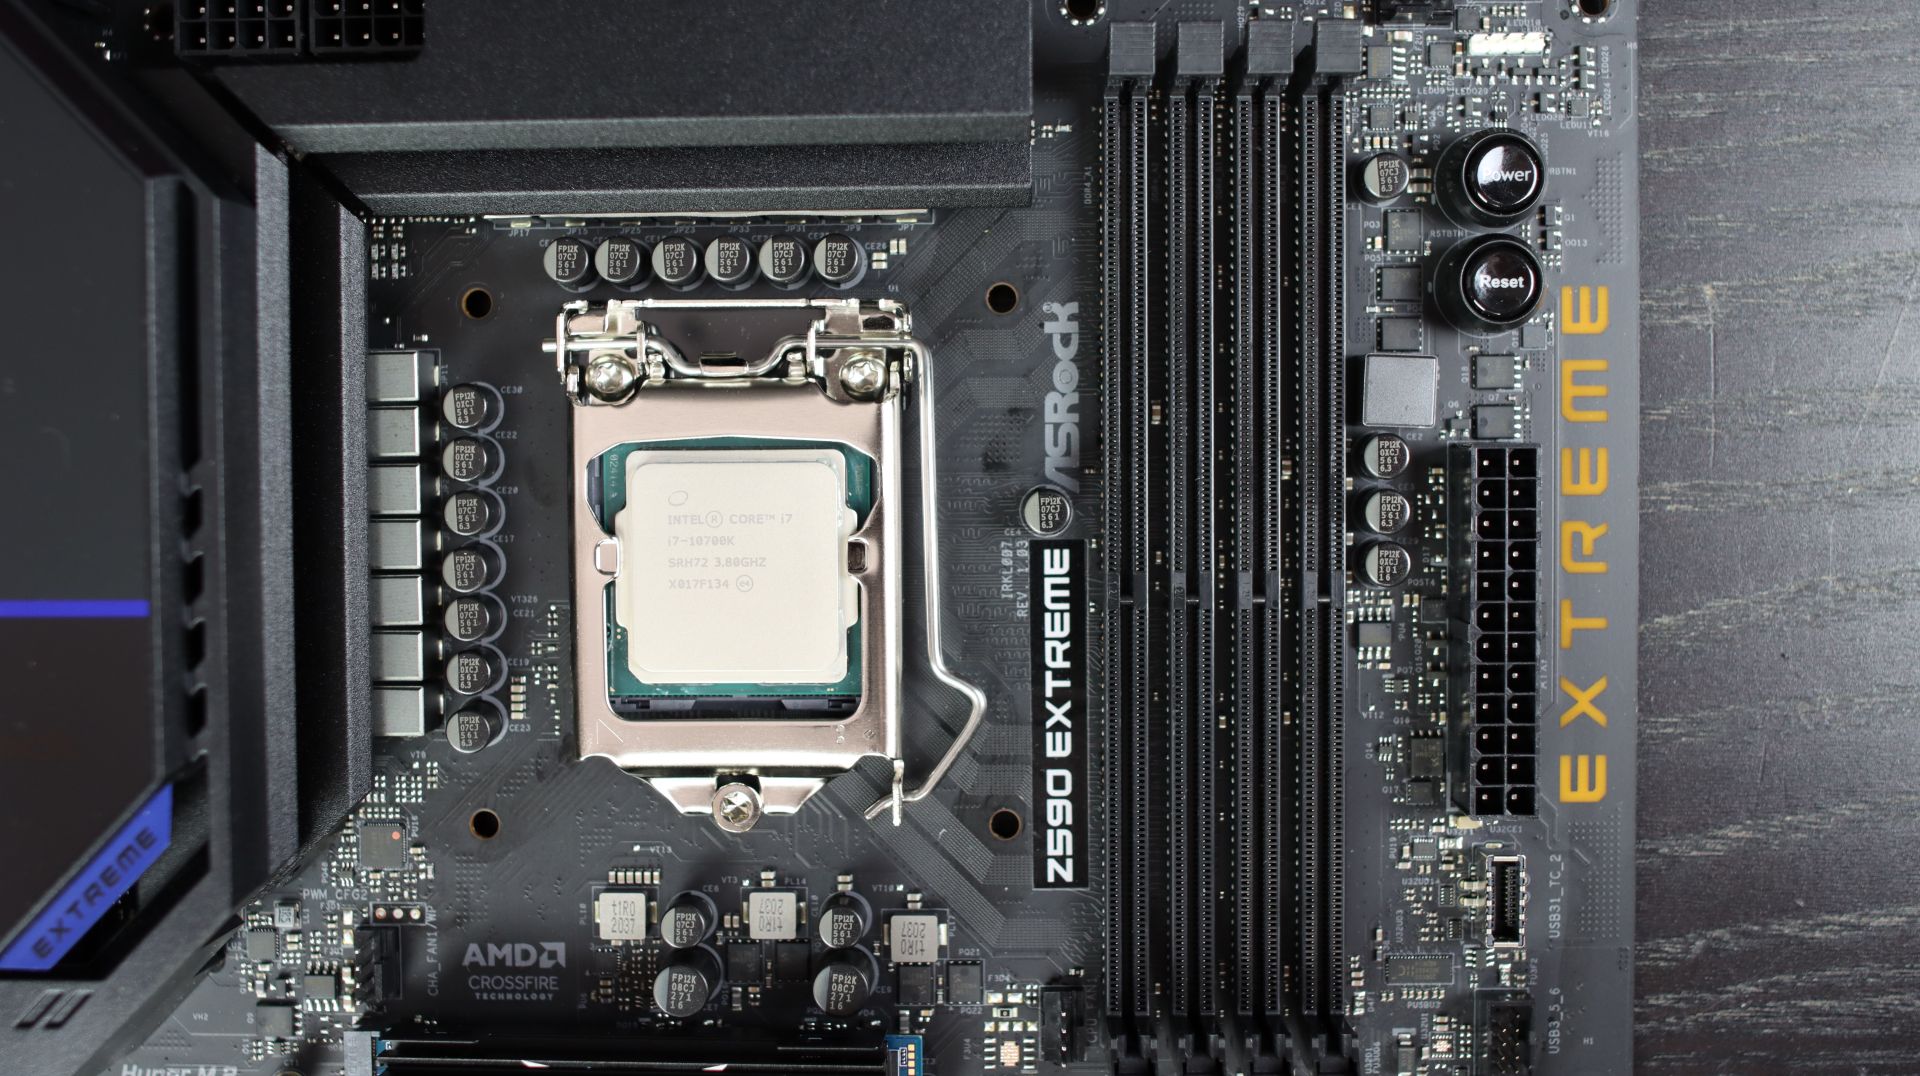
Take the processor out of the box and follow the picture instructions.
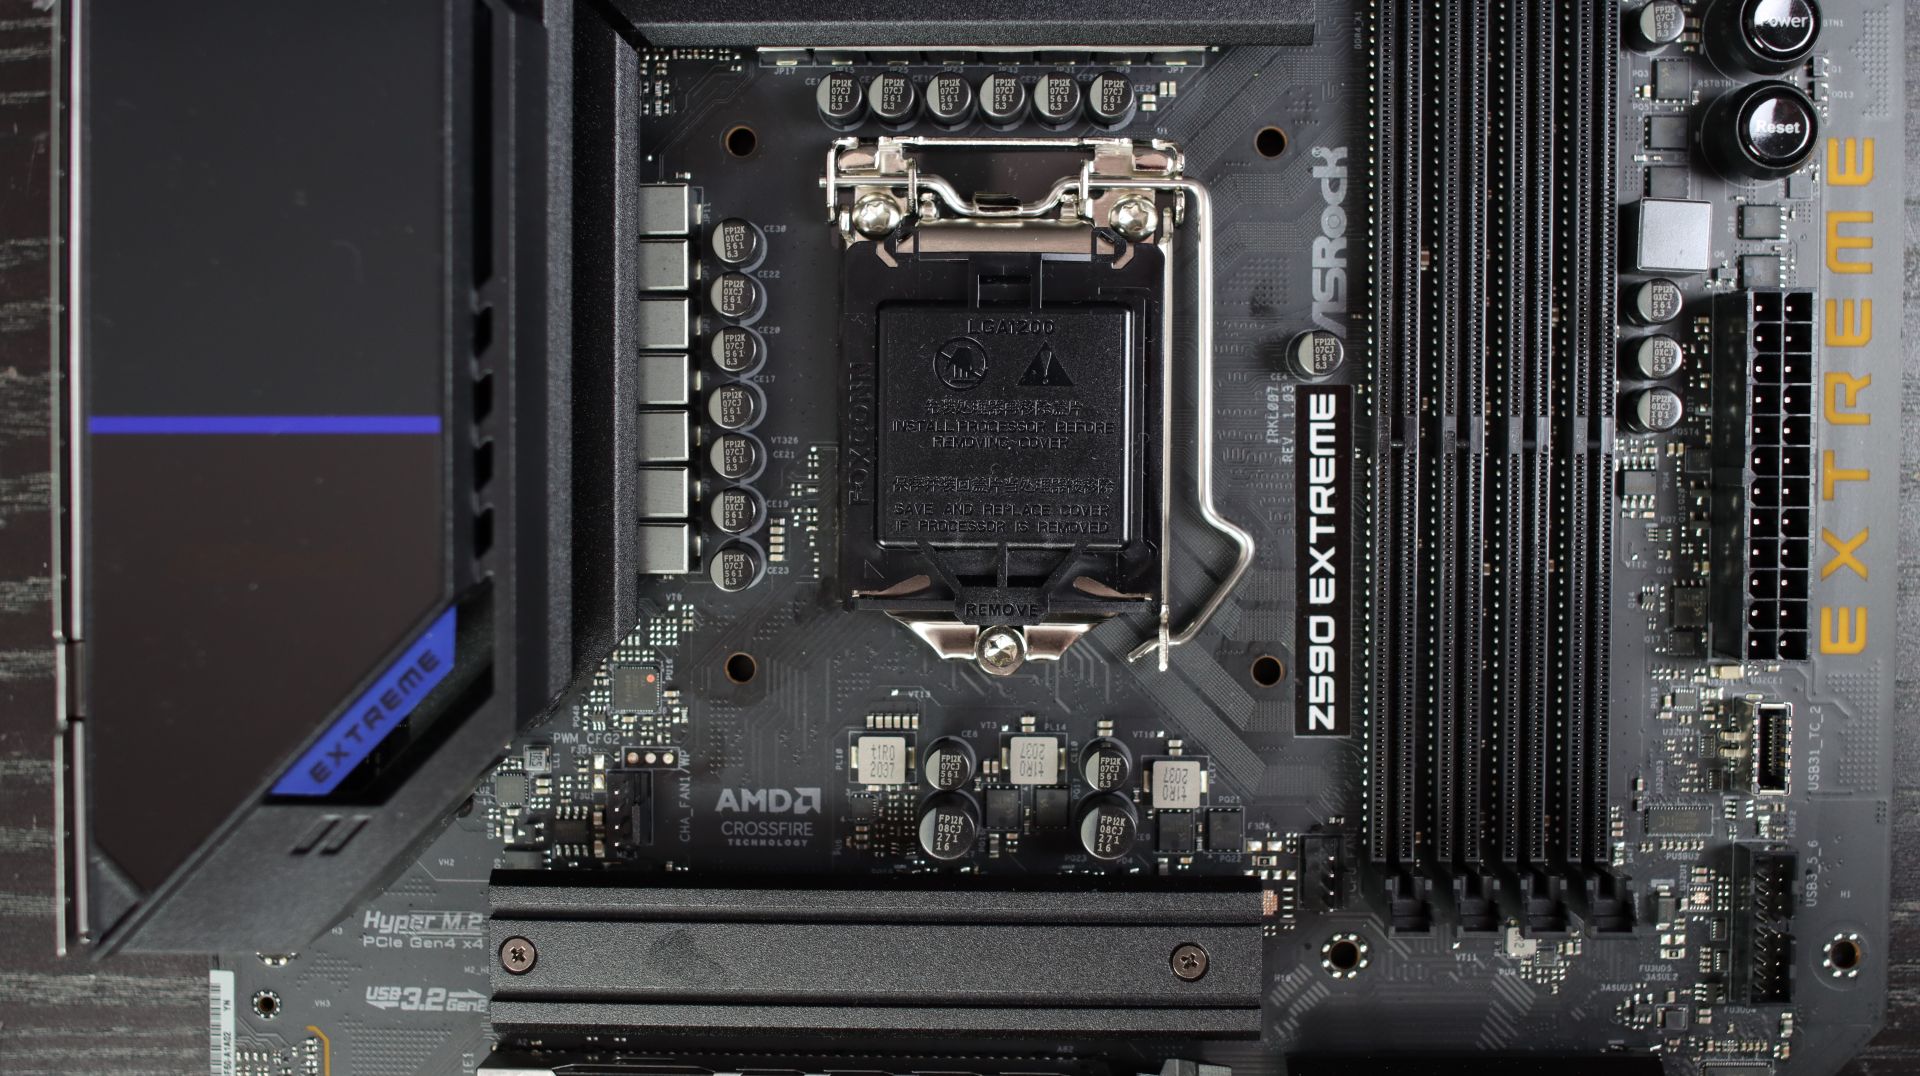
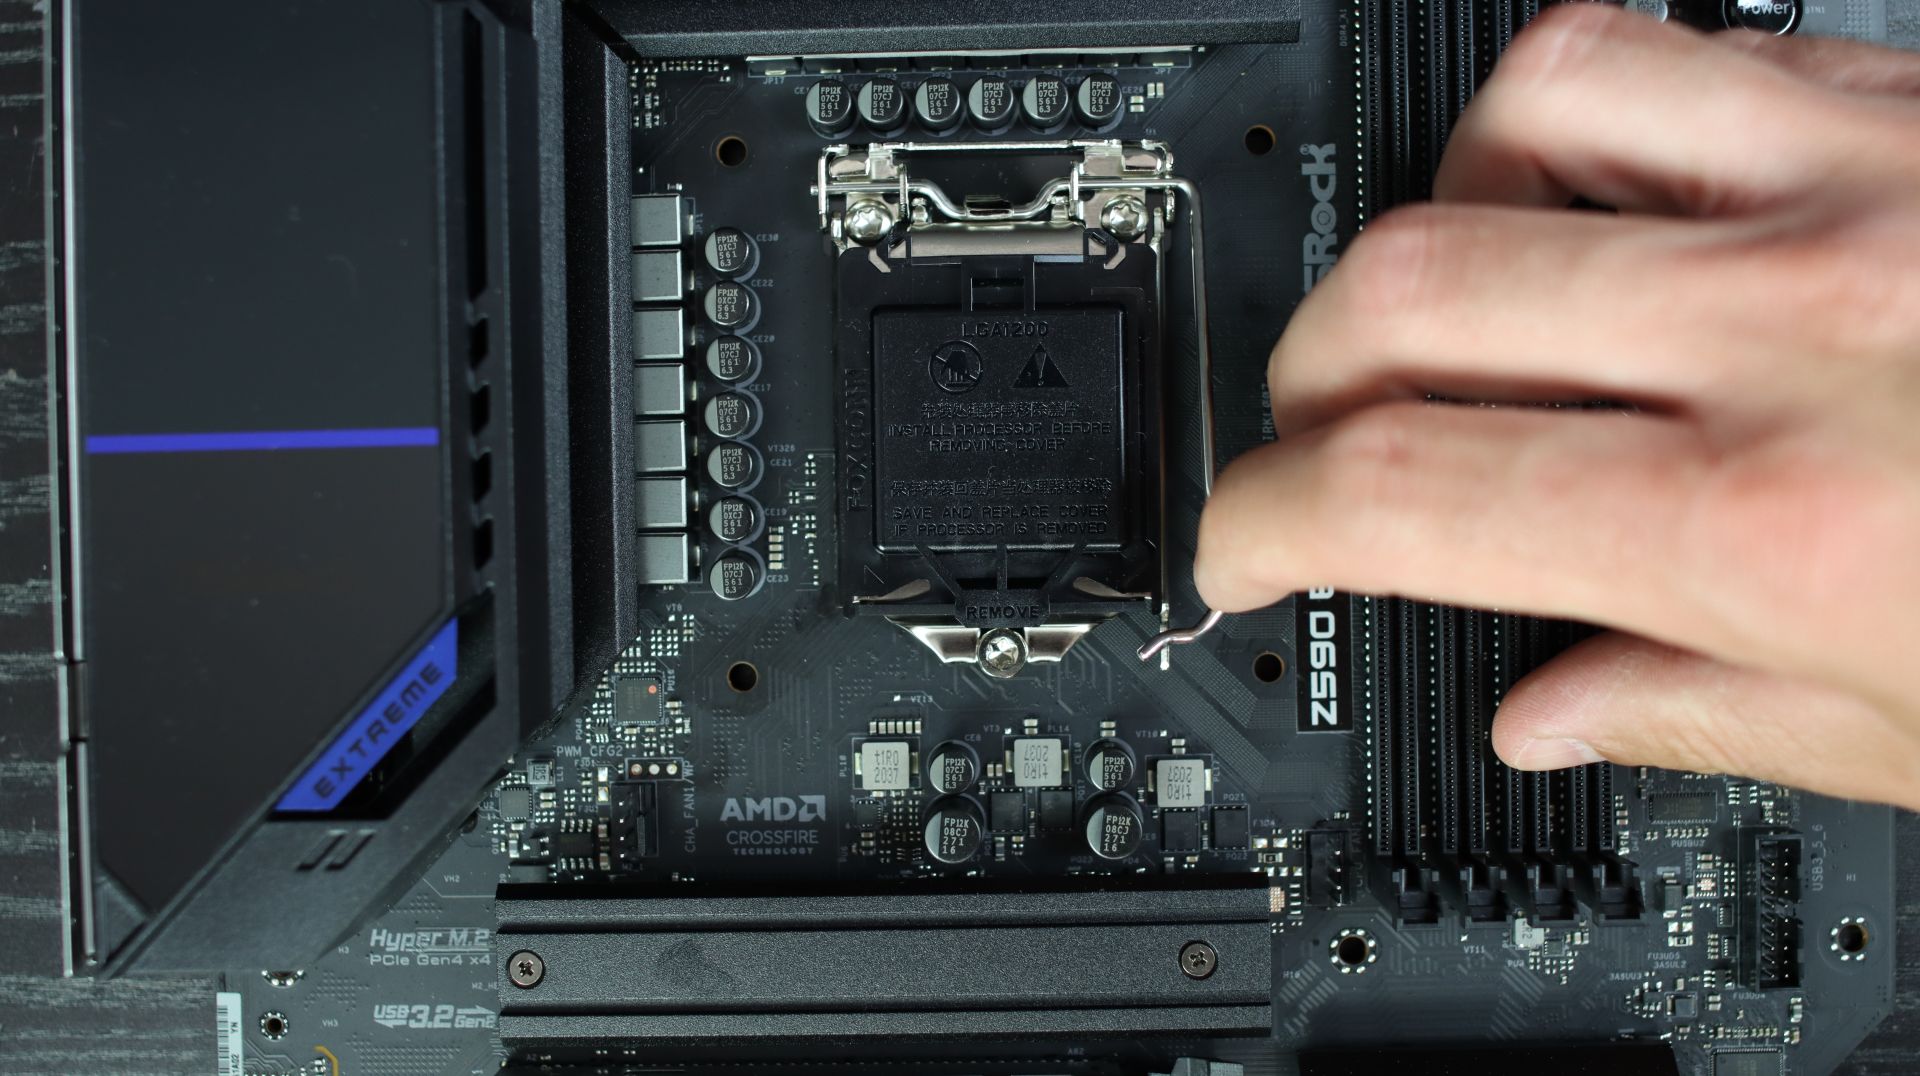
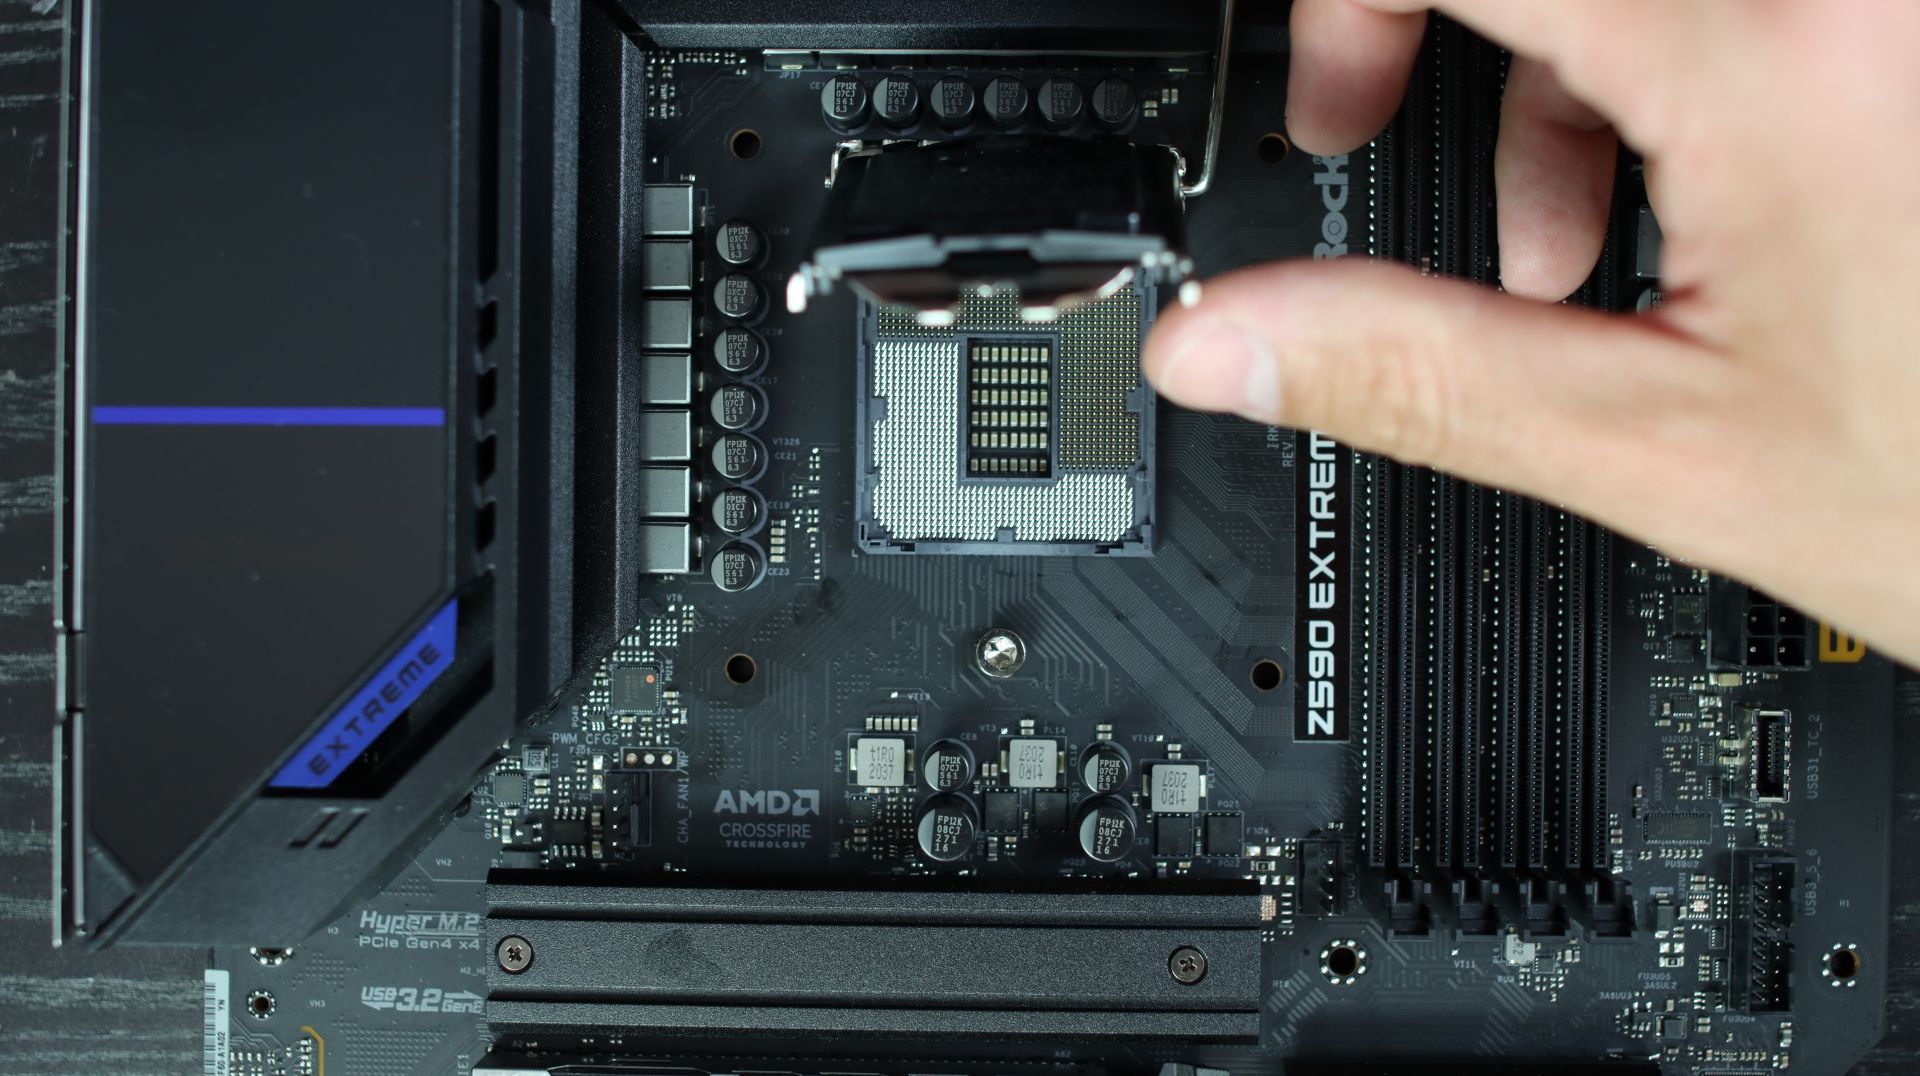
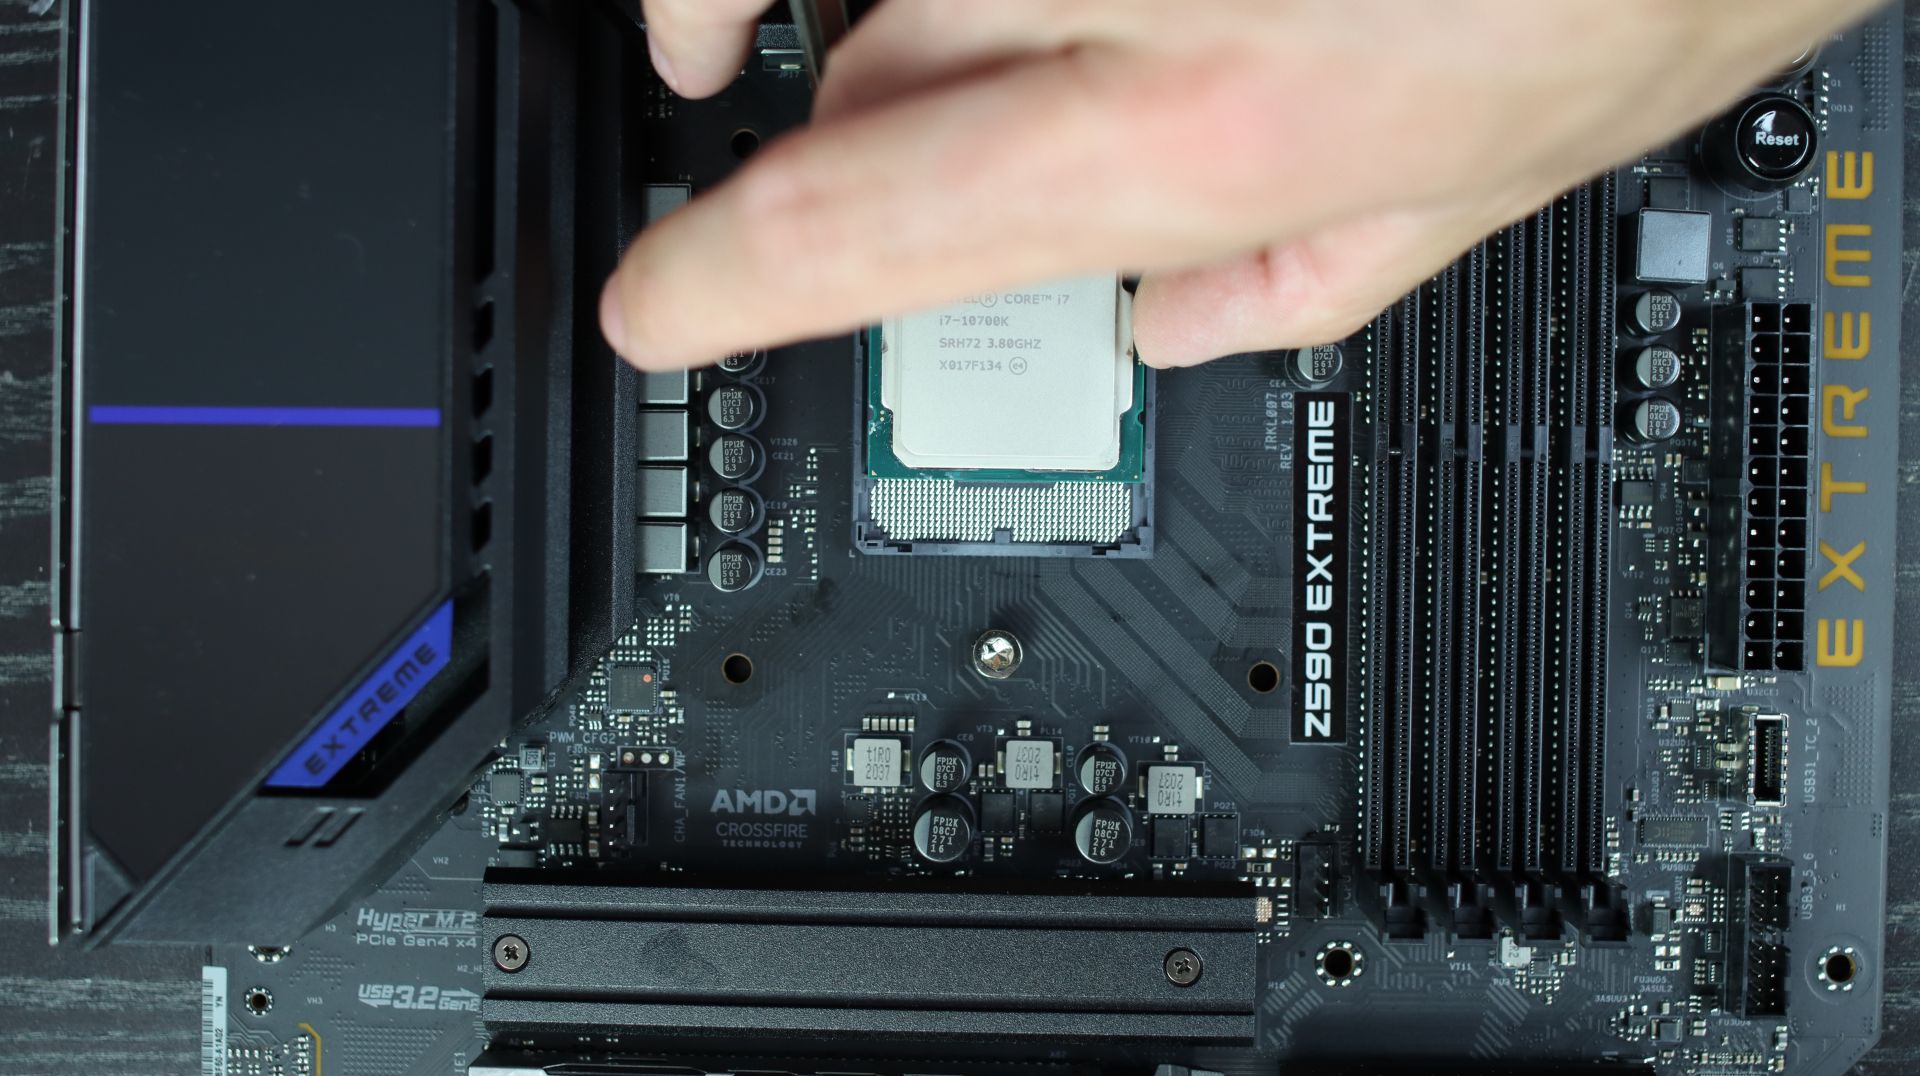
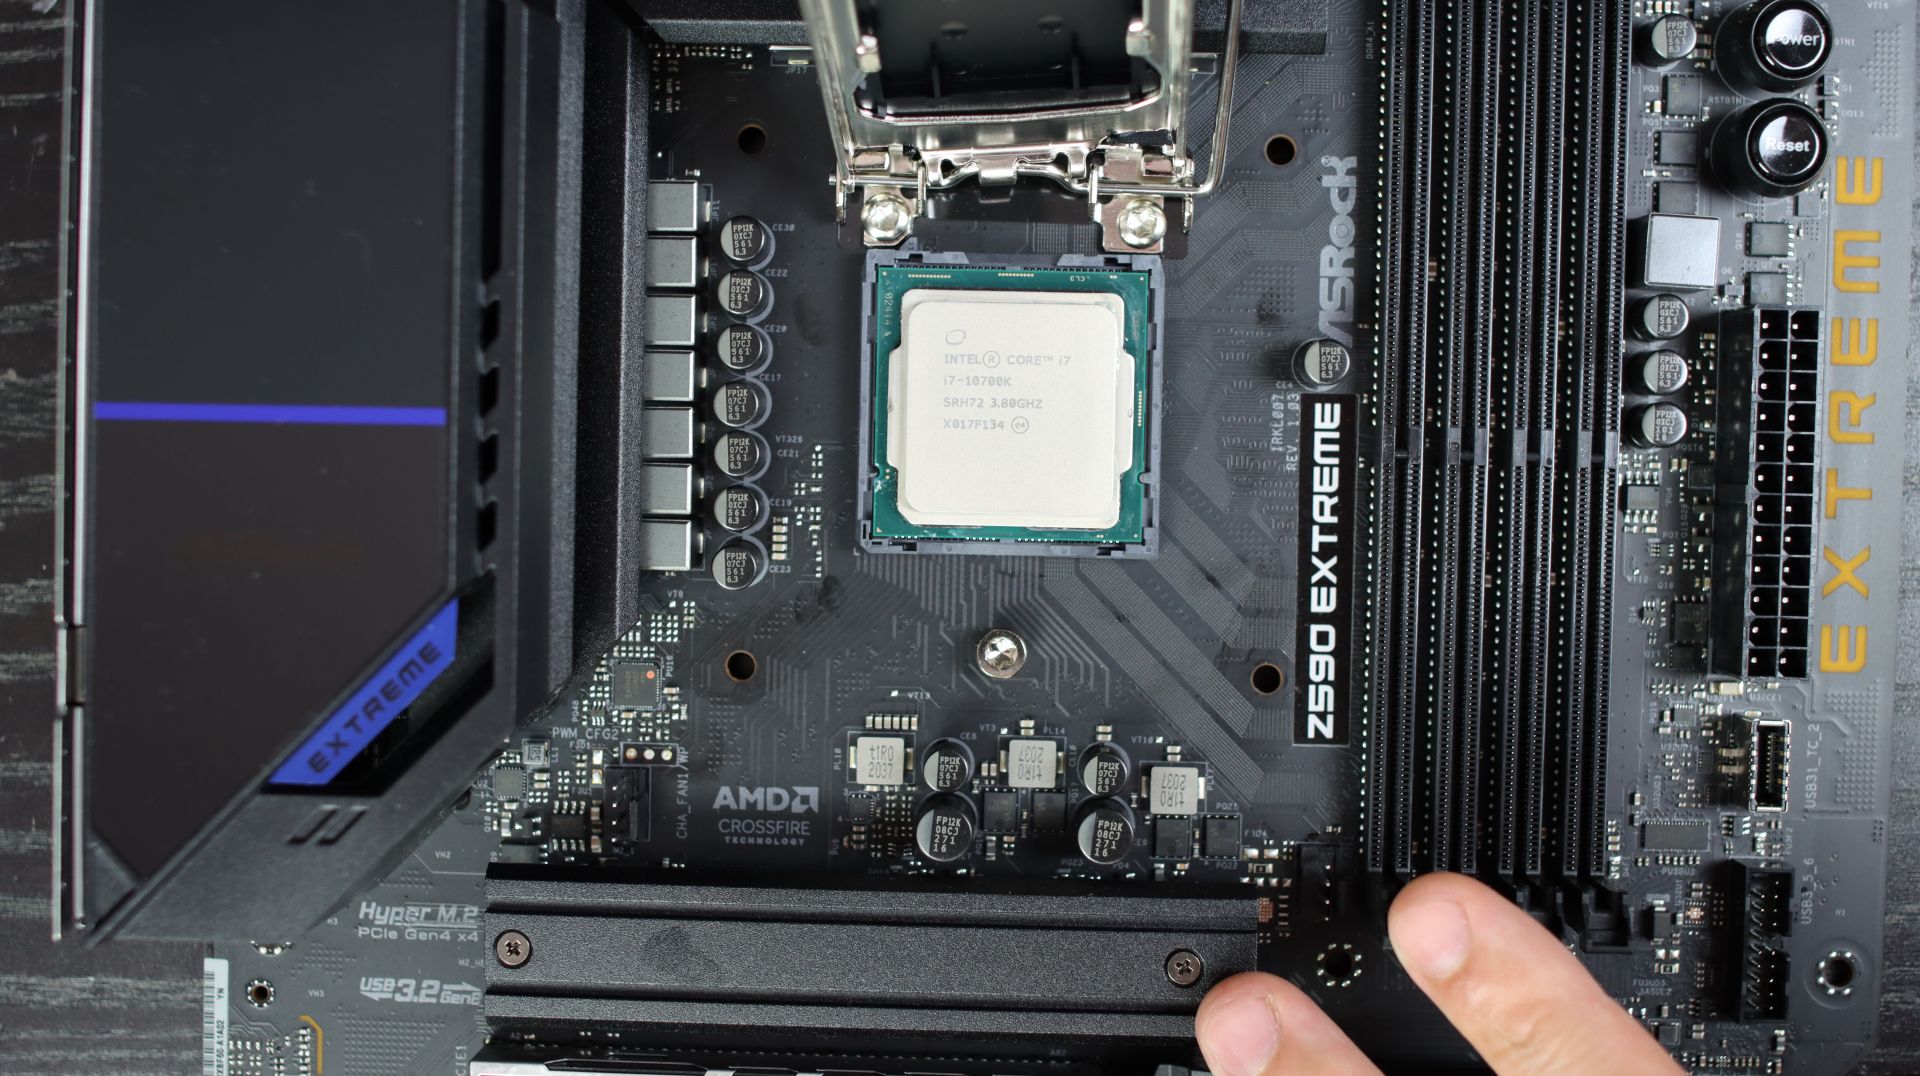
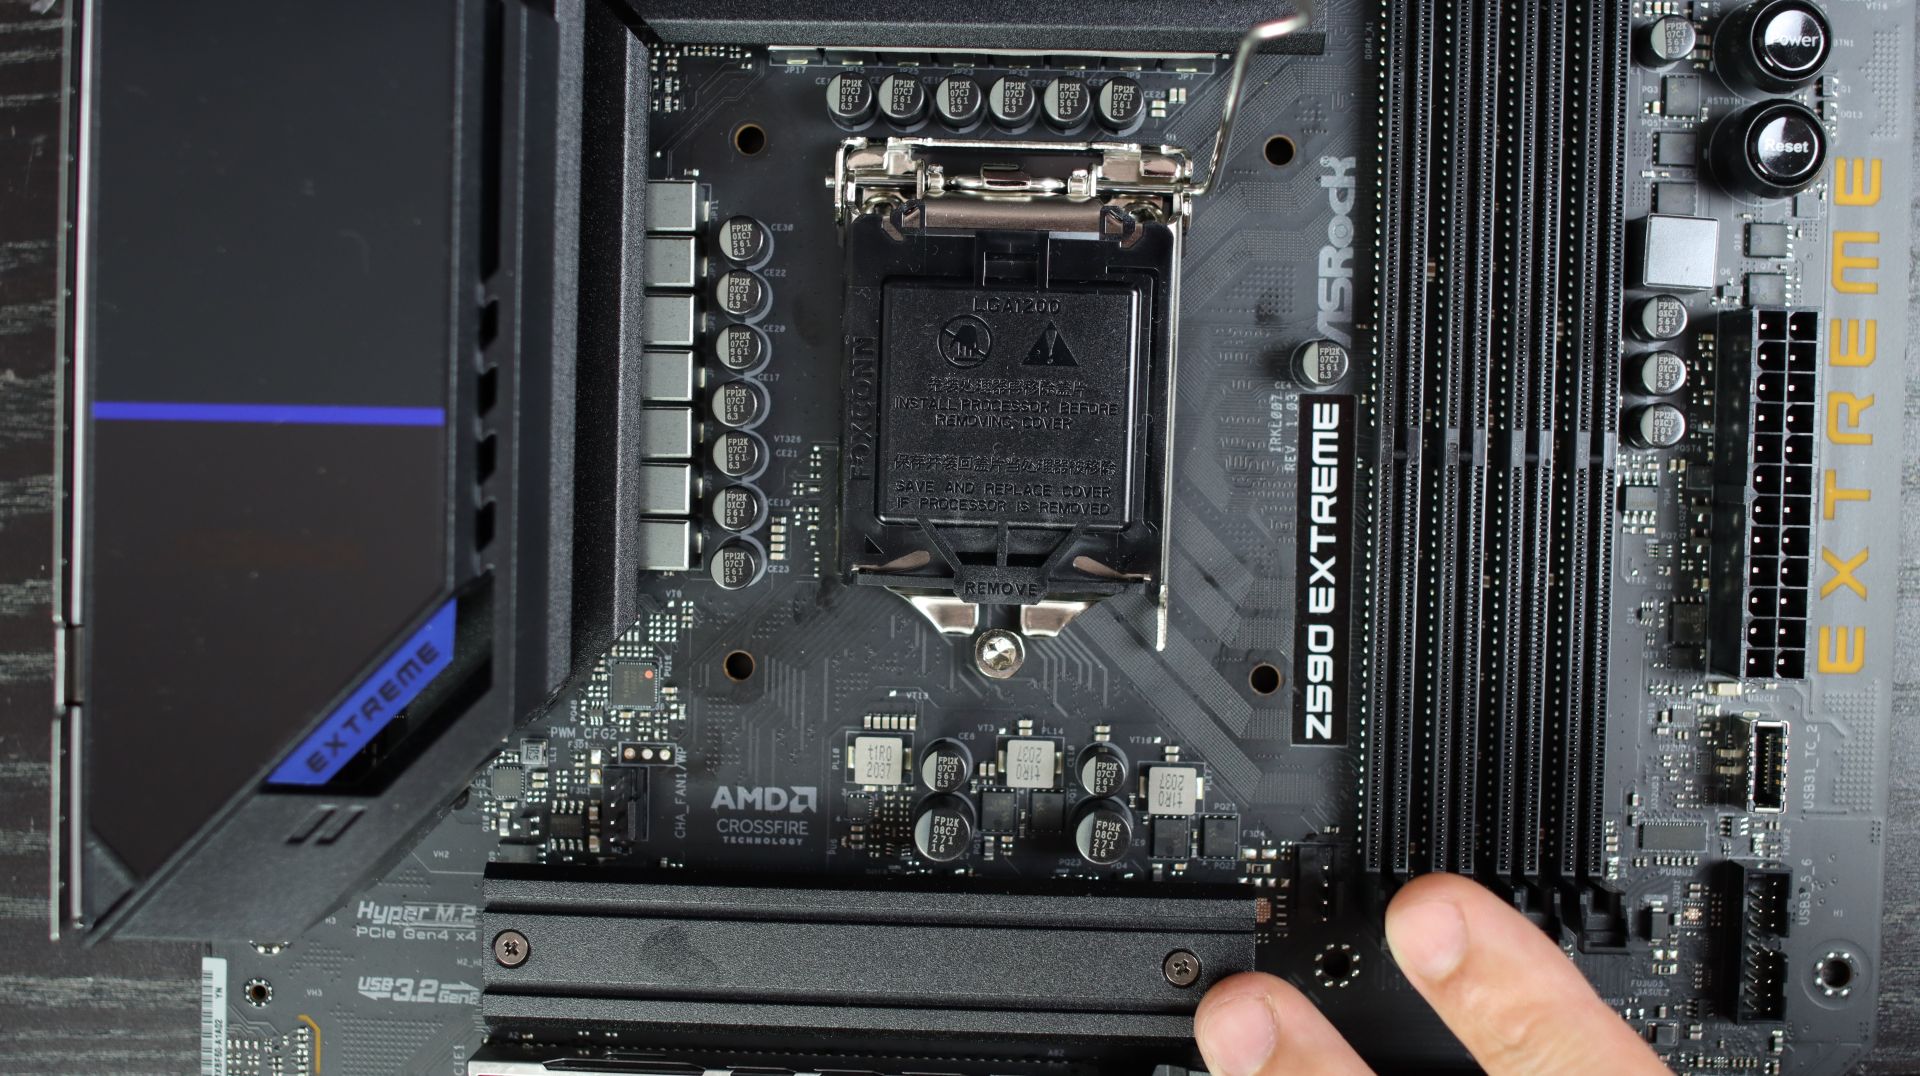
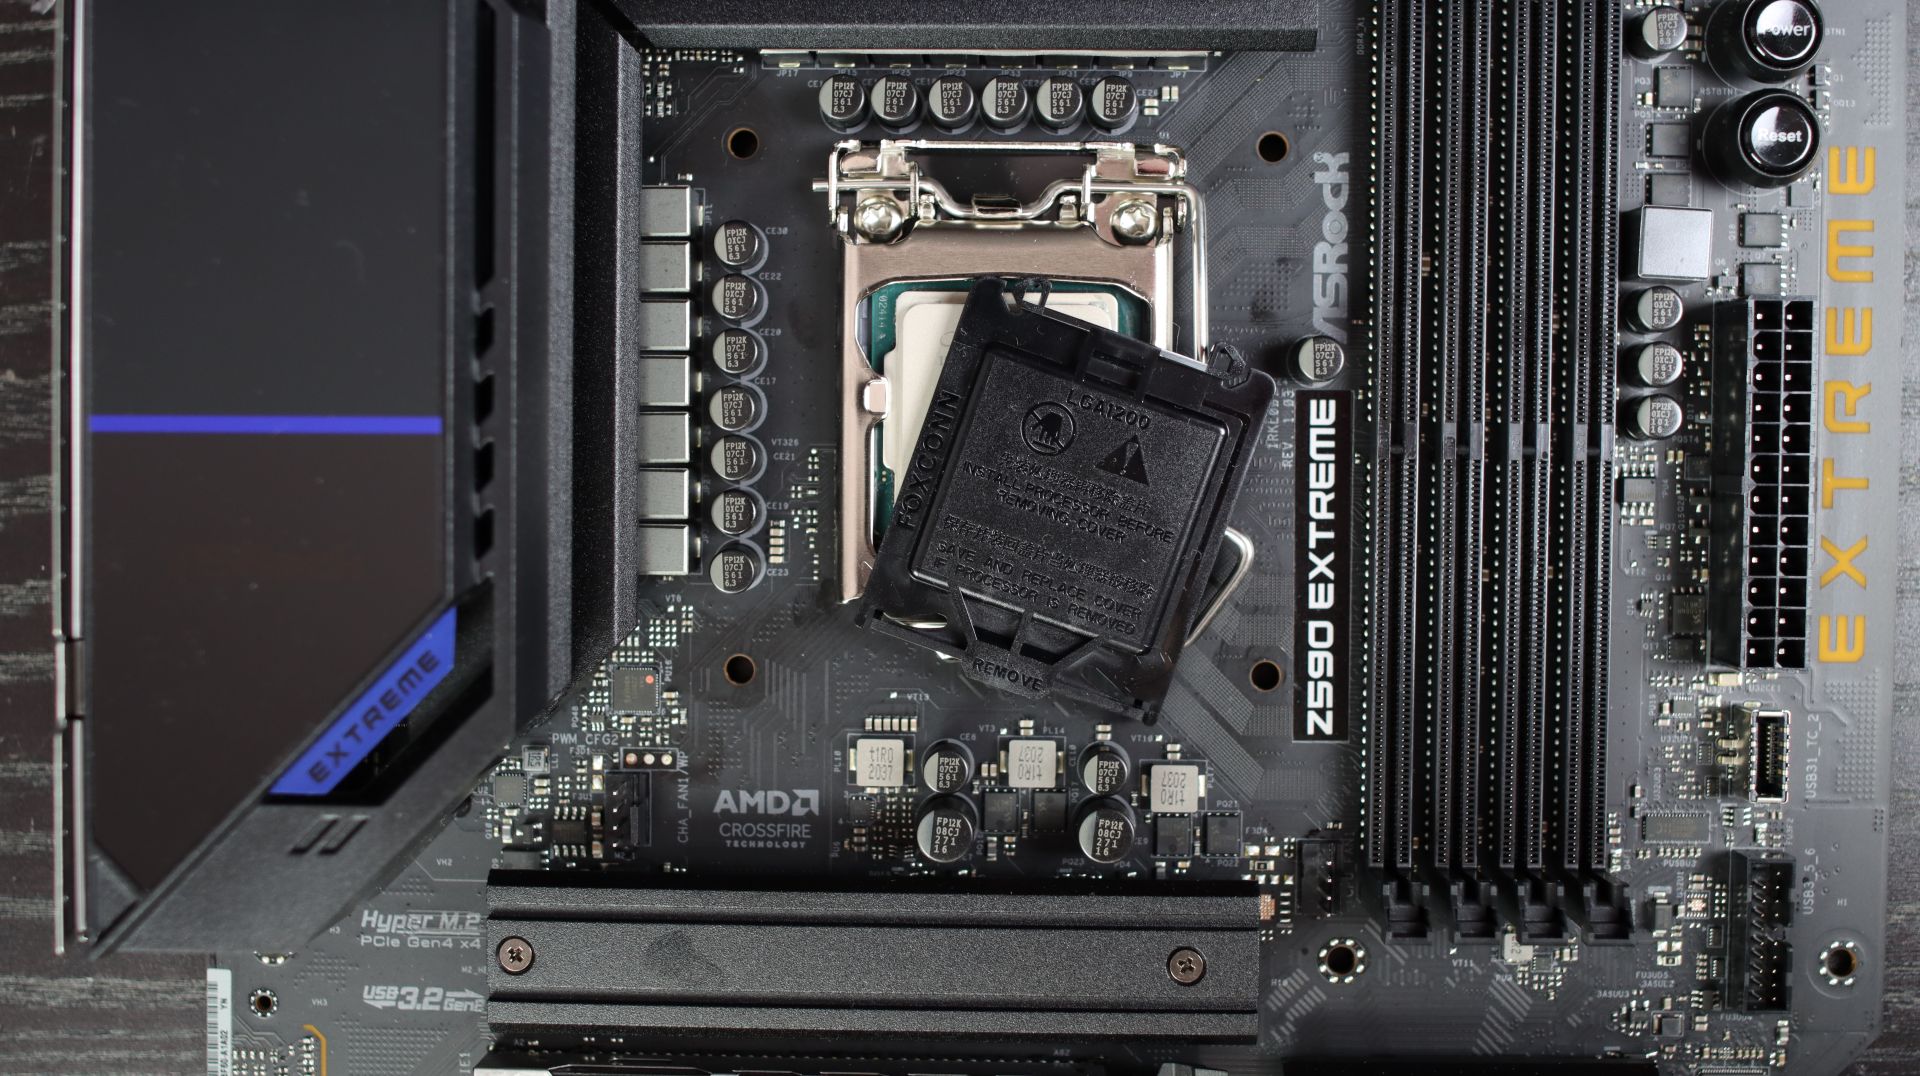
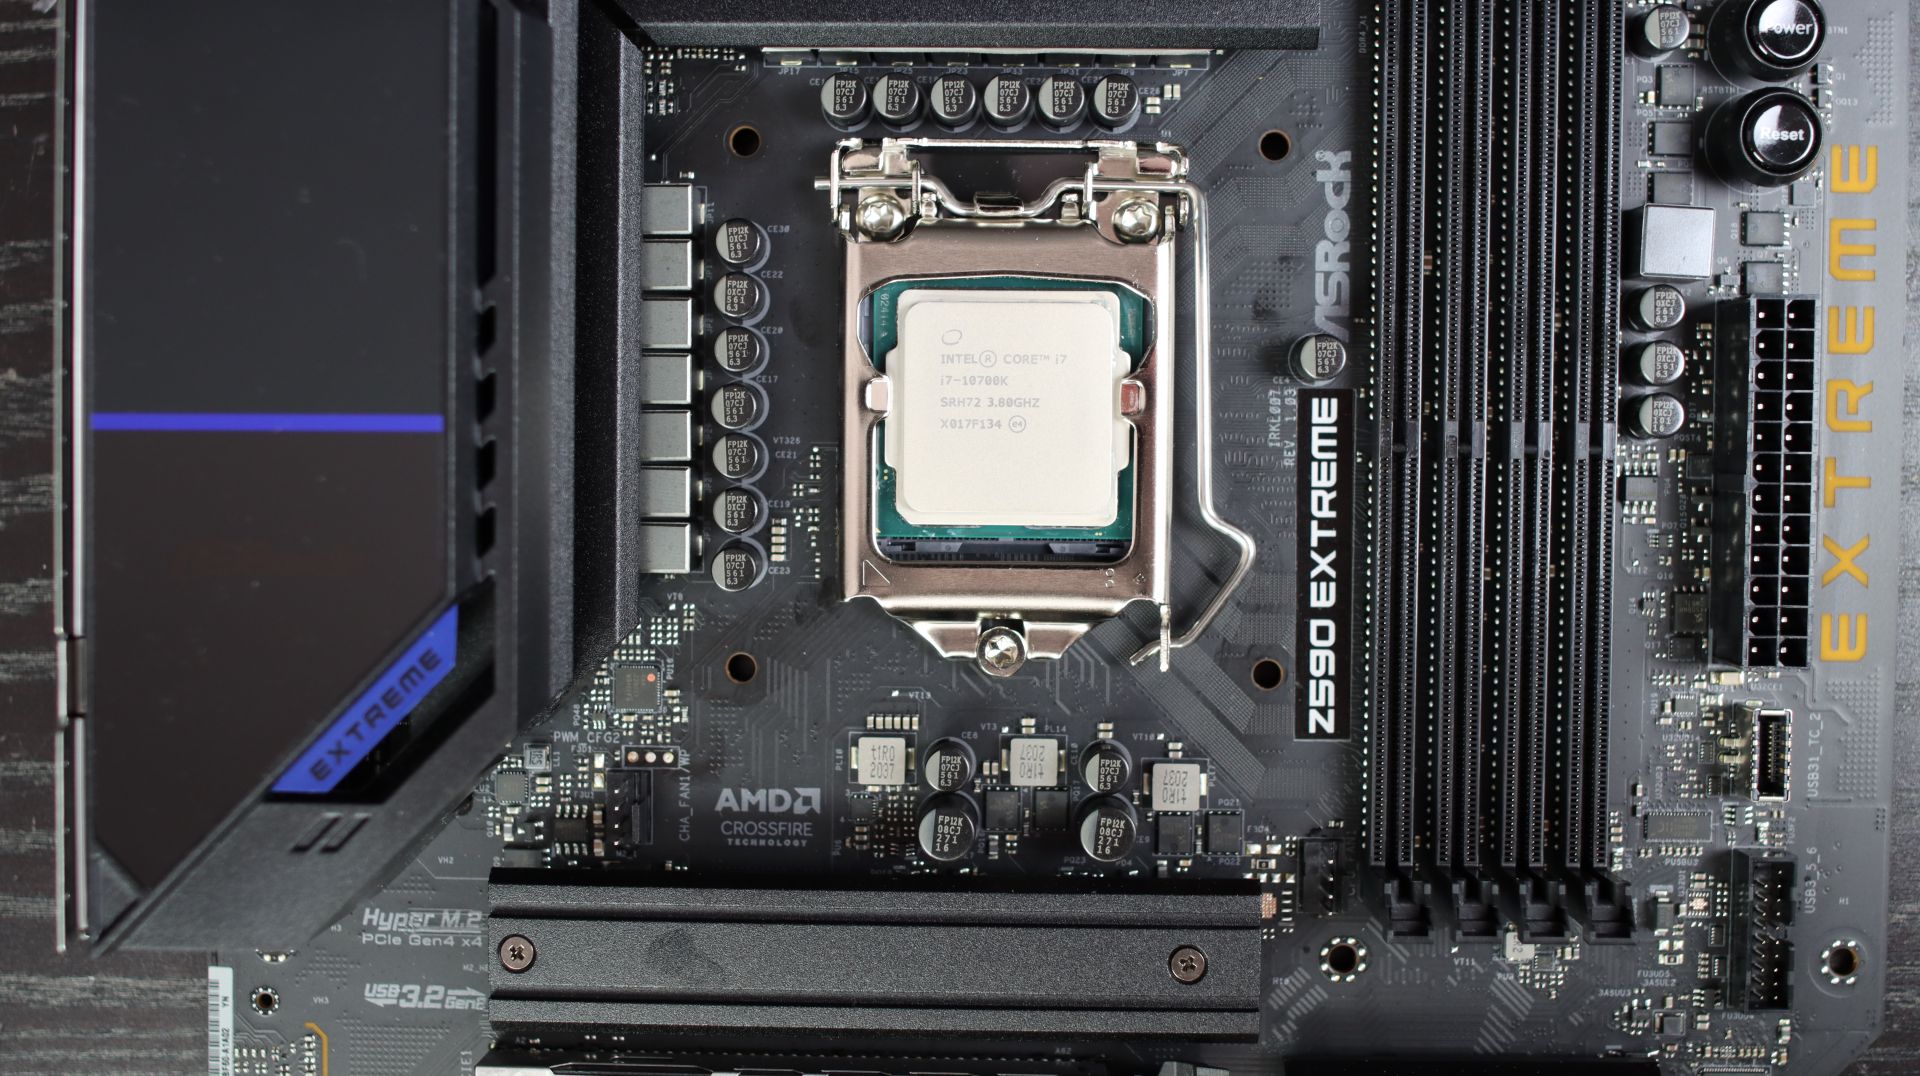
Slide and release the latch holding the processor holder of the Intel socket. Leave the plastic cover on and check out for the side cut outs on the processor and how it goes inside. Be careful with the pins on the motherboard because if they get bent you won't be able to place them back in the proper position or you might break them thus making the motherboard broken. Place the processor in the socket and return the latch holding the processor in the original position. When doing this you will need to use a bit of pressure to place the latch back inside. When everything is placed correctly, the plastic cover will just pop out and you can remove it. Store the plastic cover back inside the motherboard box for a possible warranty replacement since motherboard manufacturers don't accept the RMA without it. This is important.
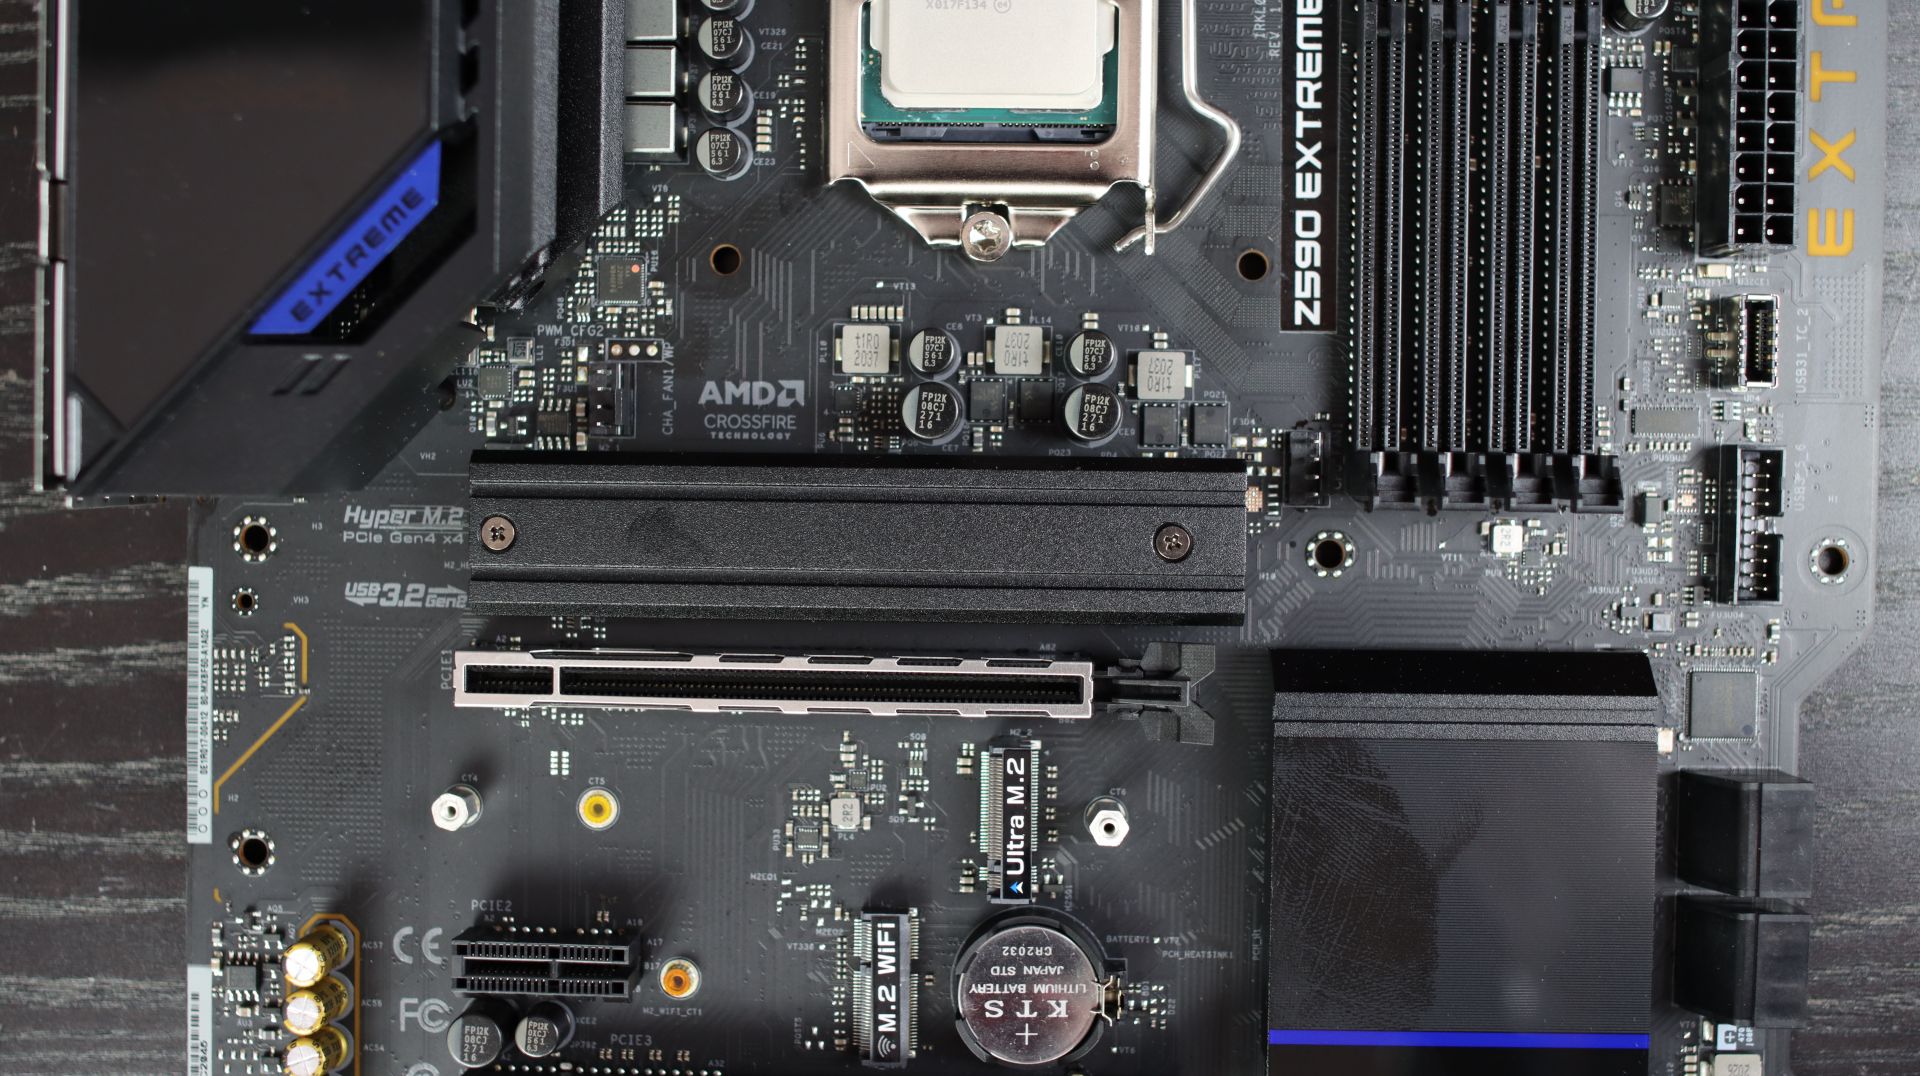
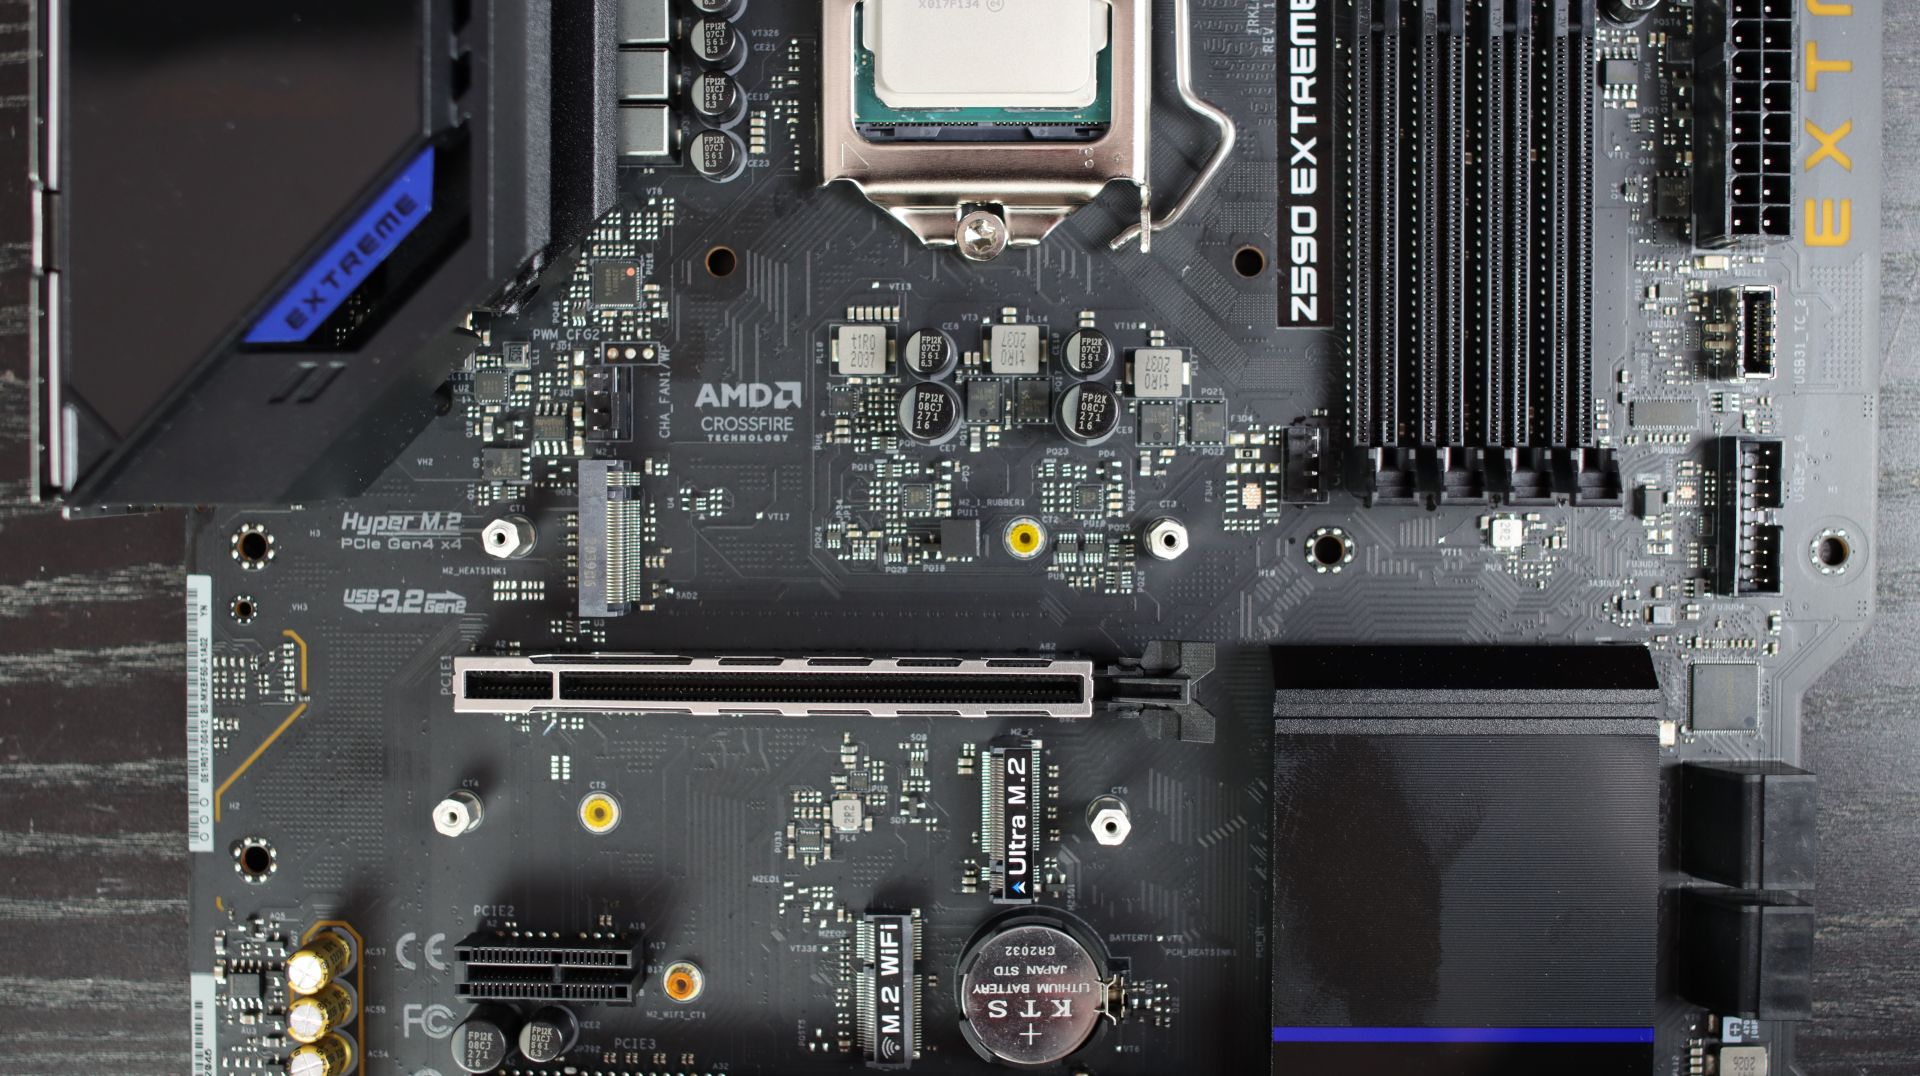
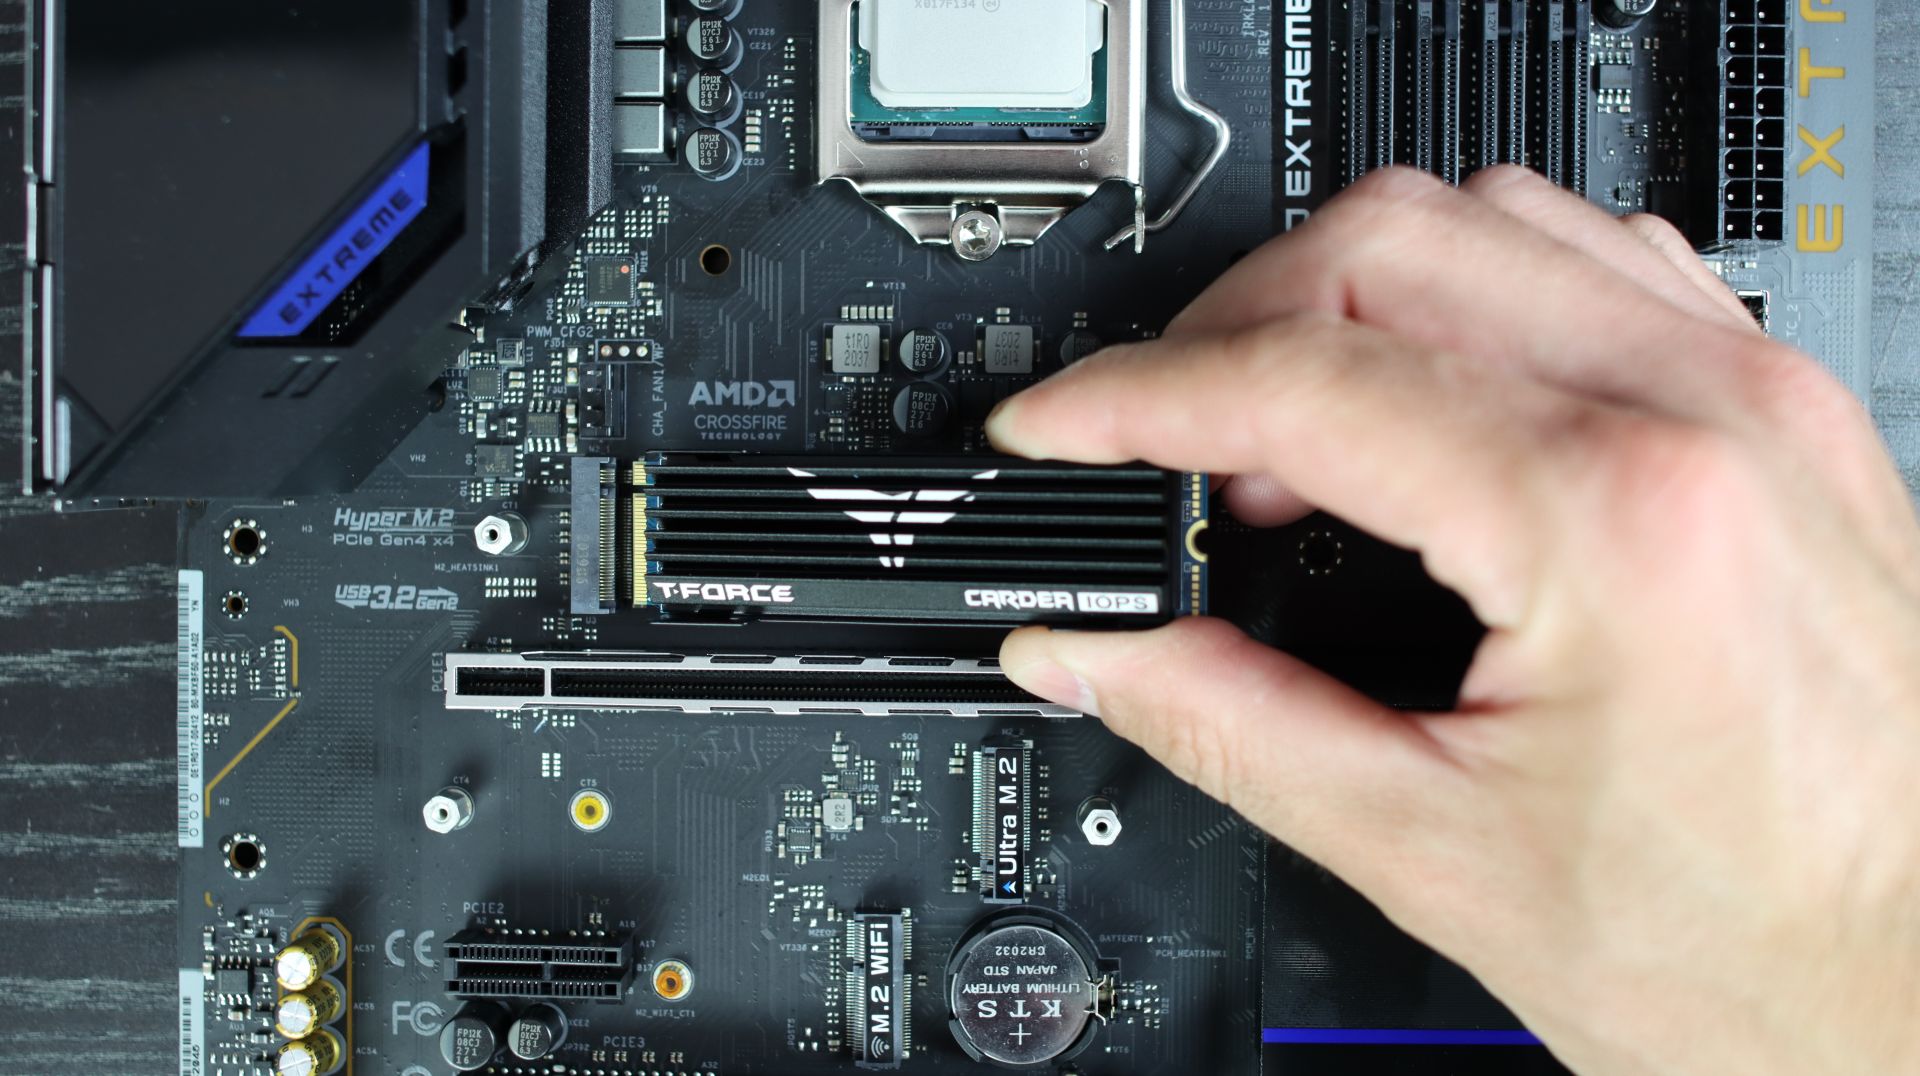
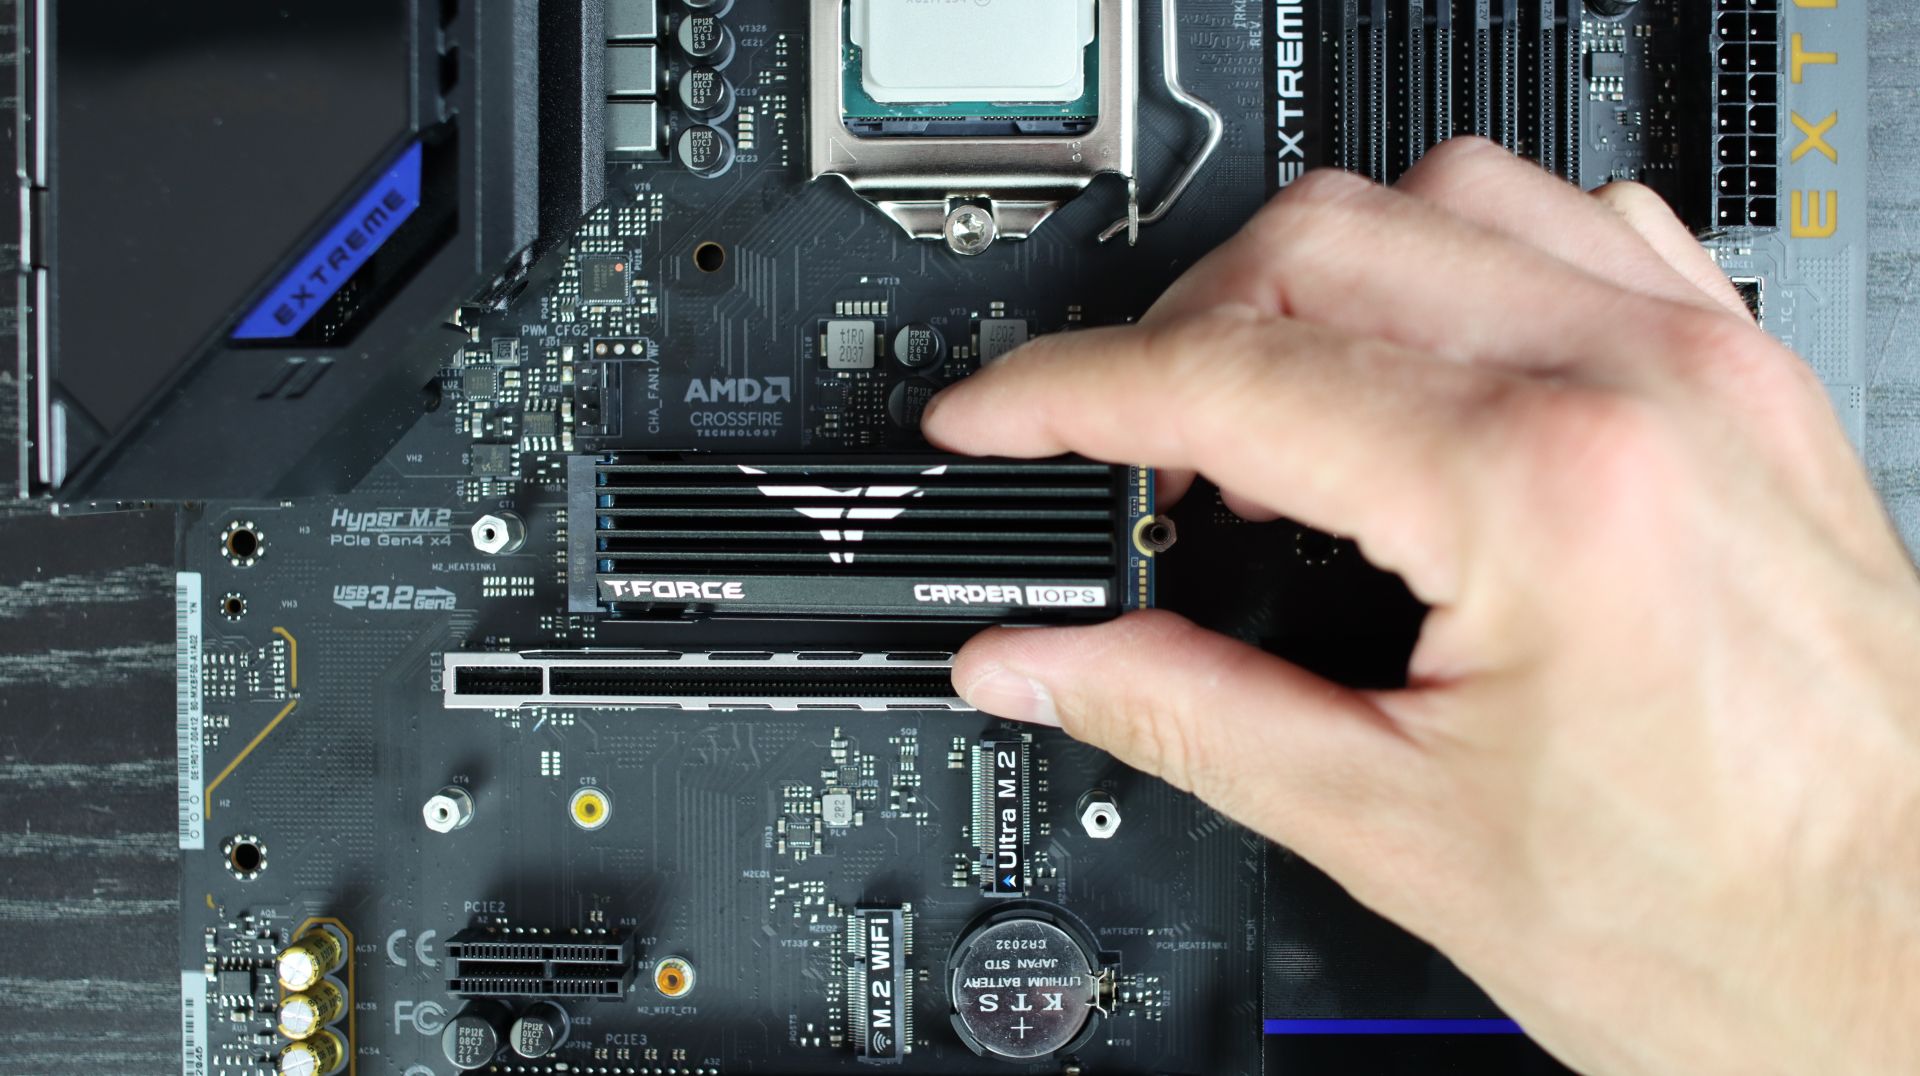
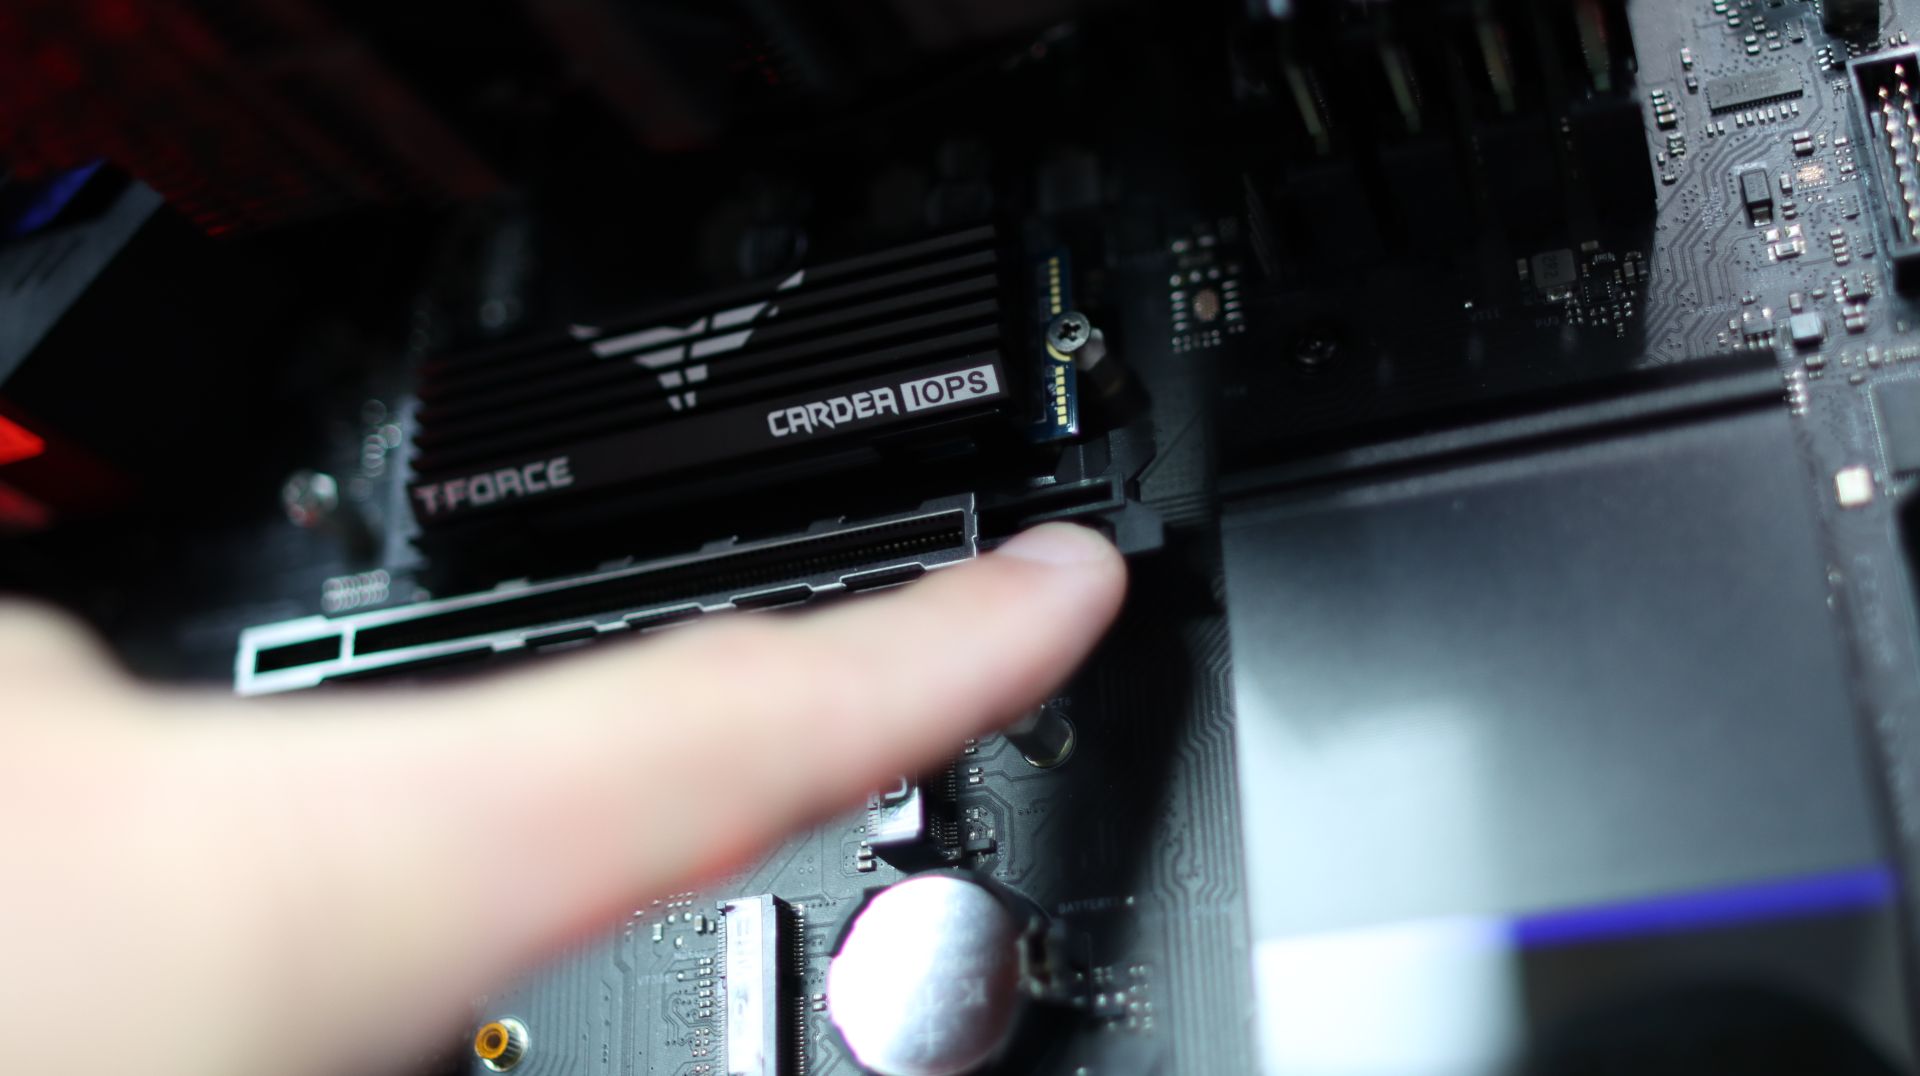
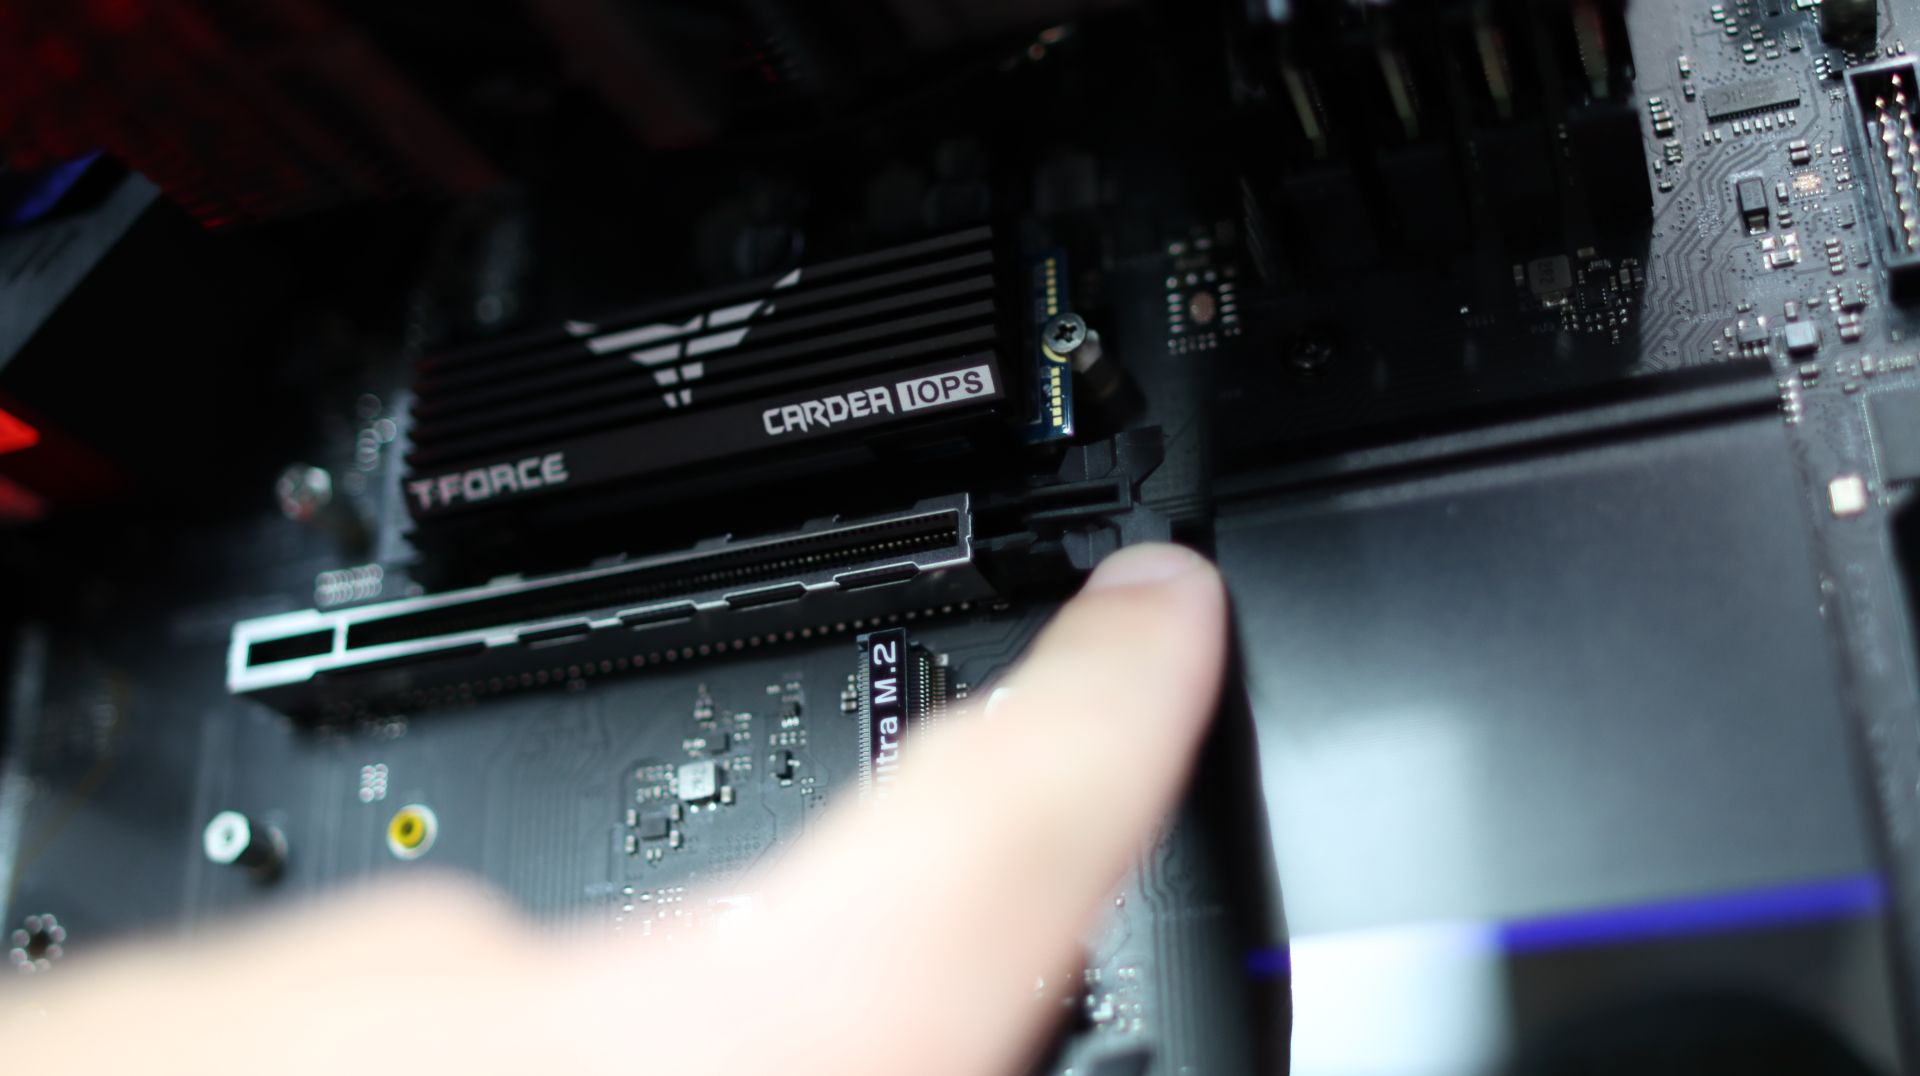
Since on this motherboard you have a passive heatsink, we will remove it since the Team Group T-FORCE CARDEA IOPS has one of its own. Untighten the screws holding the passive heatsink and place the NVMe SSD accordingly to the pins on the motherboard M.2 socket. Pictures for reference.
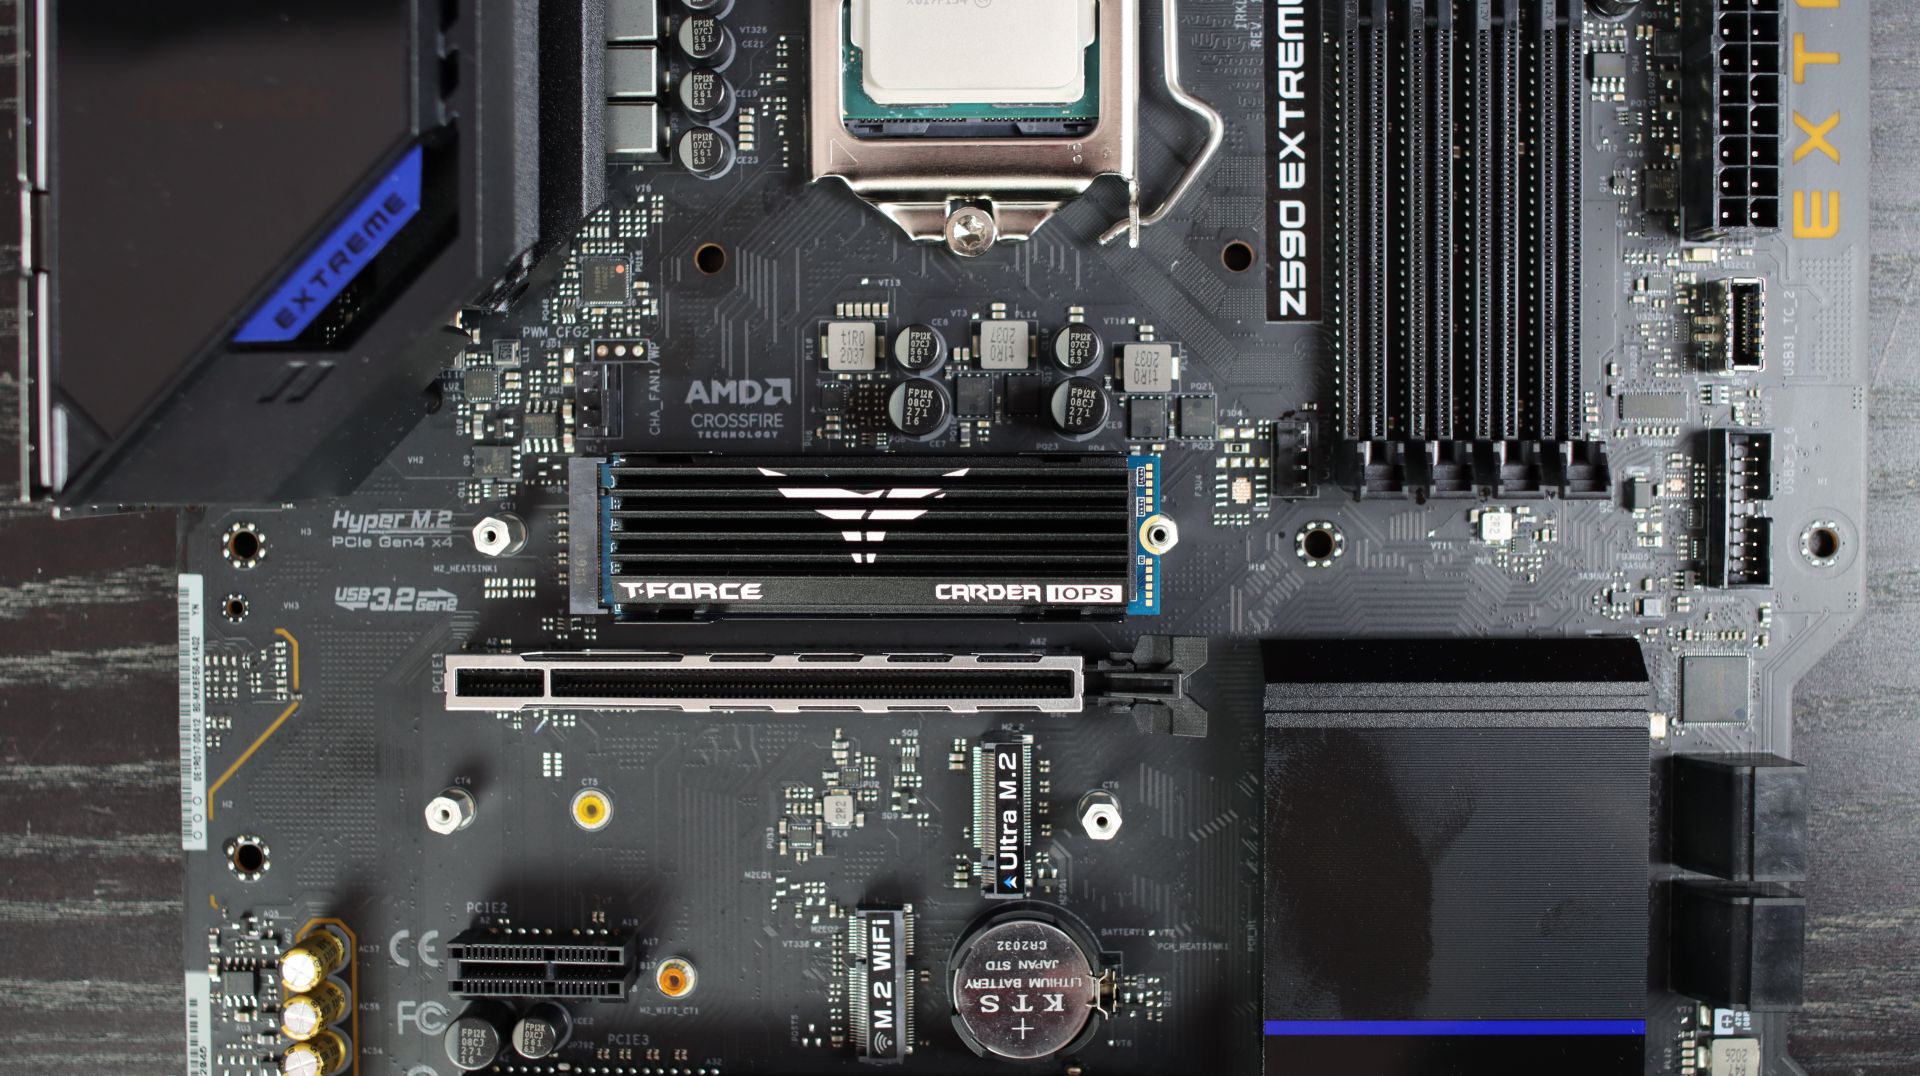
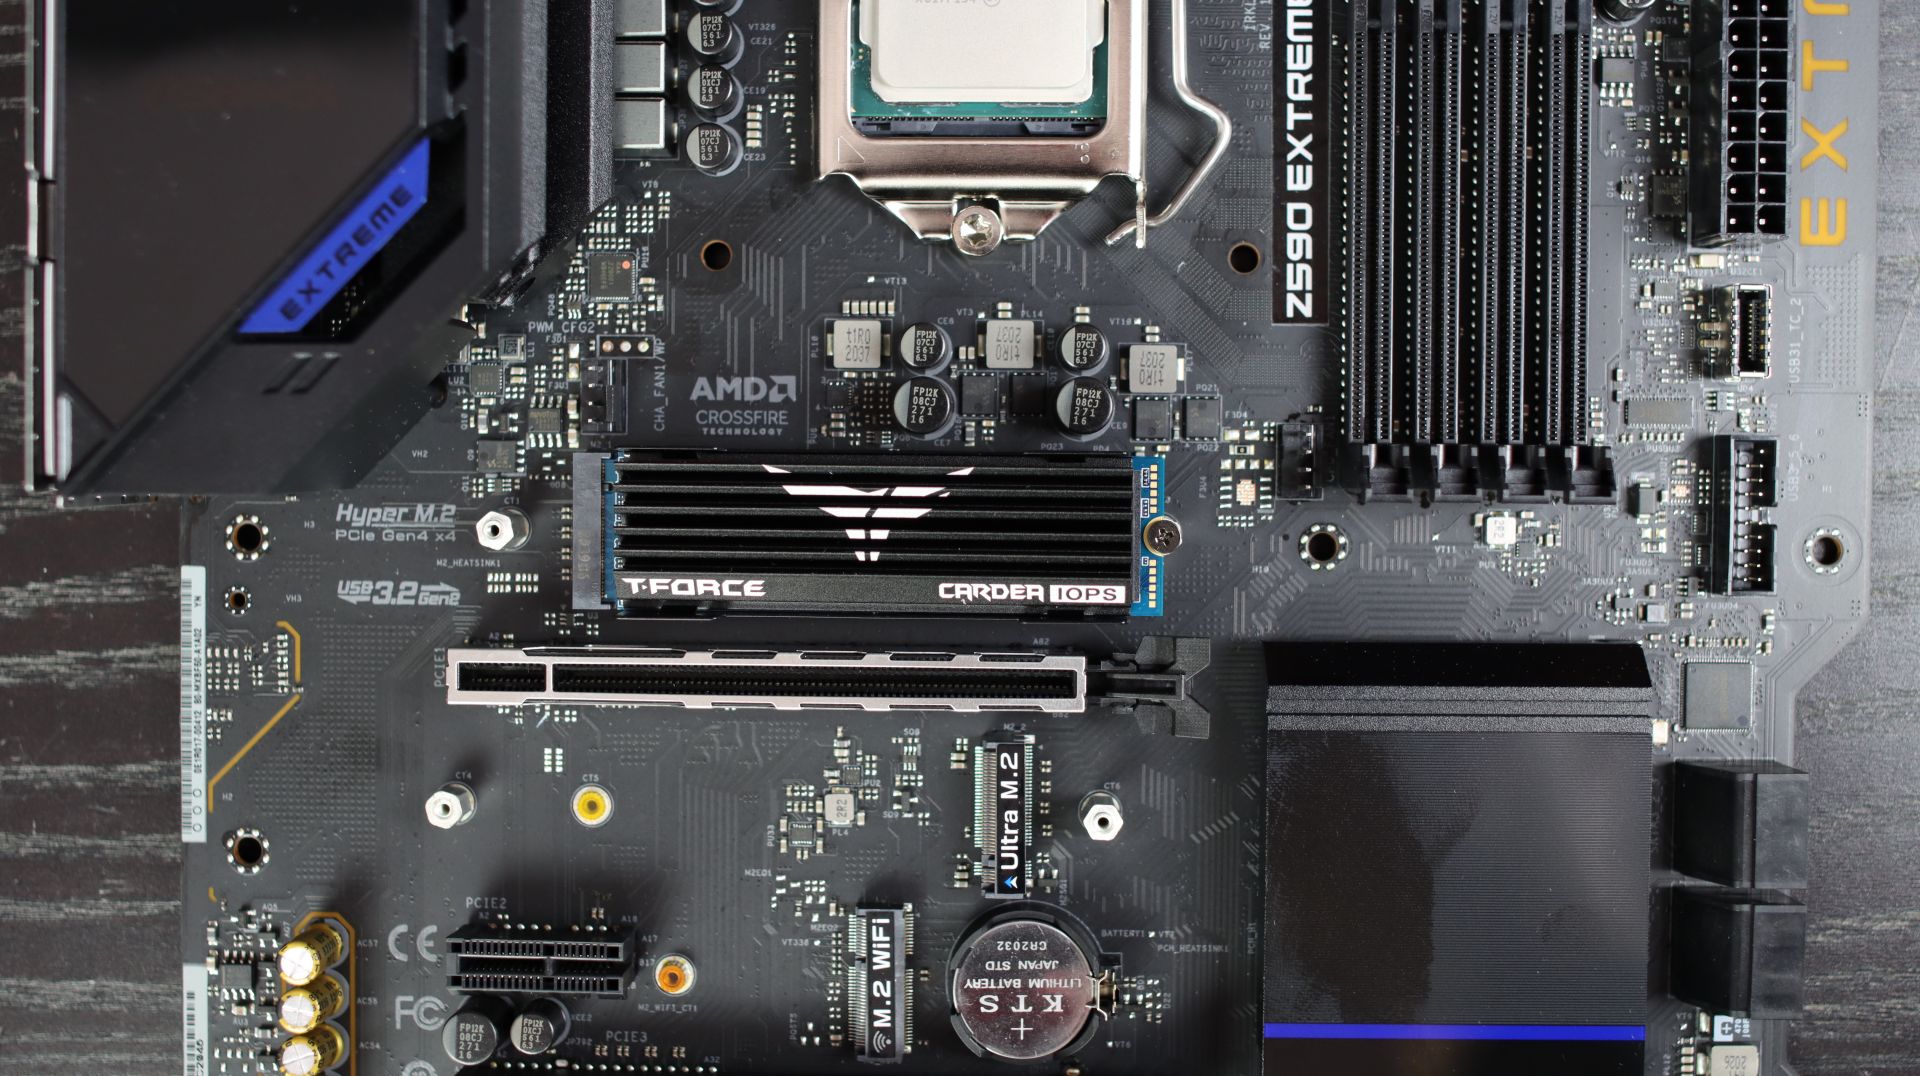
Then tighten the screw on the motherboard that will hold down your NVMe M.2 SSD.
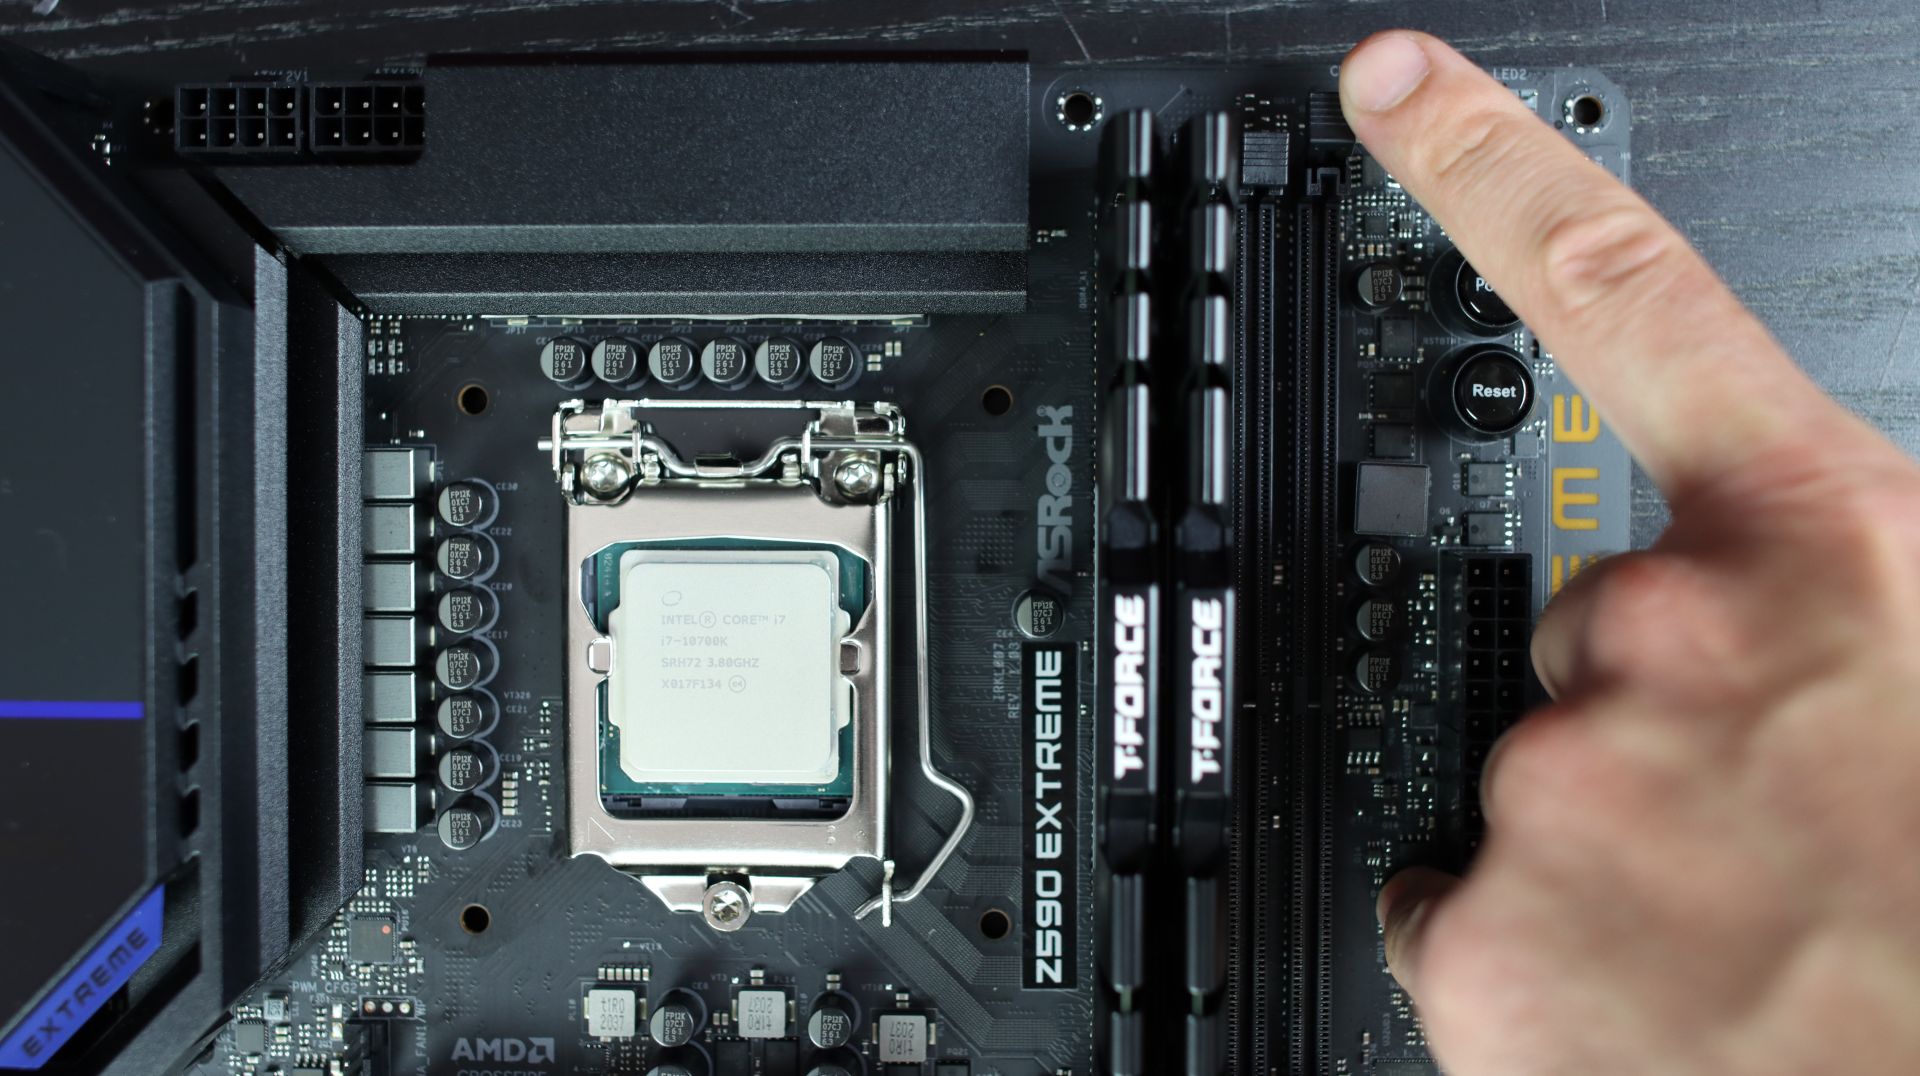
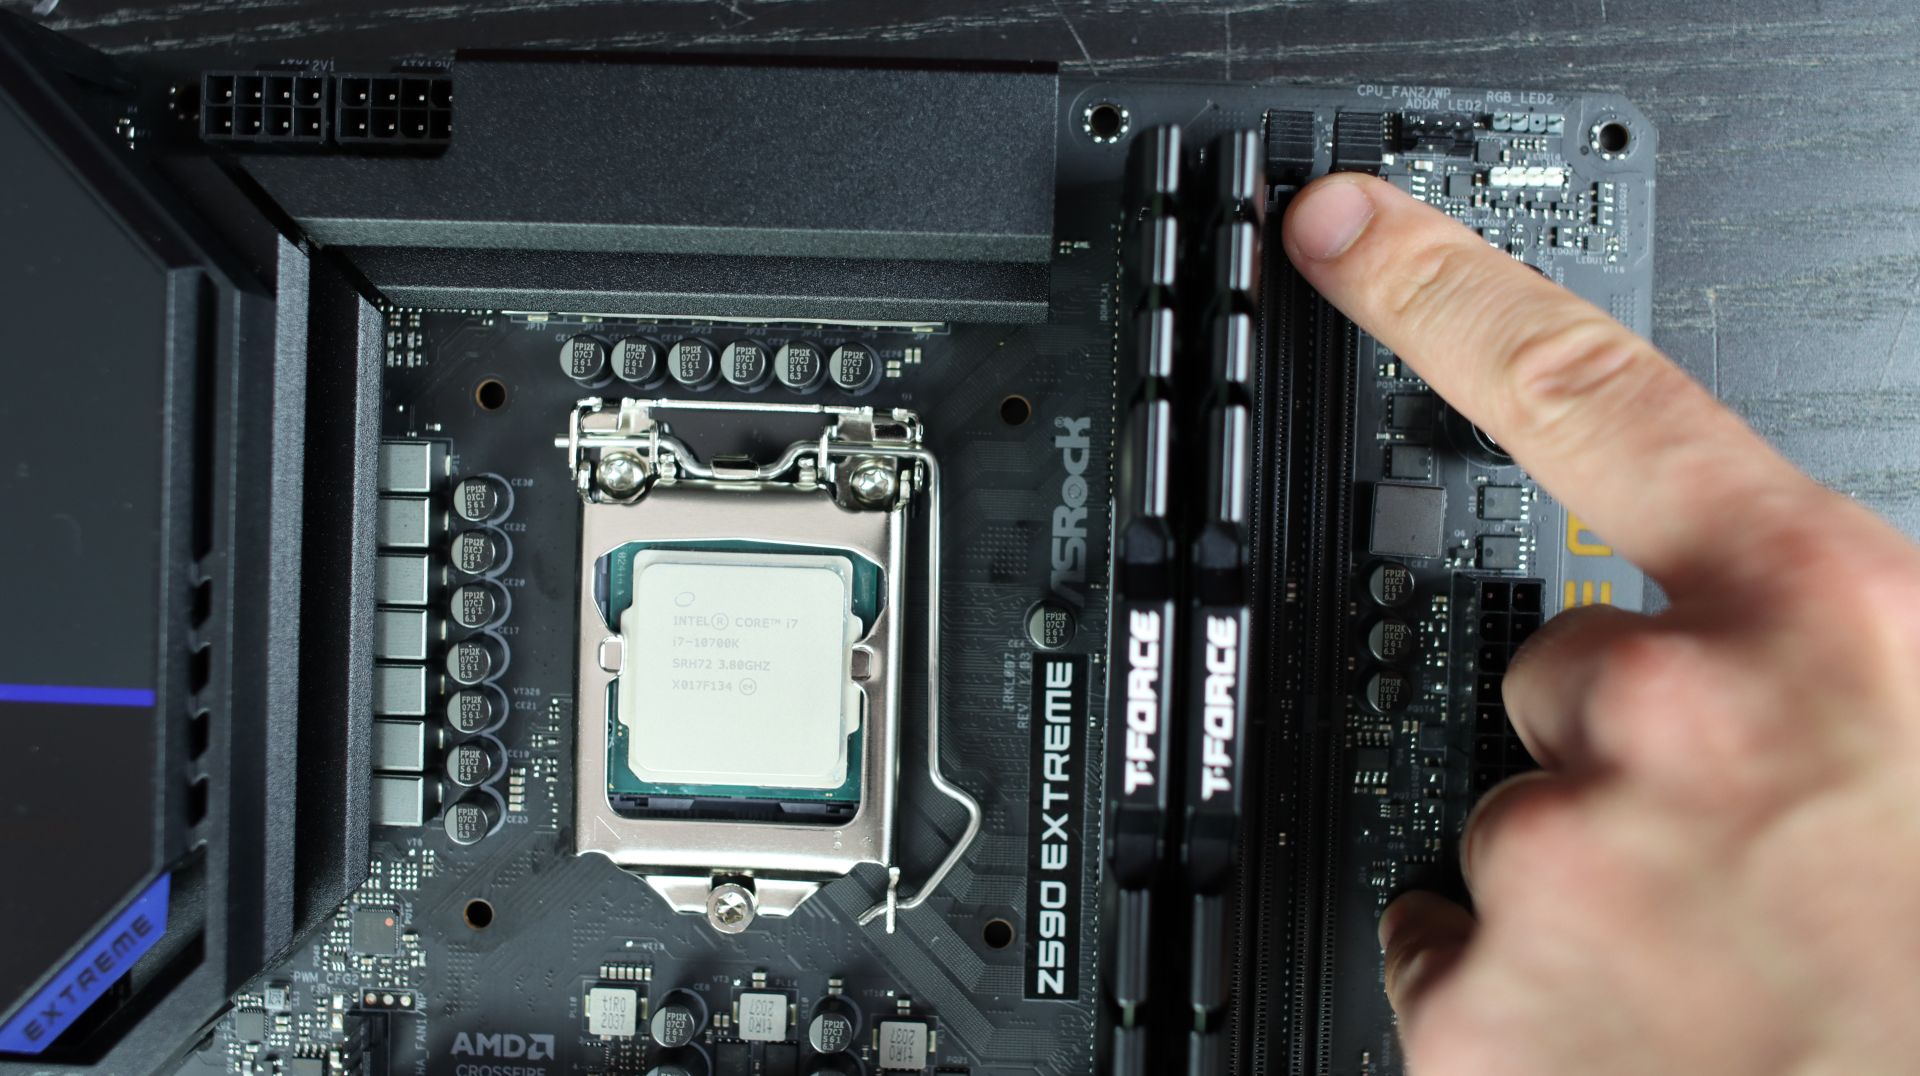
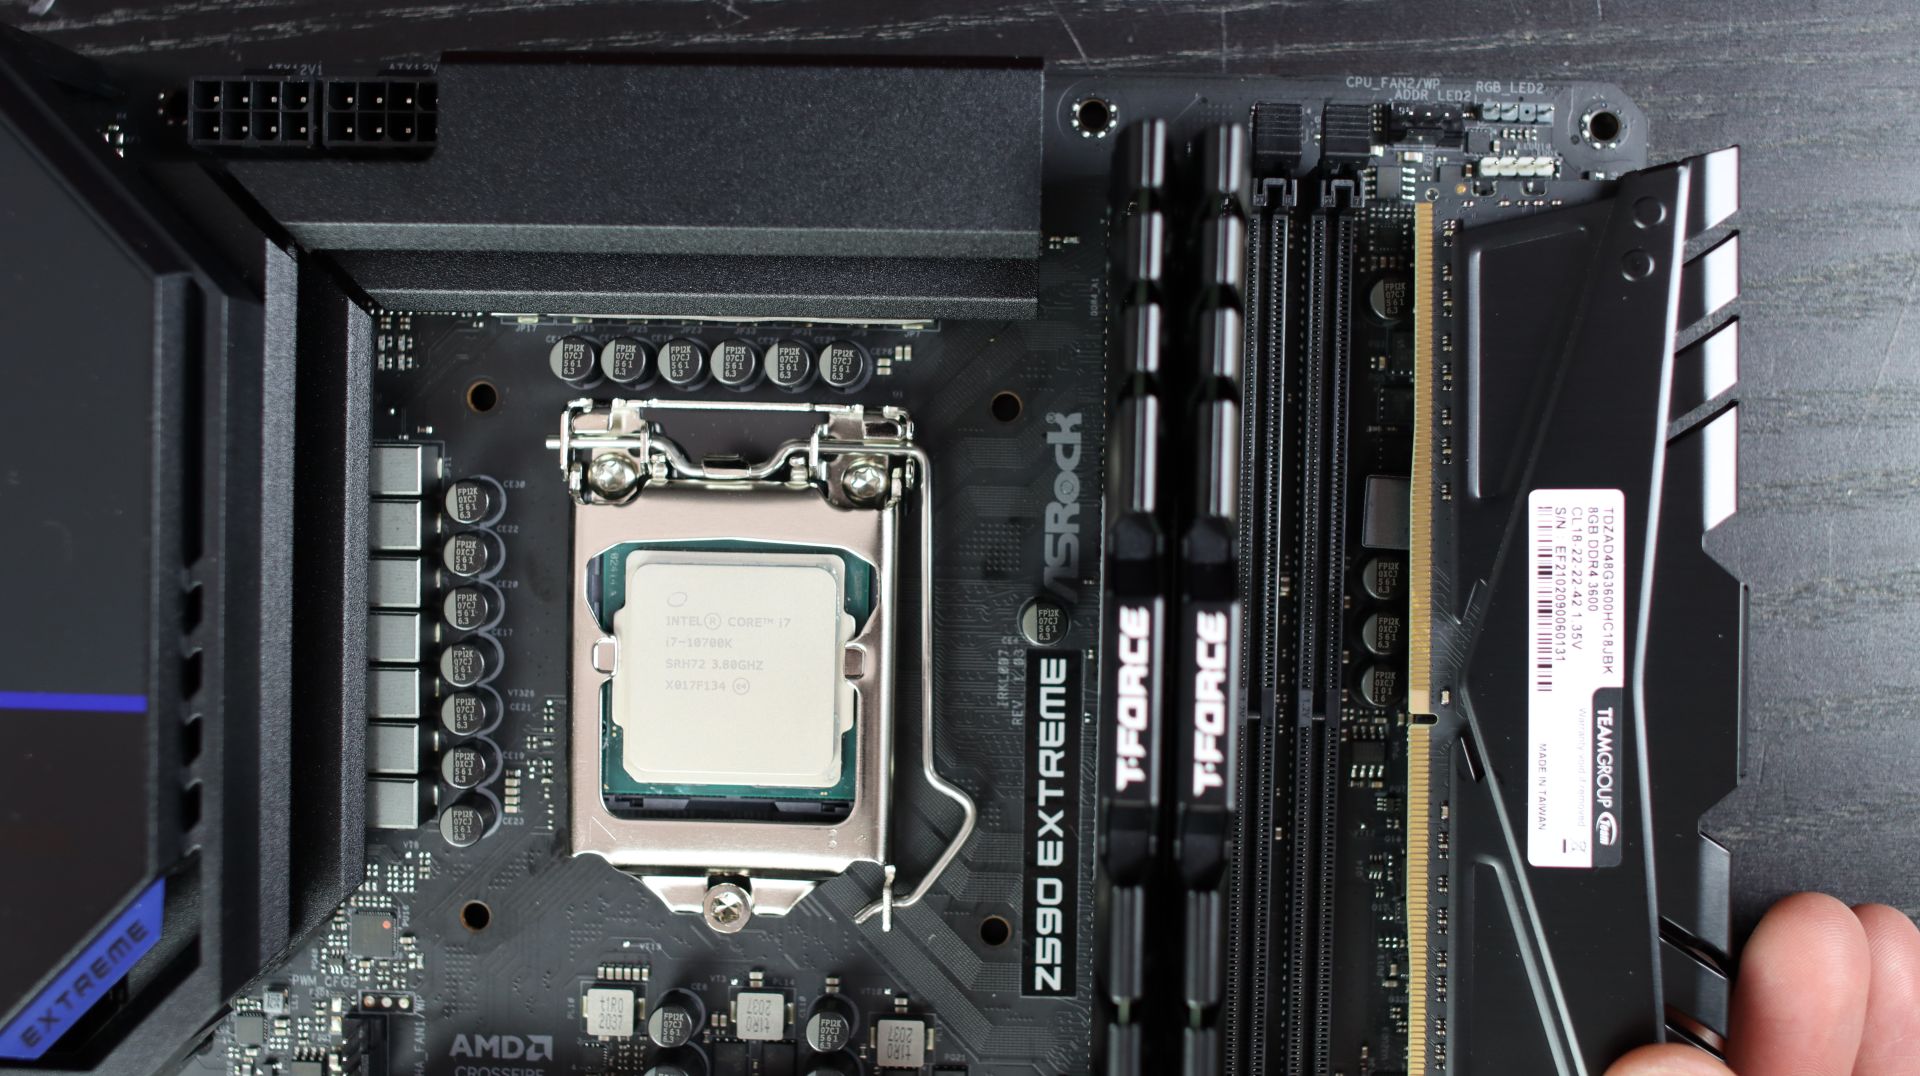
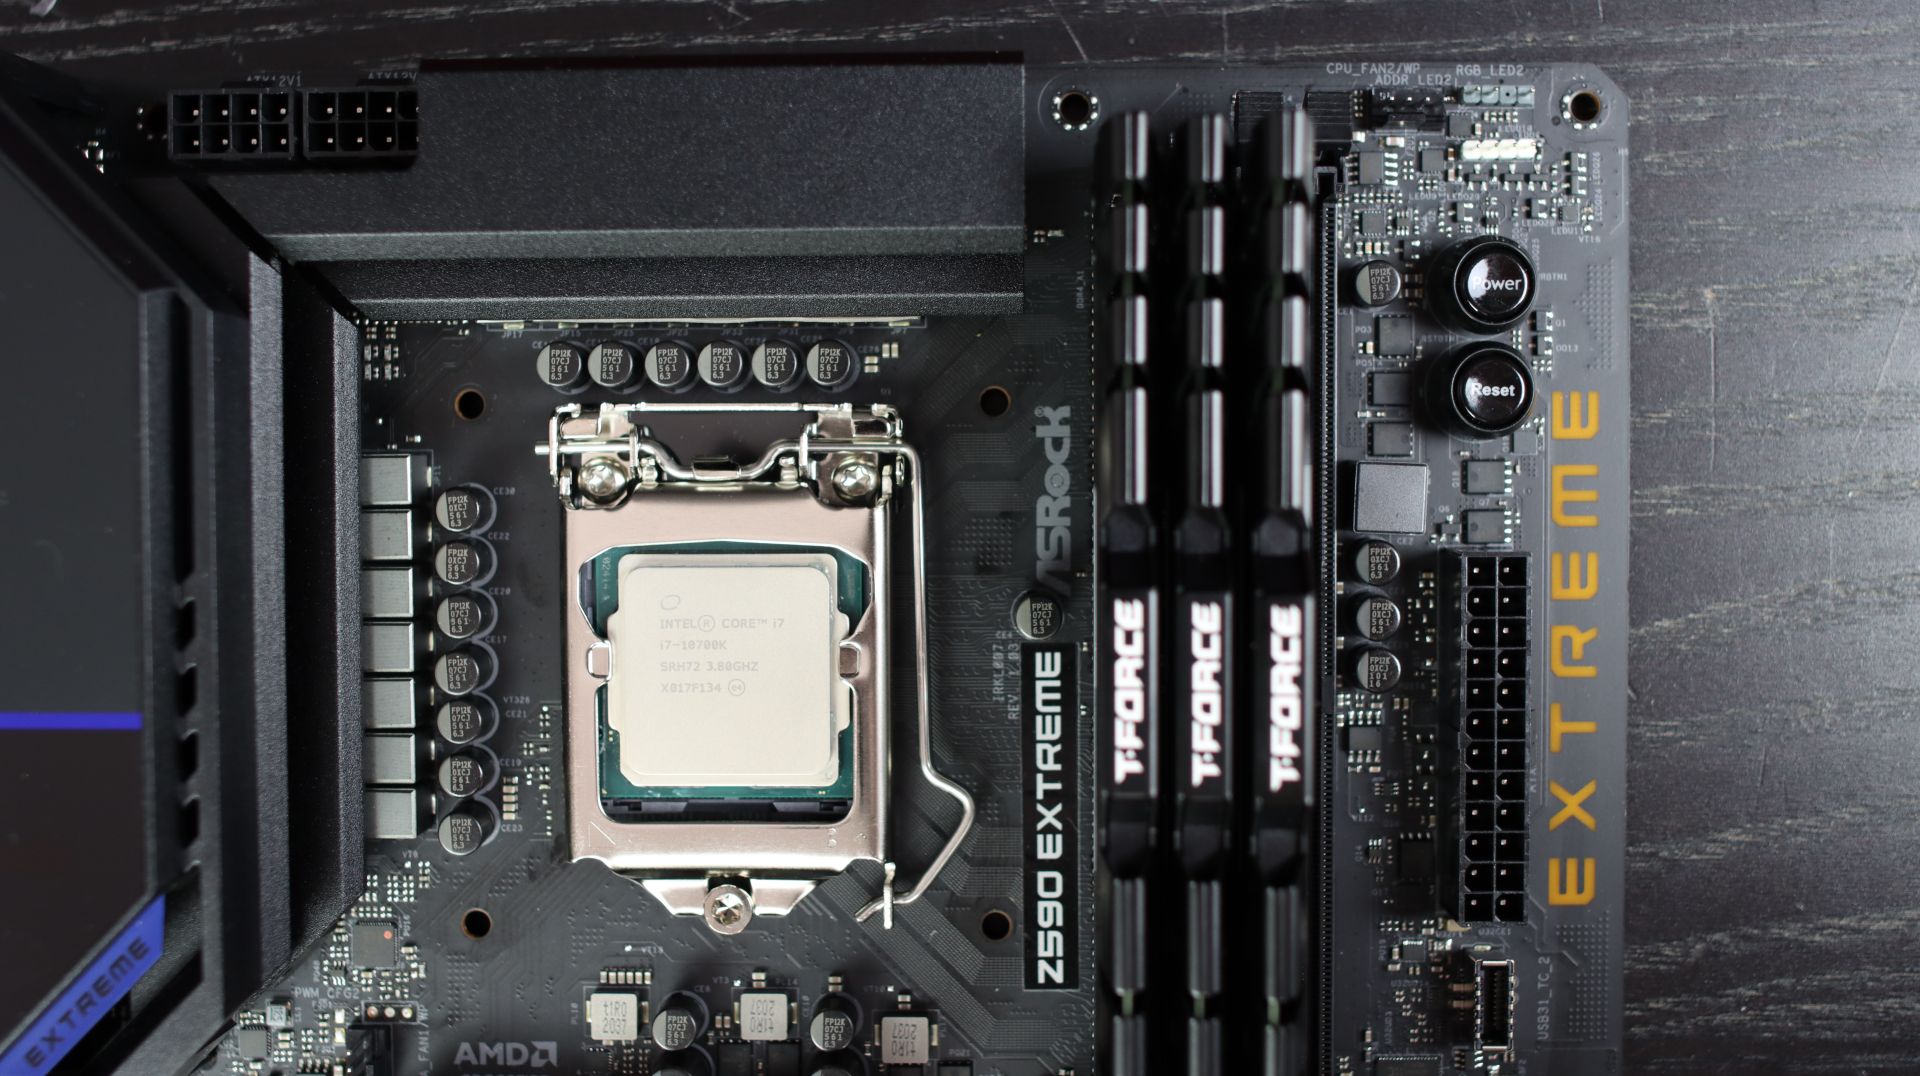
Next is the RAM placement. Be sure to check where the cut out on the RAM connector is and where it is supposed to go inside the motherboard. Release top and bottom or just top latches that usually hold the RAMs so you can place the RAMs on the motherboard. Pictures for reference.
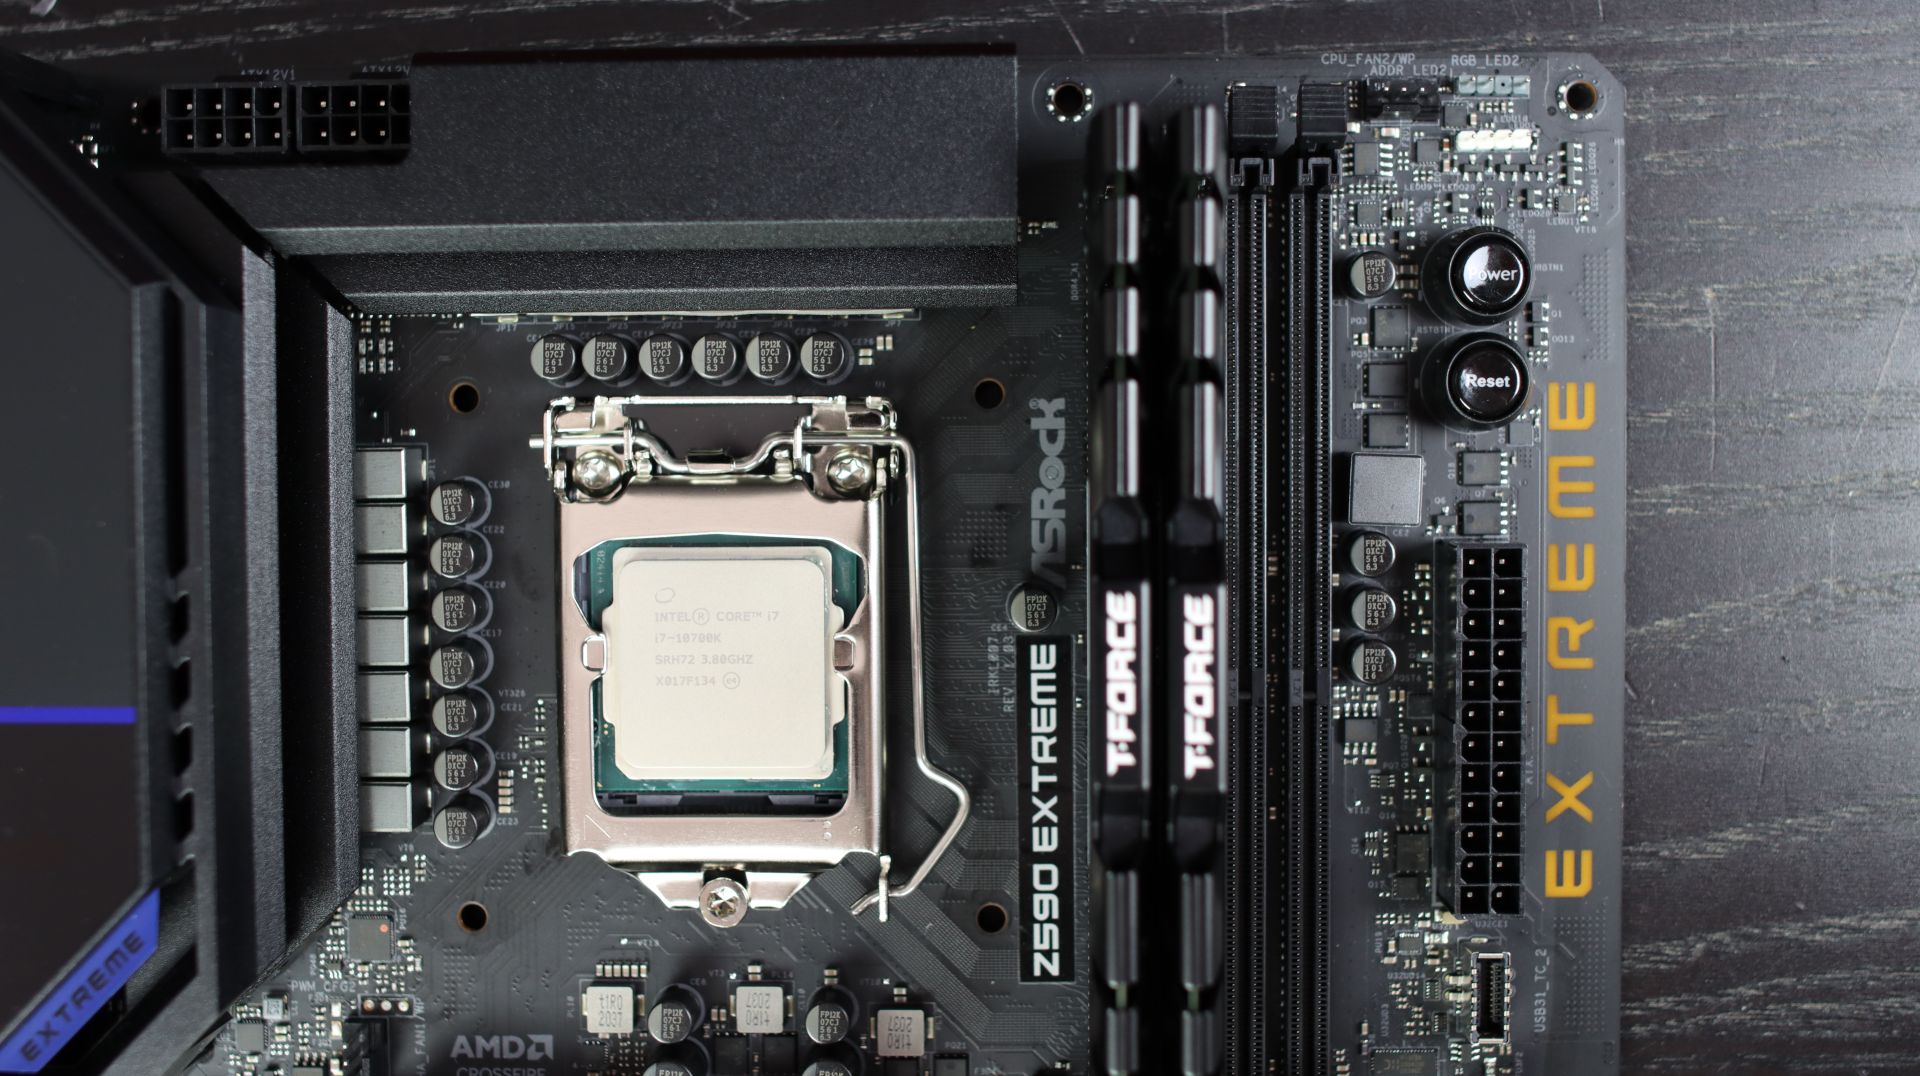
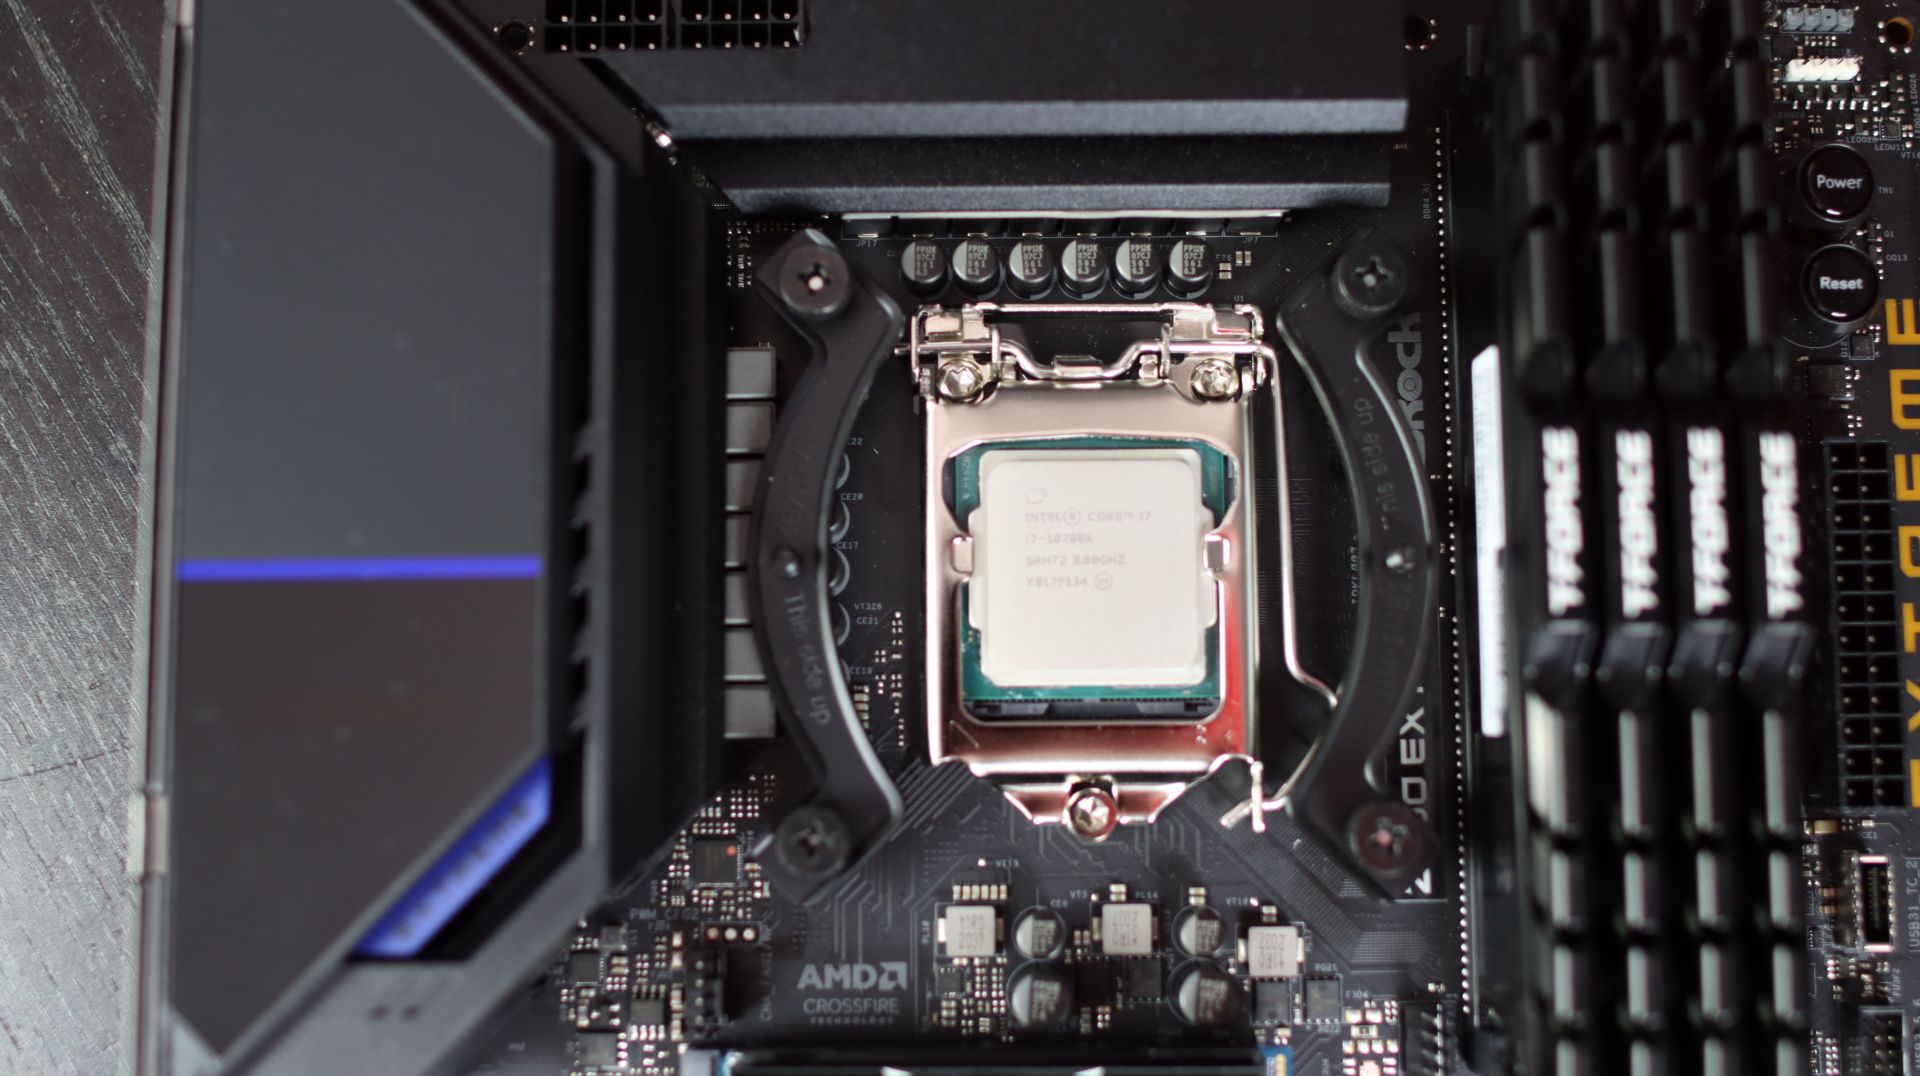
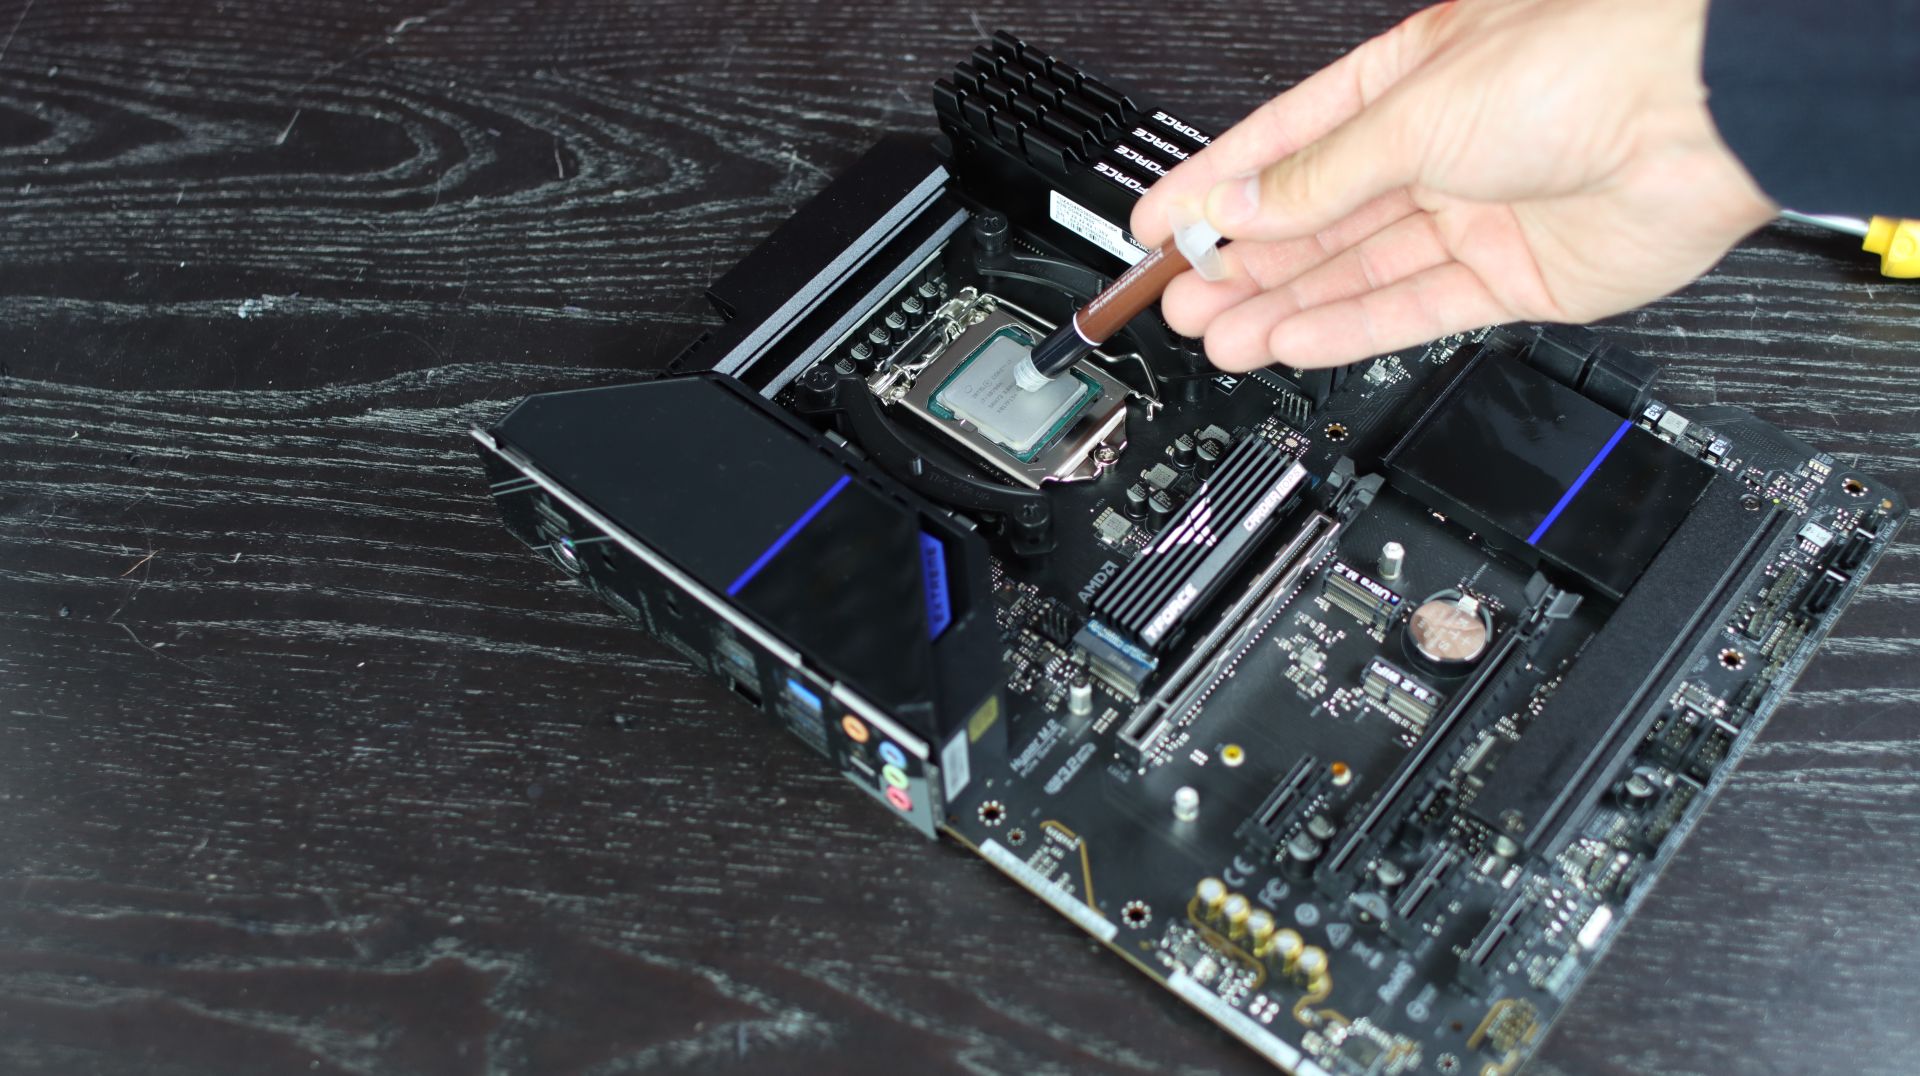
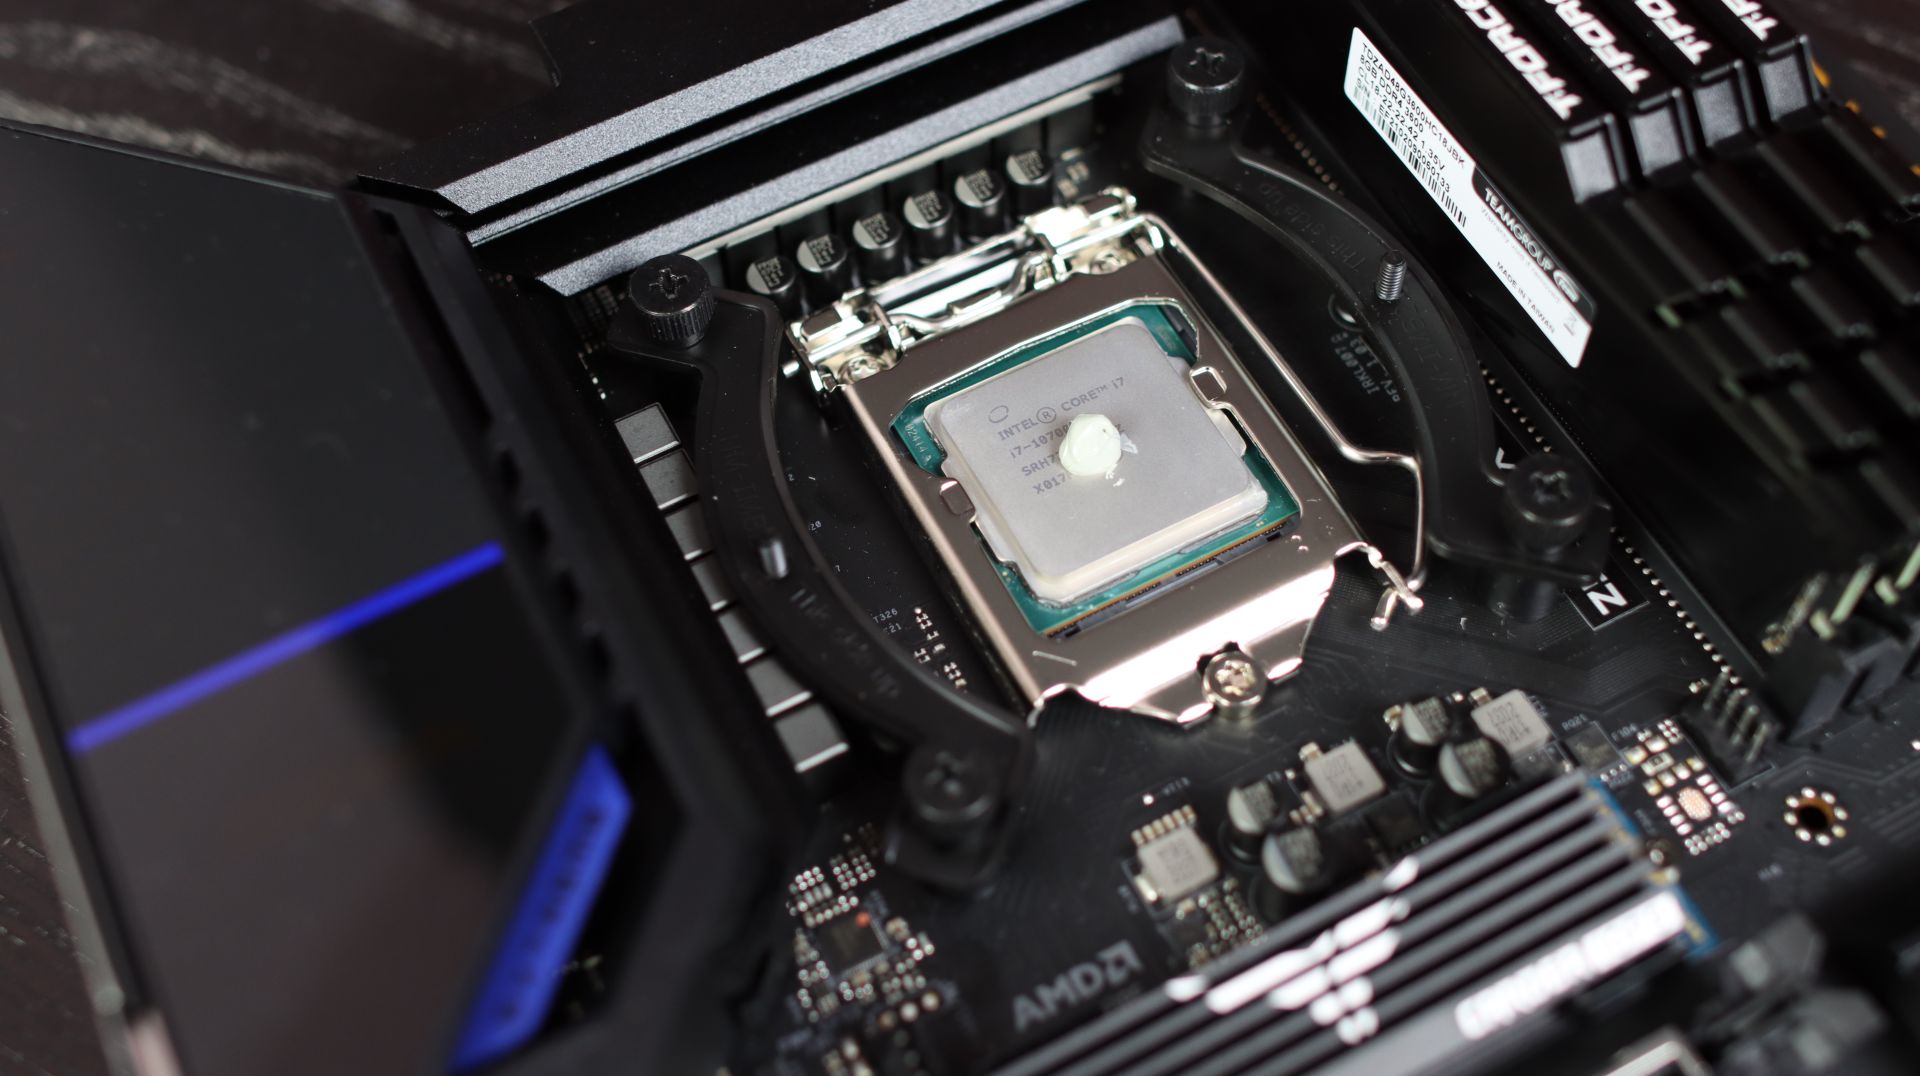
Now it is time to place the cooler, but before that we need to place the backplate at the back of the motherboard and then a pea size amount of thermal grease or paste on the processor in the middle of it.

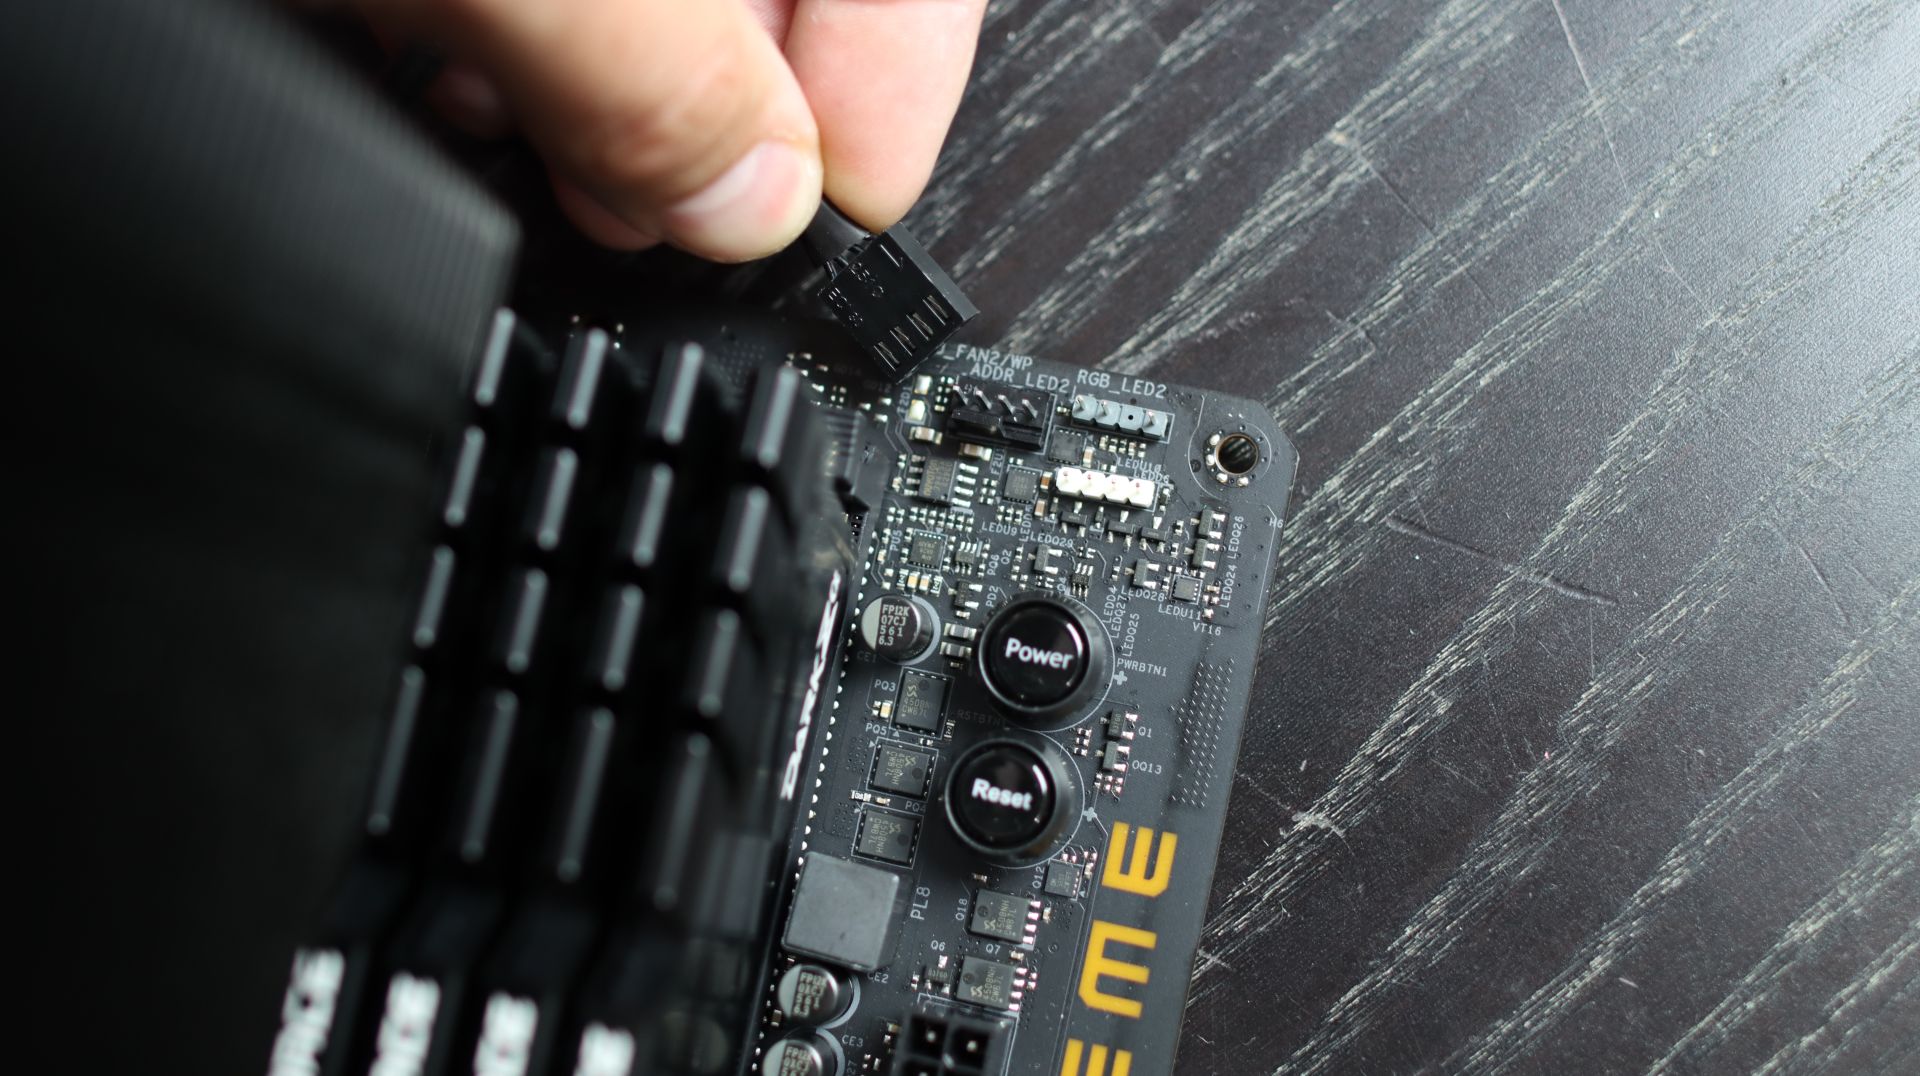
Since every processor tower cooler has a different way of placing the mounting brackets on the motherboard, please refer to the processor tower cooler instruction manual on how to place them there and of course how to place the processor cooler on the processor. One important tip, diagonally tighten the screws on the processor cooler or if you have two screws like on this Noctua NH-D15 chromax.black, tighten them evenly so the cooler doesn't pop out. Connect the PWM header to the CPU FAN header on the motherboard.
Check if your case has all the standoffs for motherboard mounting placed inside.
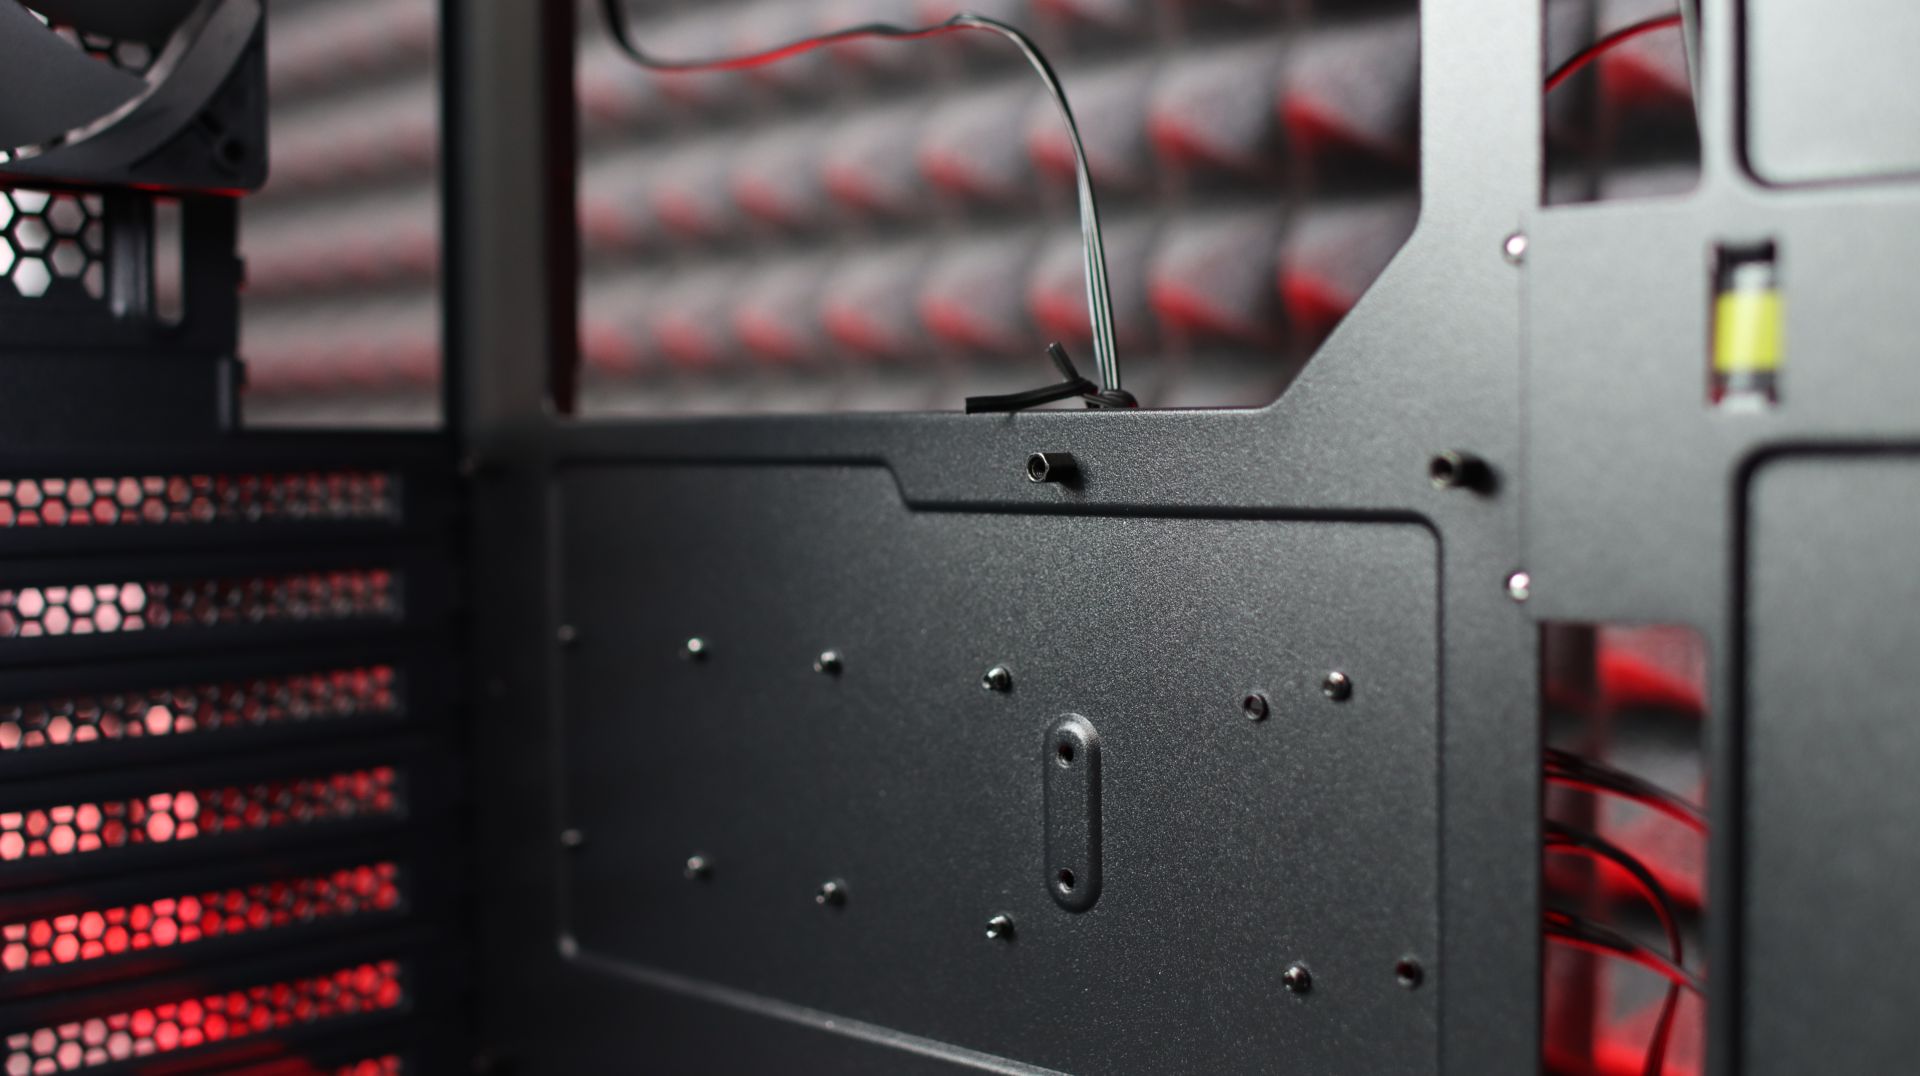
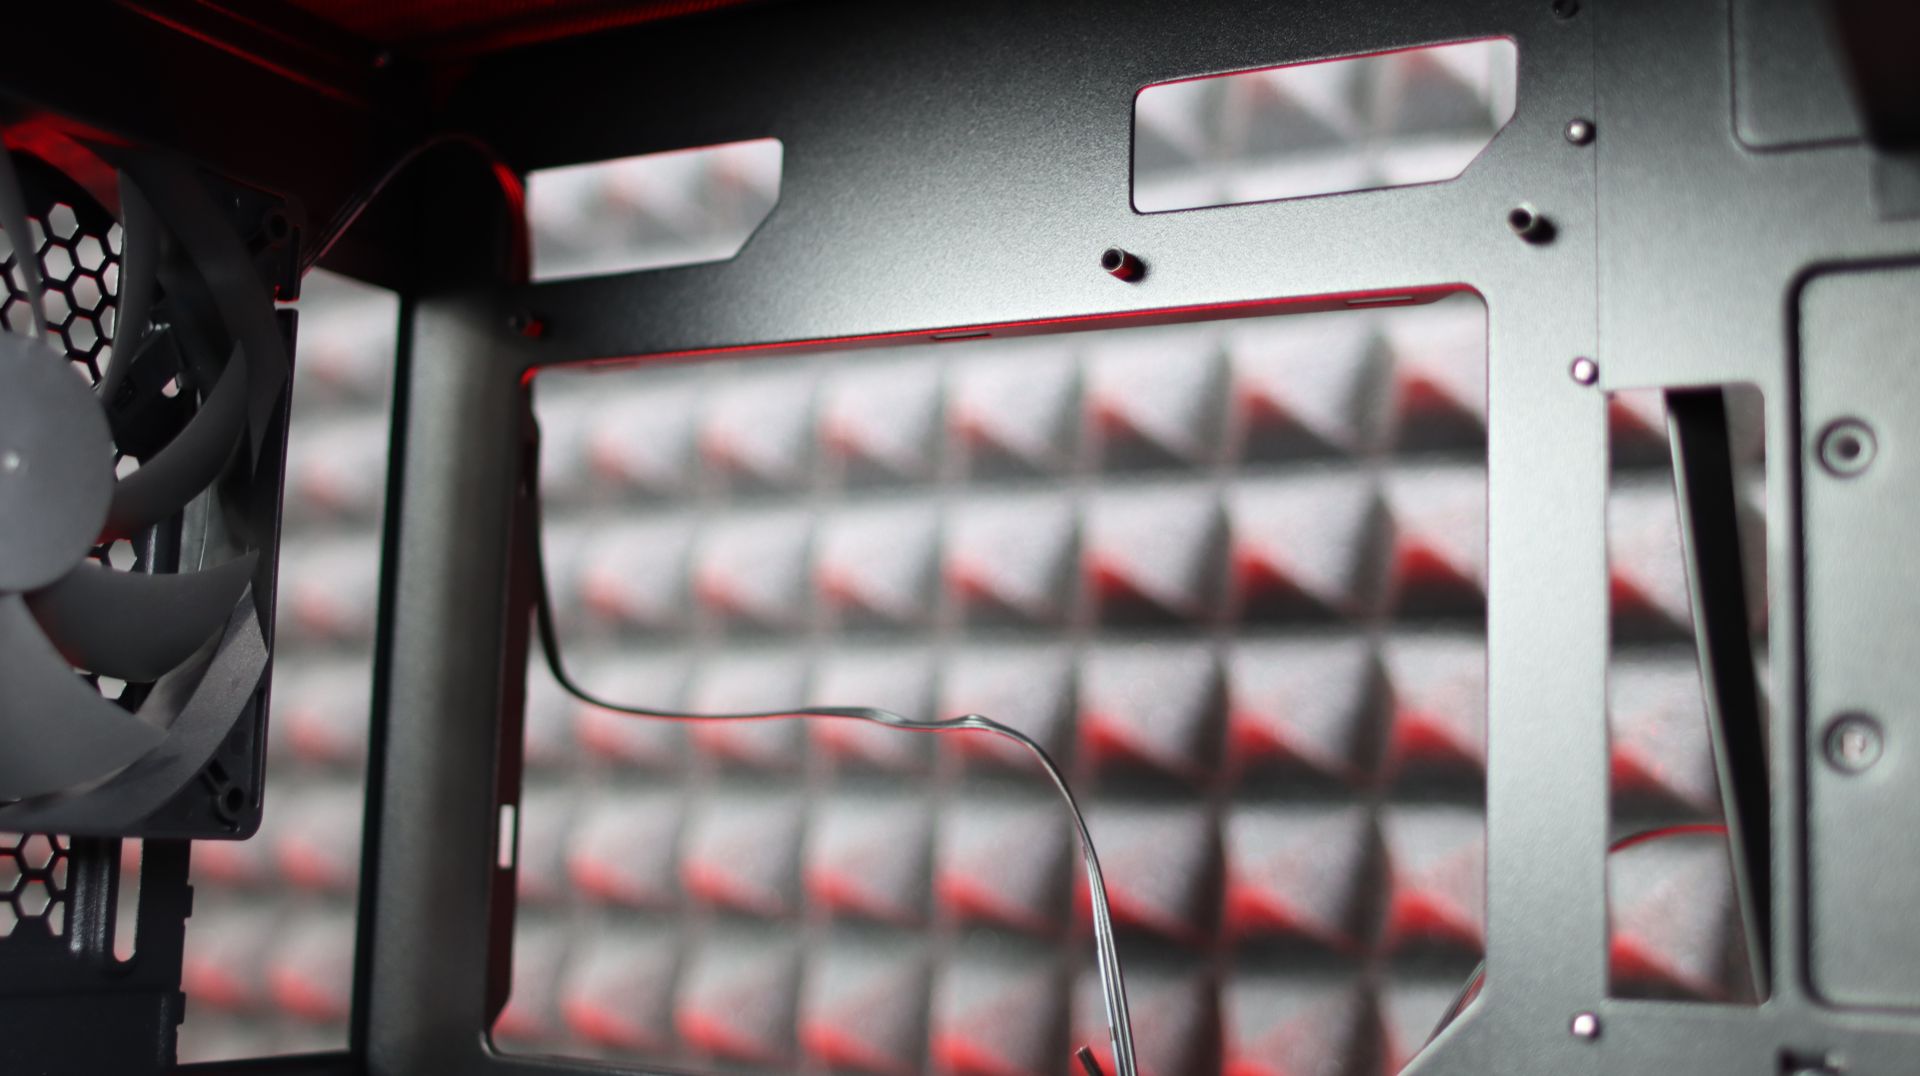
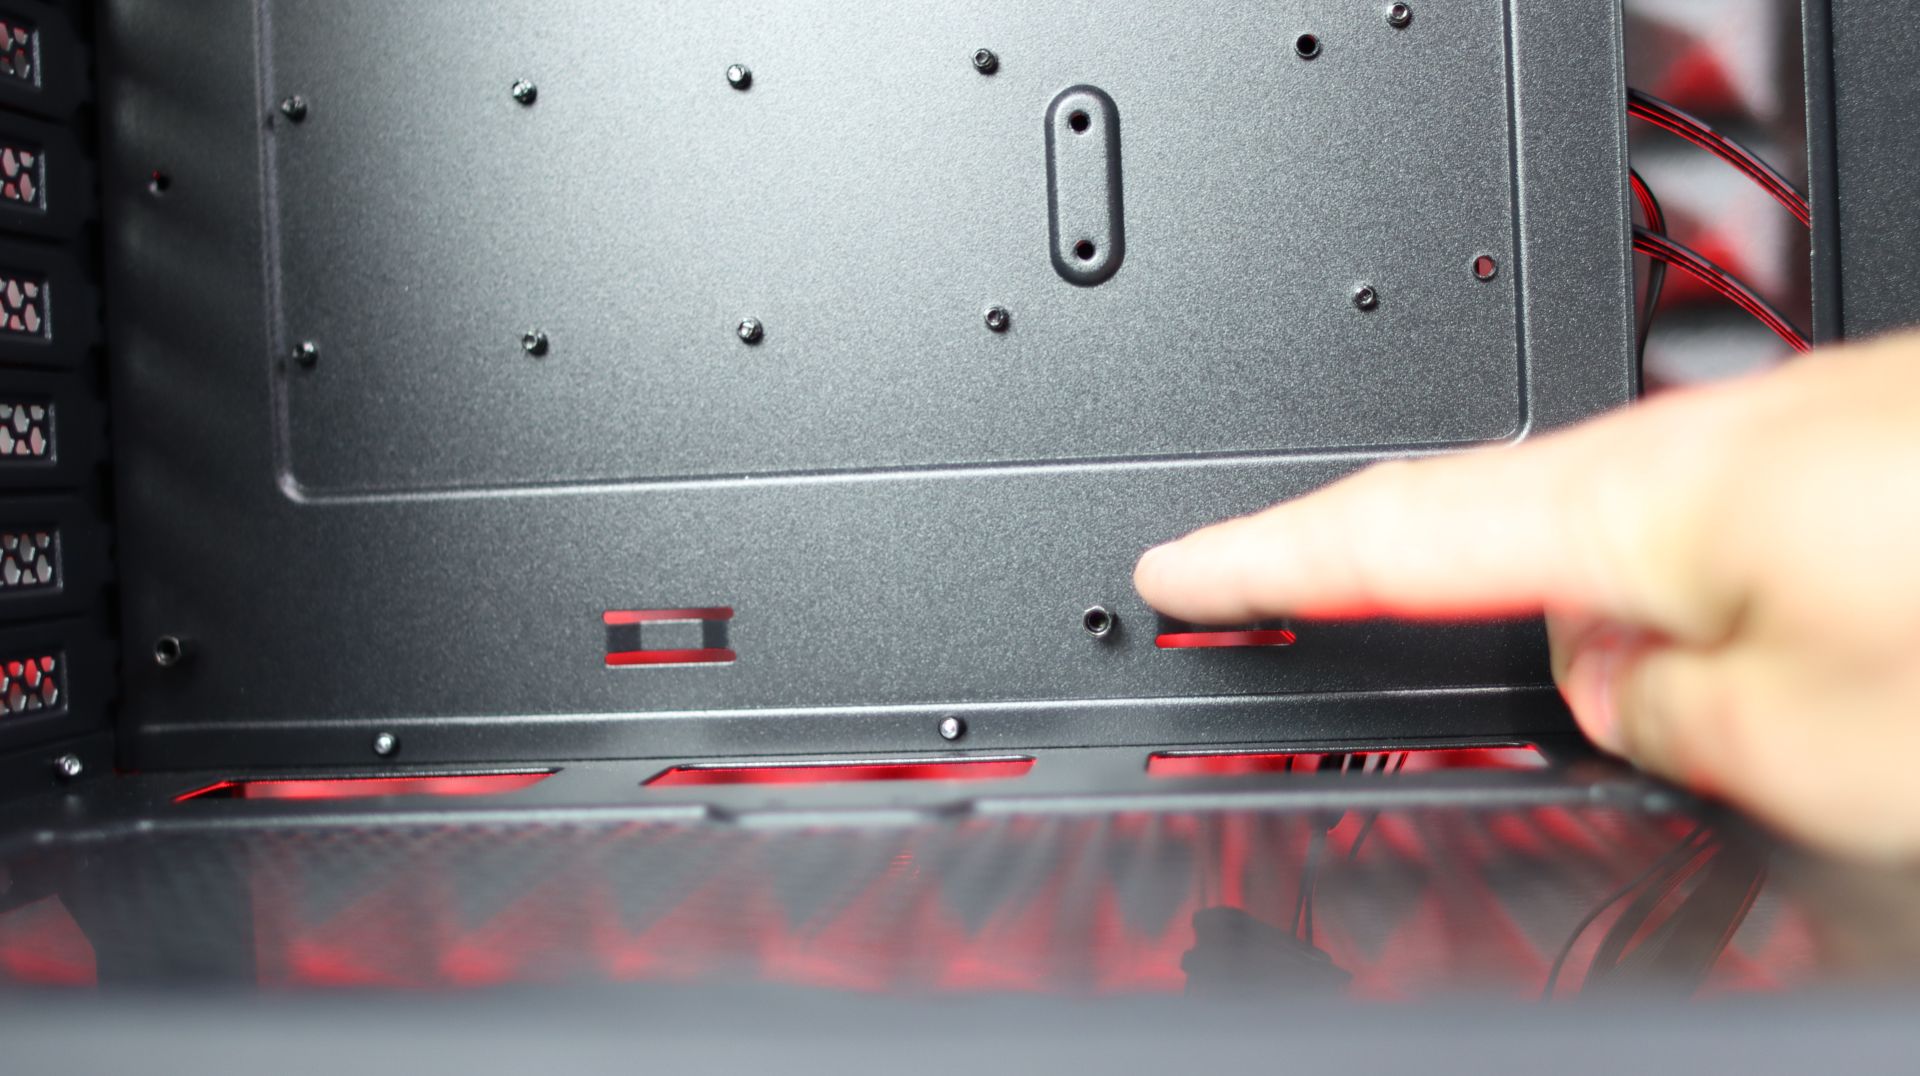
If they are few missing, use the case accessory box and place them according to the size of your motherboard (ATX, microATX or mini-ITX).
The best way to place the motherboard inside your case is to lay down your case. First check if you have the I/O shield that needs to go inside the case where the connectivity ports on the motherboard are at the back. If the I/O shield is already attached to the motherboard then keep going. Gently place the motherboard inside by checking out the standoffs and if they match with the holes on the motherboard as well as aiming to get a perfect fit with the I/O shield at the back side of the case. Place and tighten all 8 or 9 screws (depending on the case, middle one sometimes can be just a holder to center the motherboard).
In this situation, we are using 2x 8-pin EPS cables that go on the top left corner of the motherboard, 1x 24-pin cable that goes almost in the middle right part of the motherboard, 1x 6-pin and 1x 8-pin PCIe cable for your graphic card, 1x SATA power cable for the controller at the back. Connect all these cables to your power supply if you have a modular one like we have in this tutorial. If you have a non-modular power supply, then just slide it in from the side.
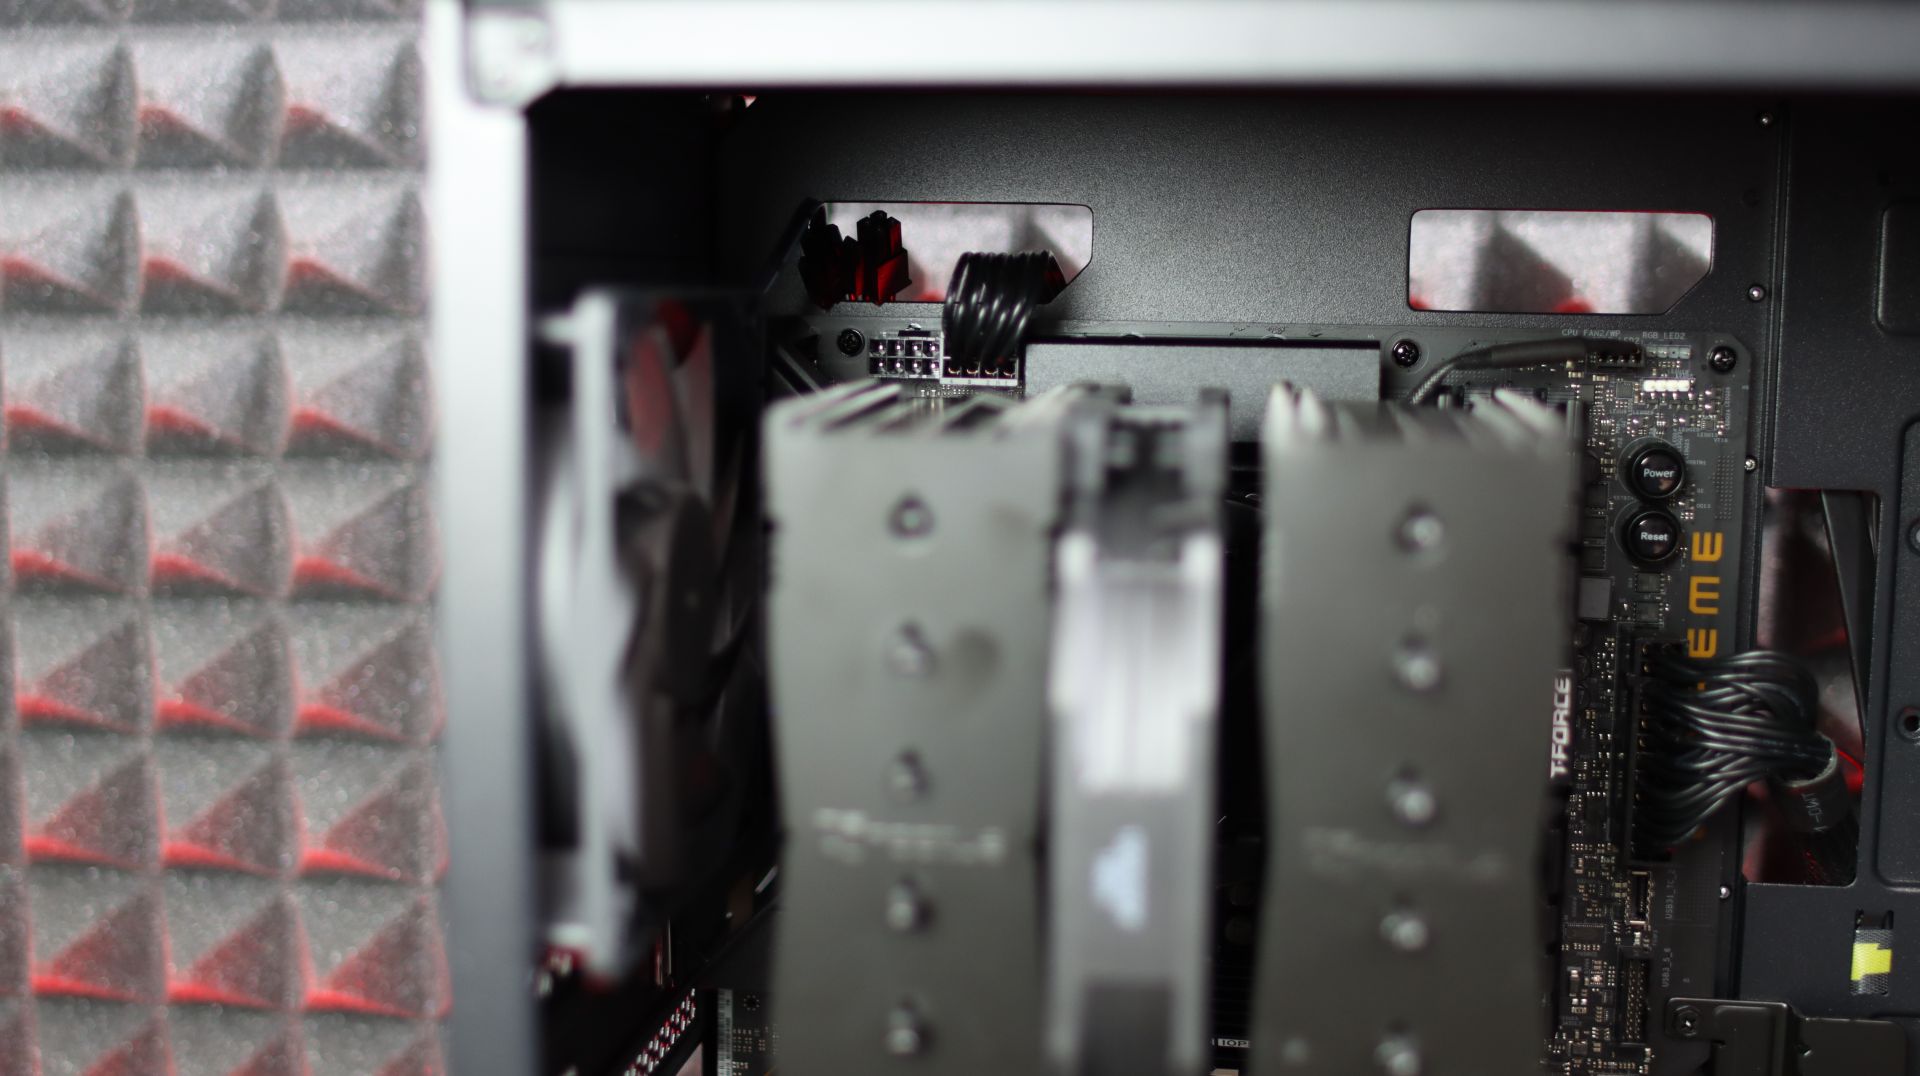
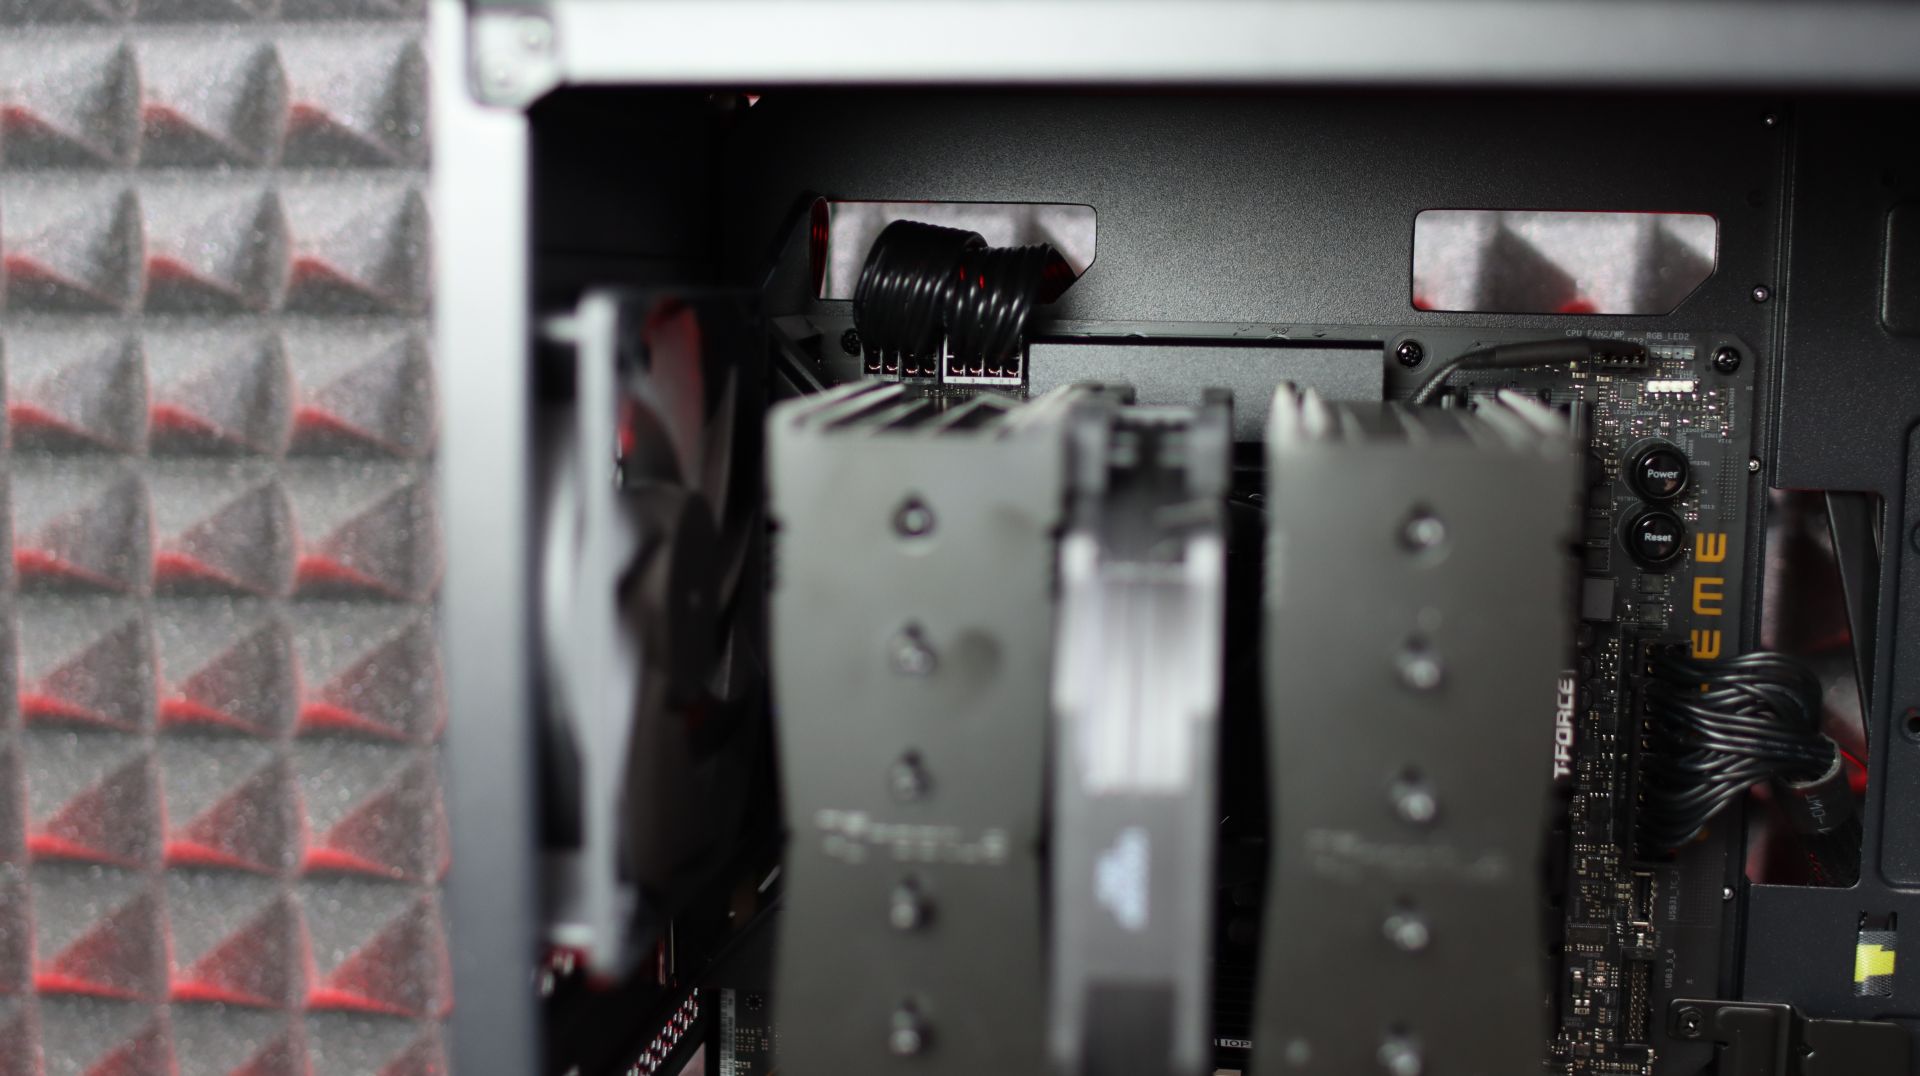
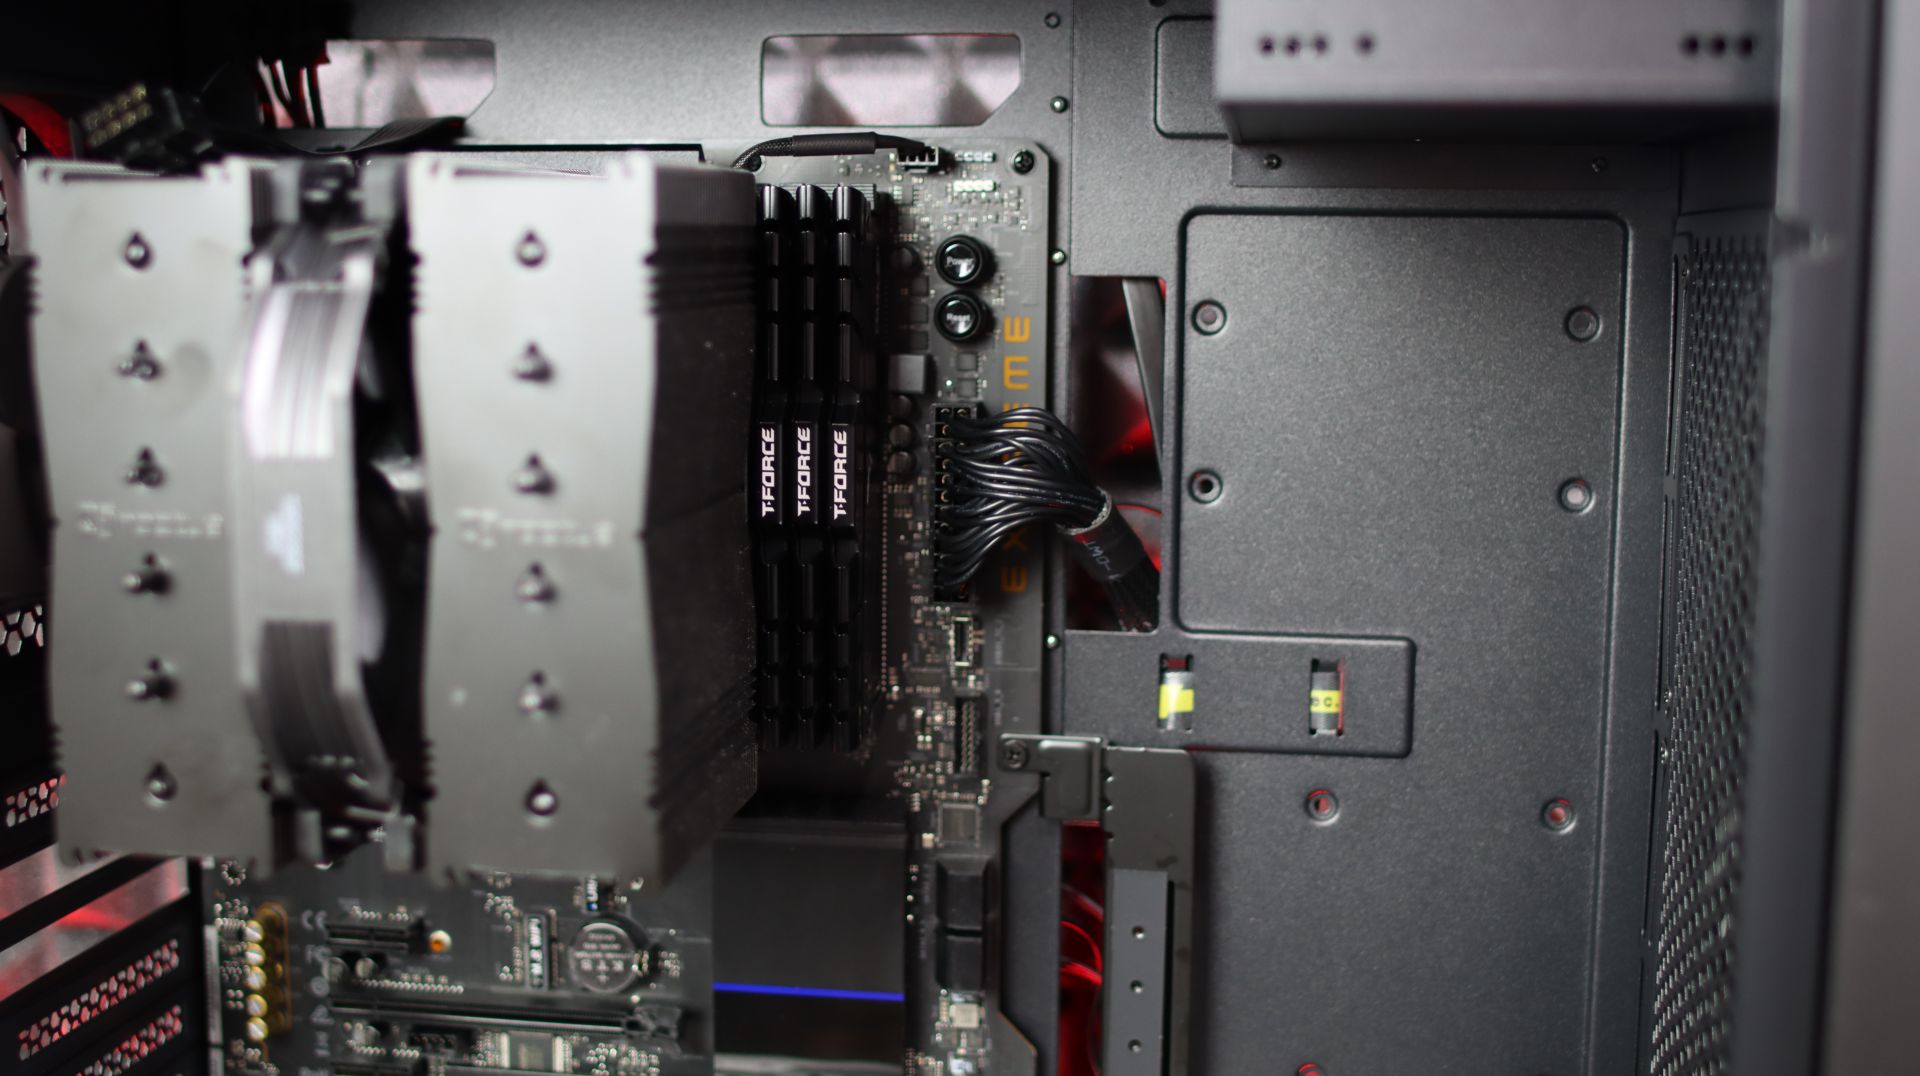
First, connect the 2x 8-pin EPS cables and 24-pin cable on the motherboard.
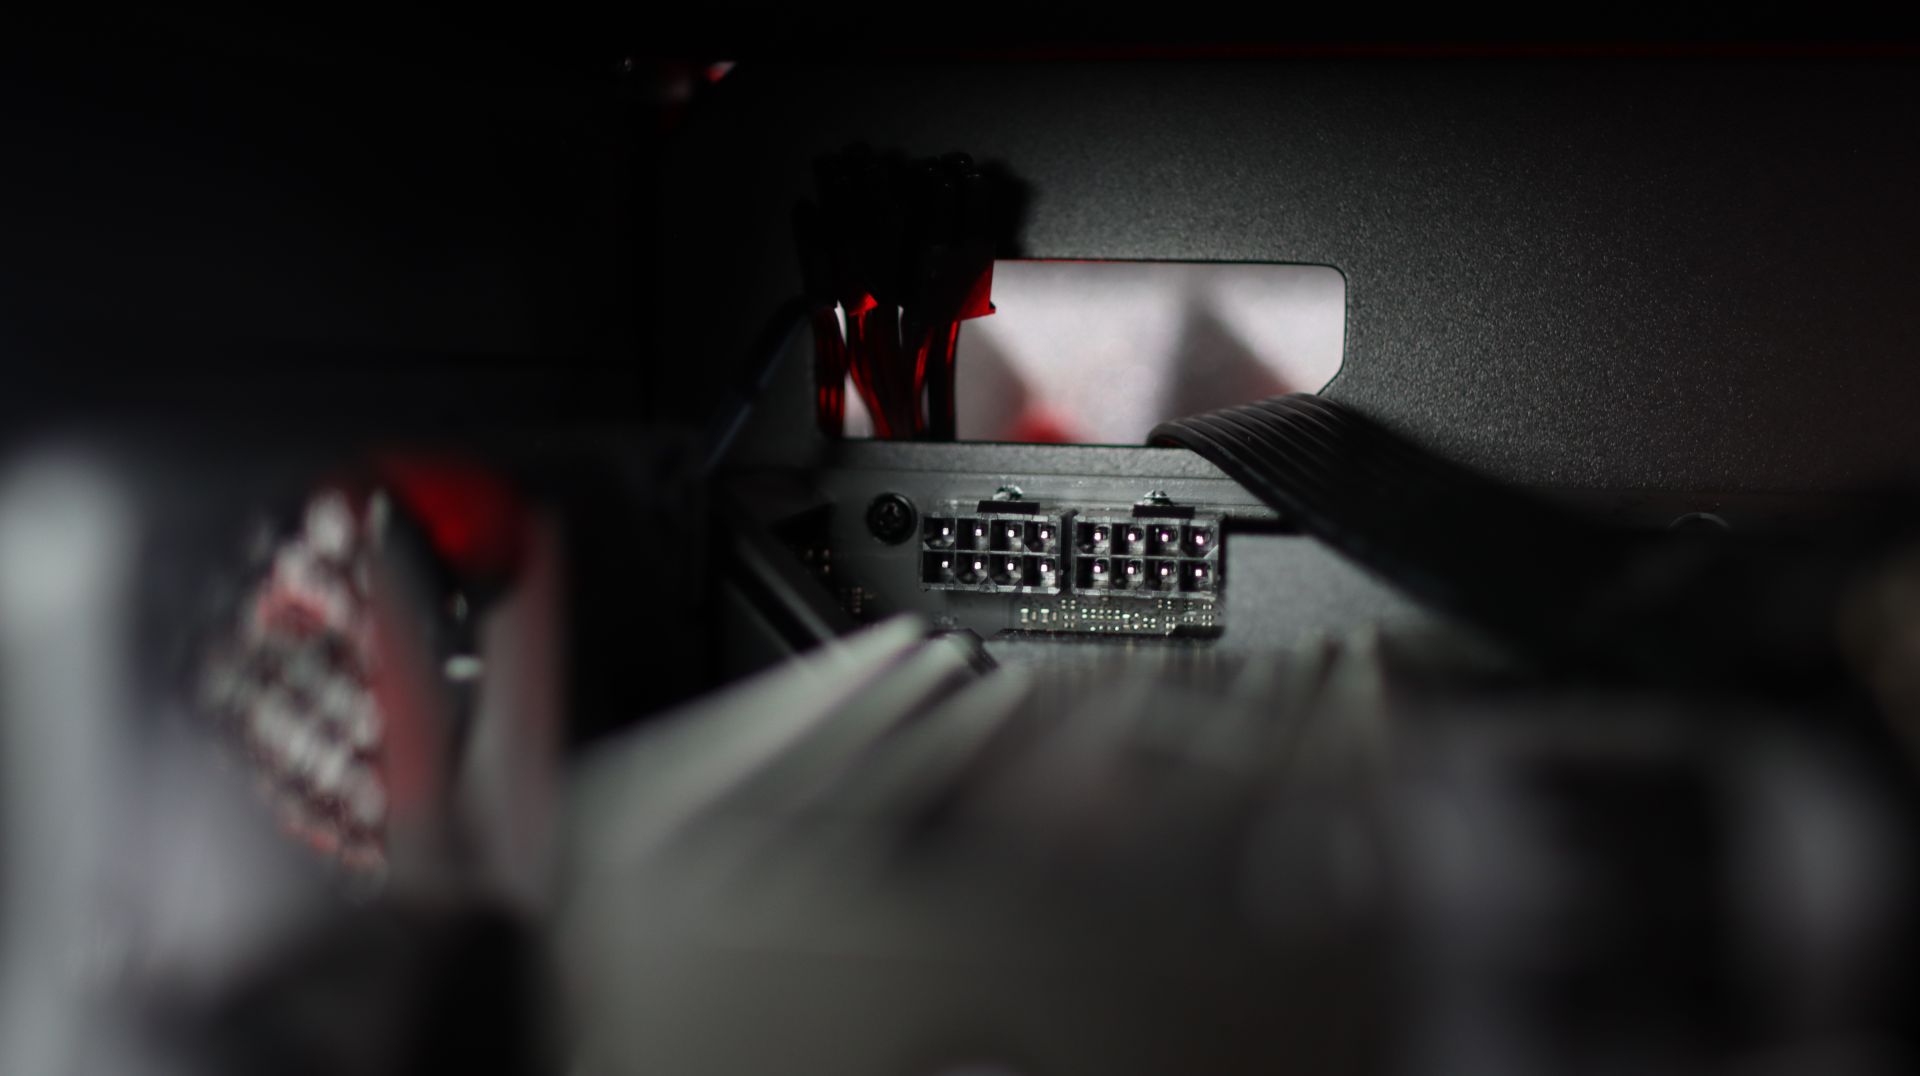
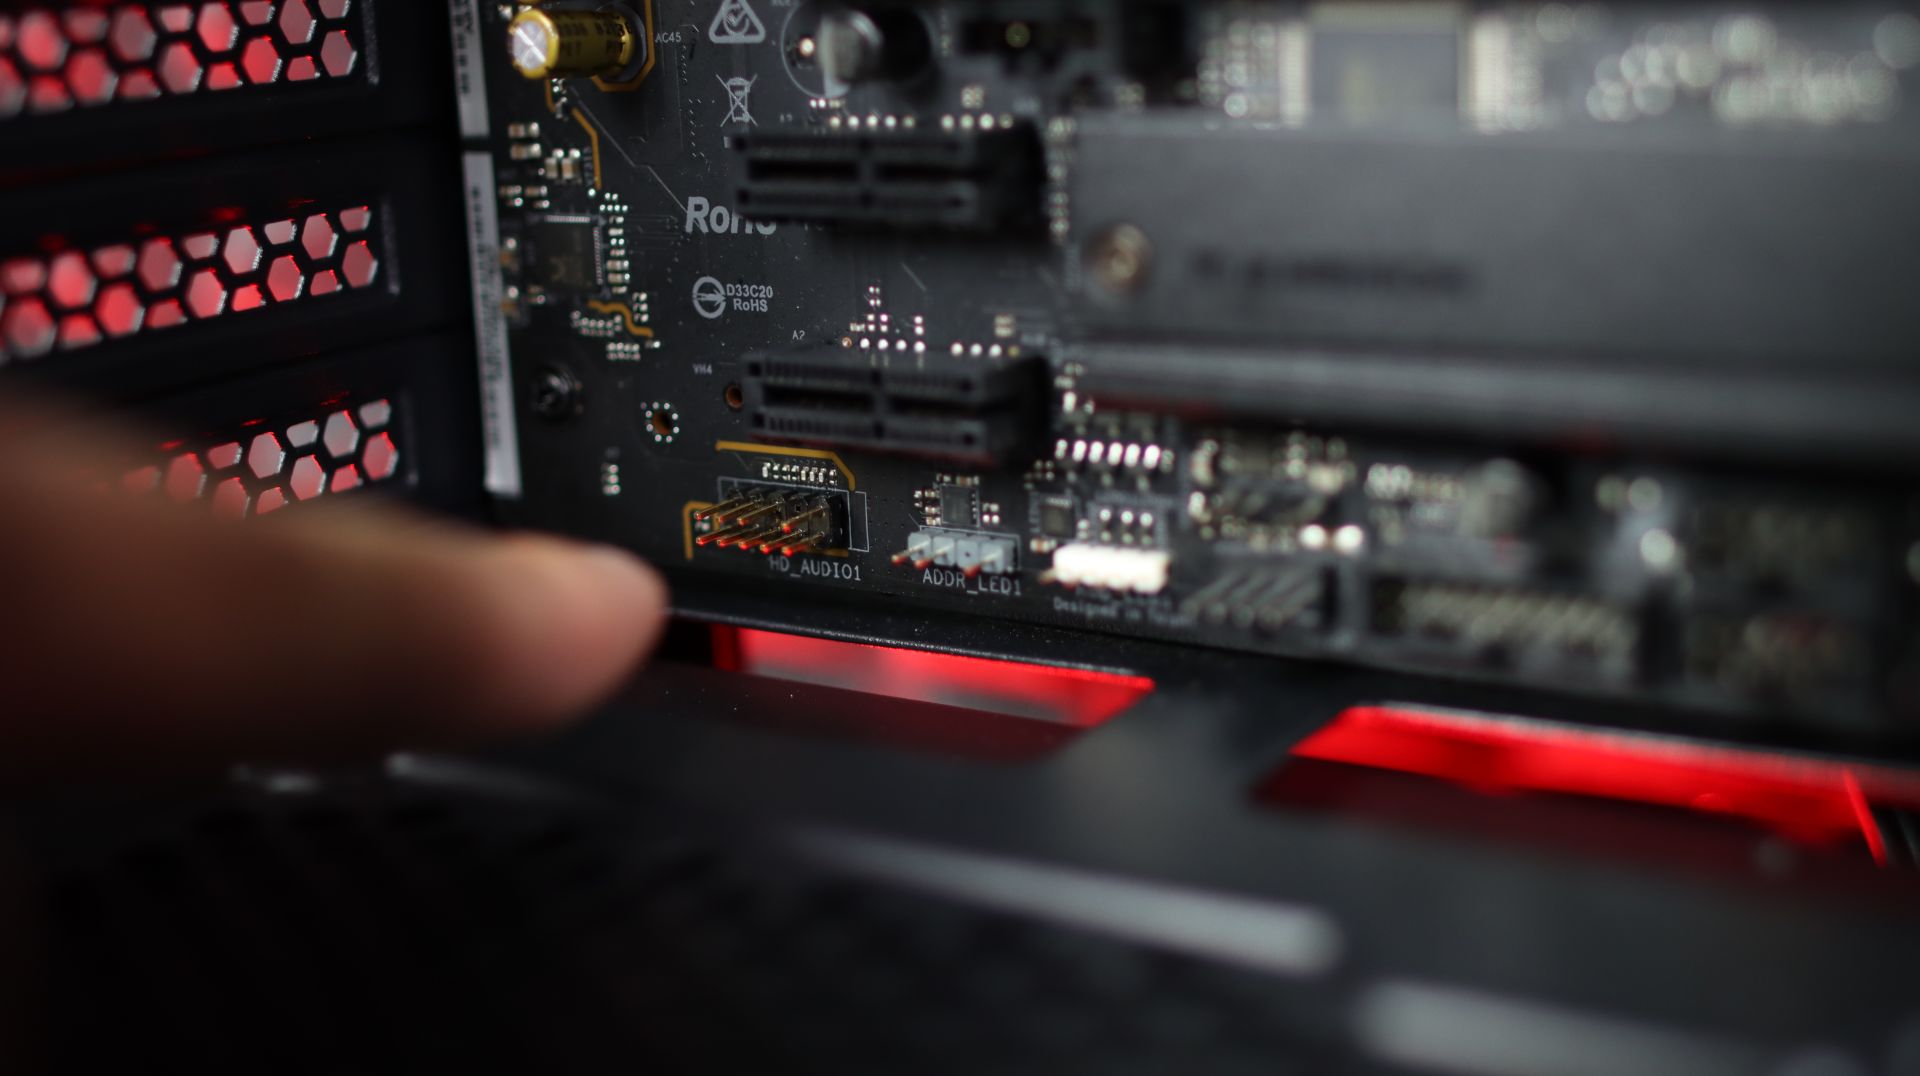
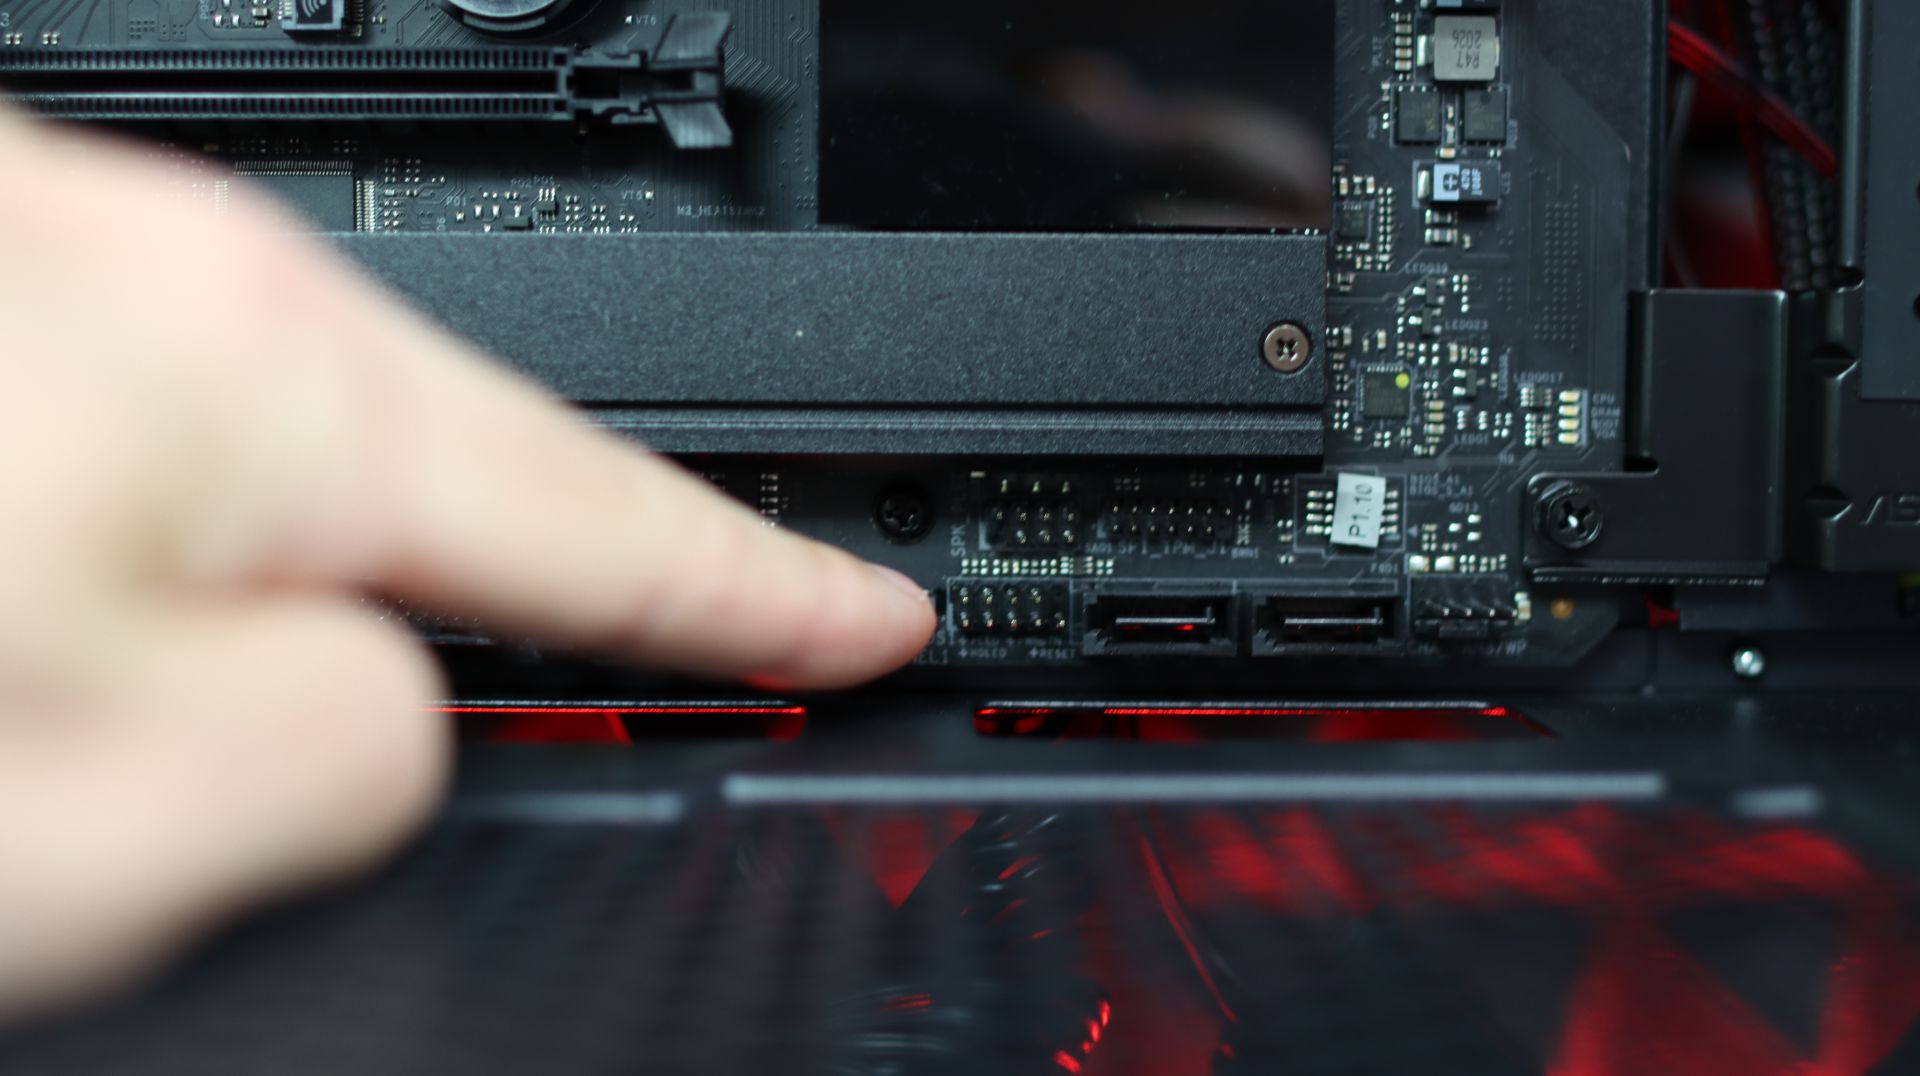
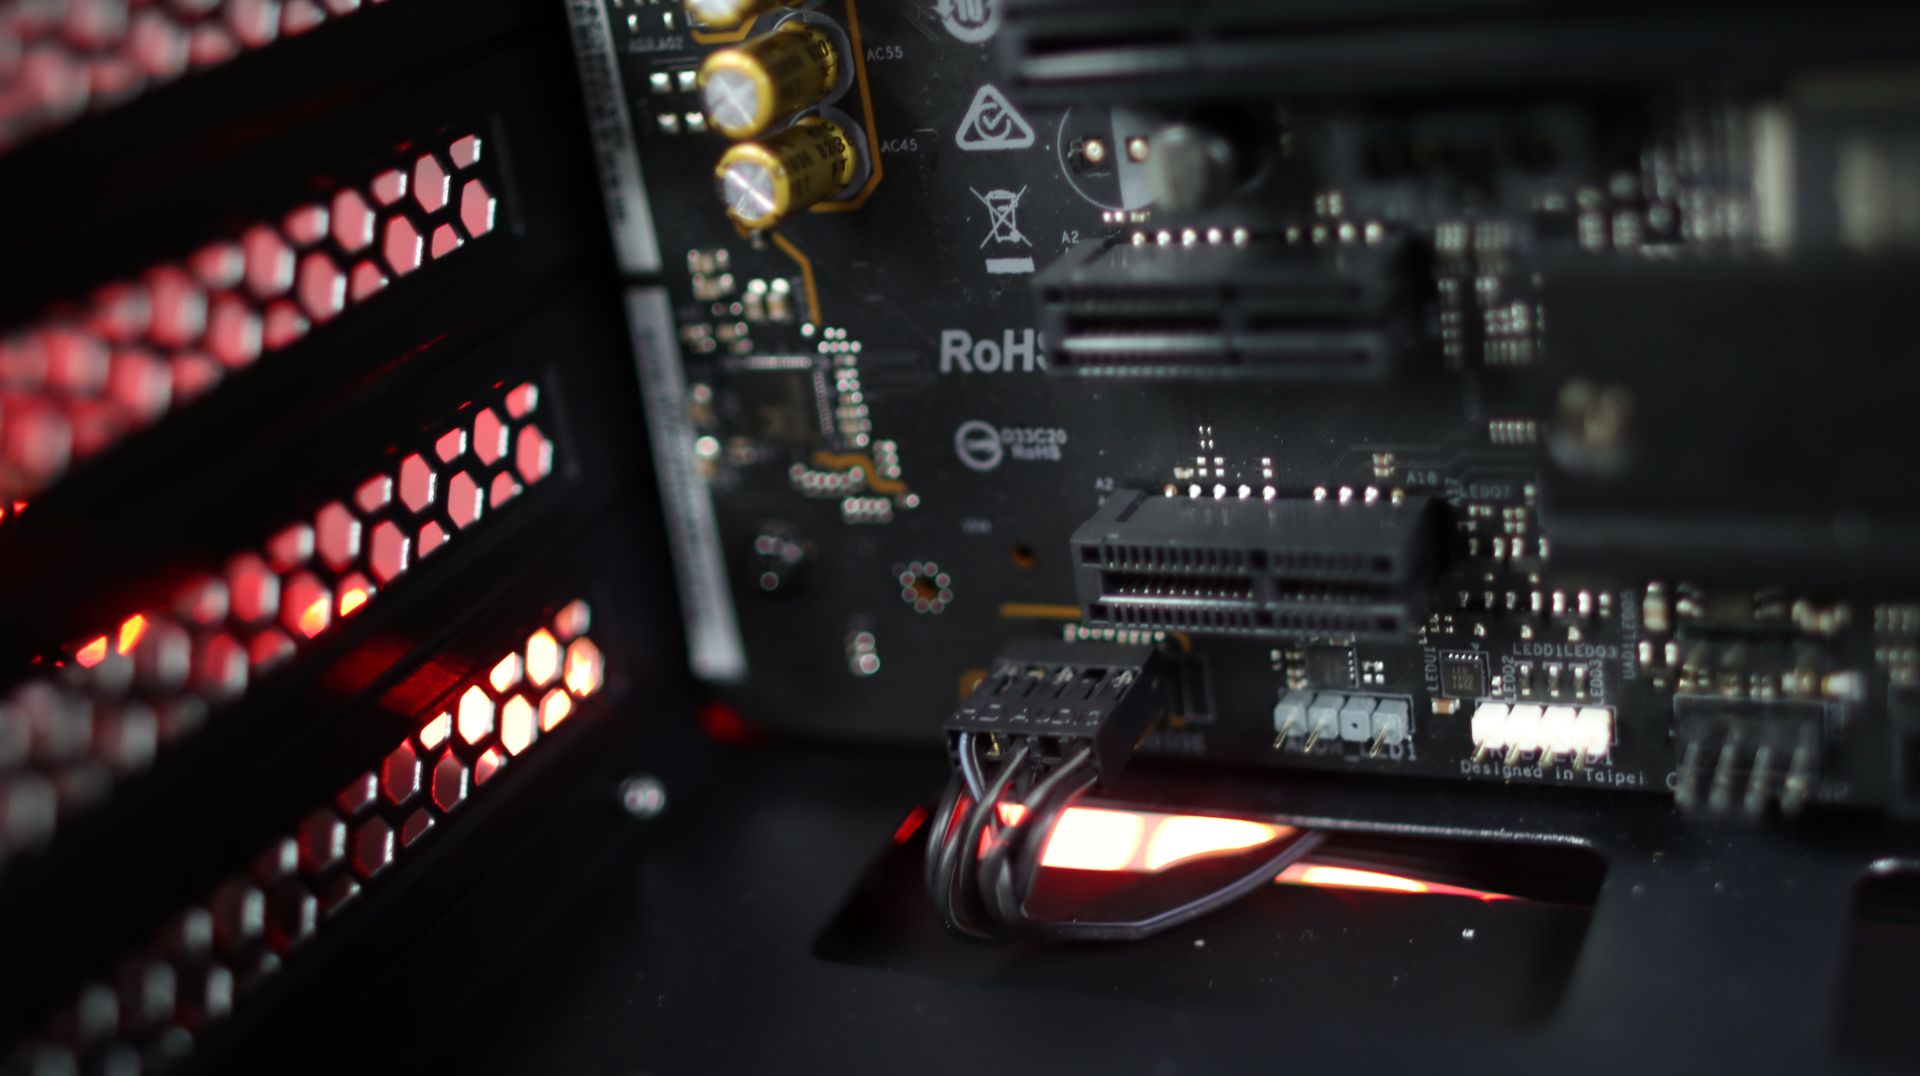
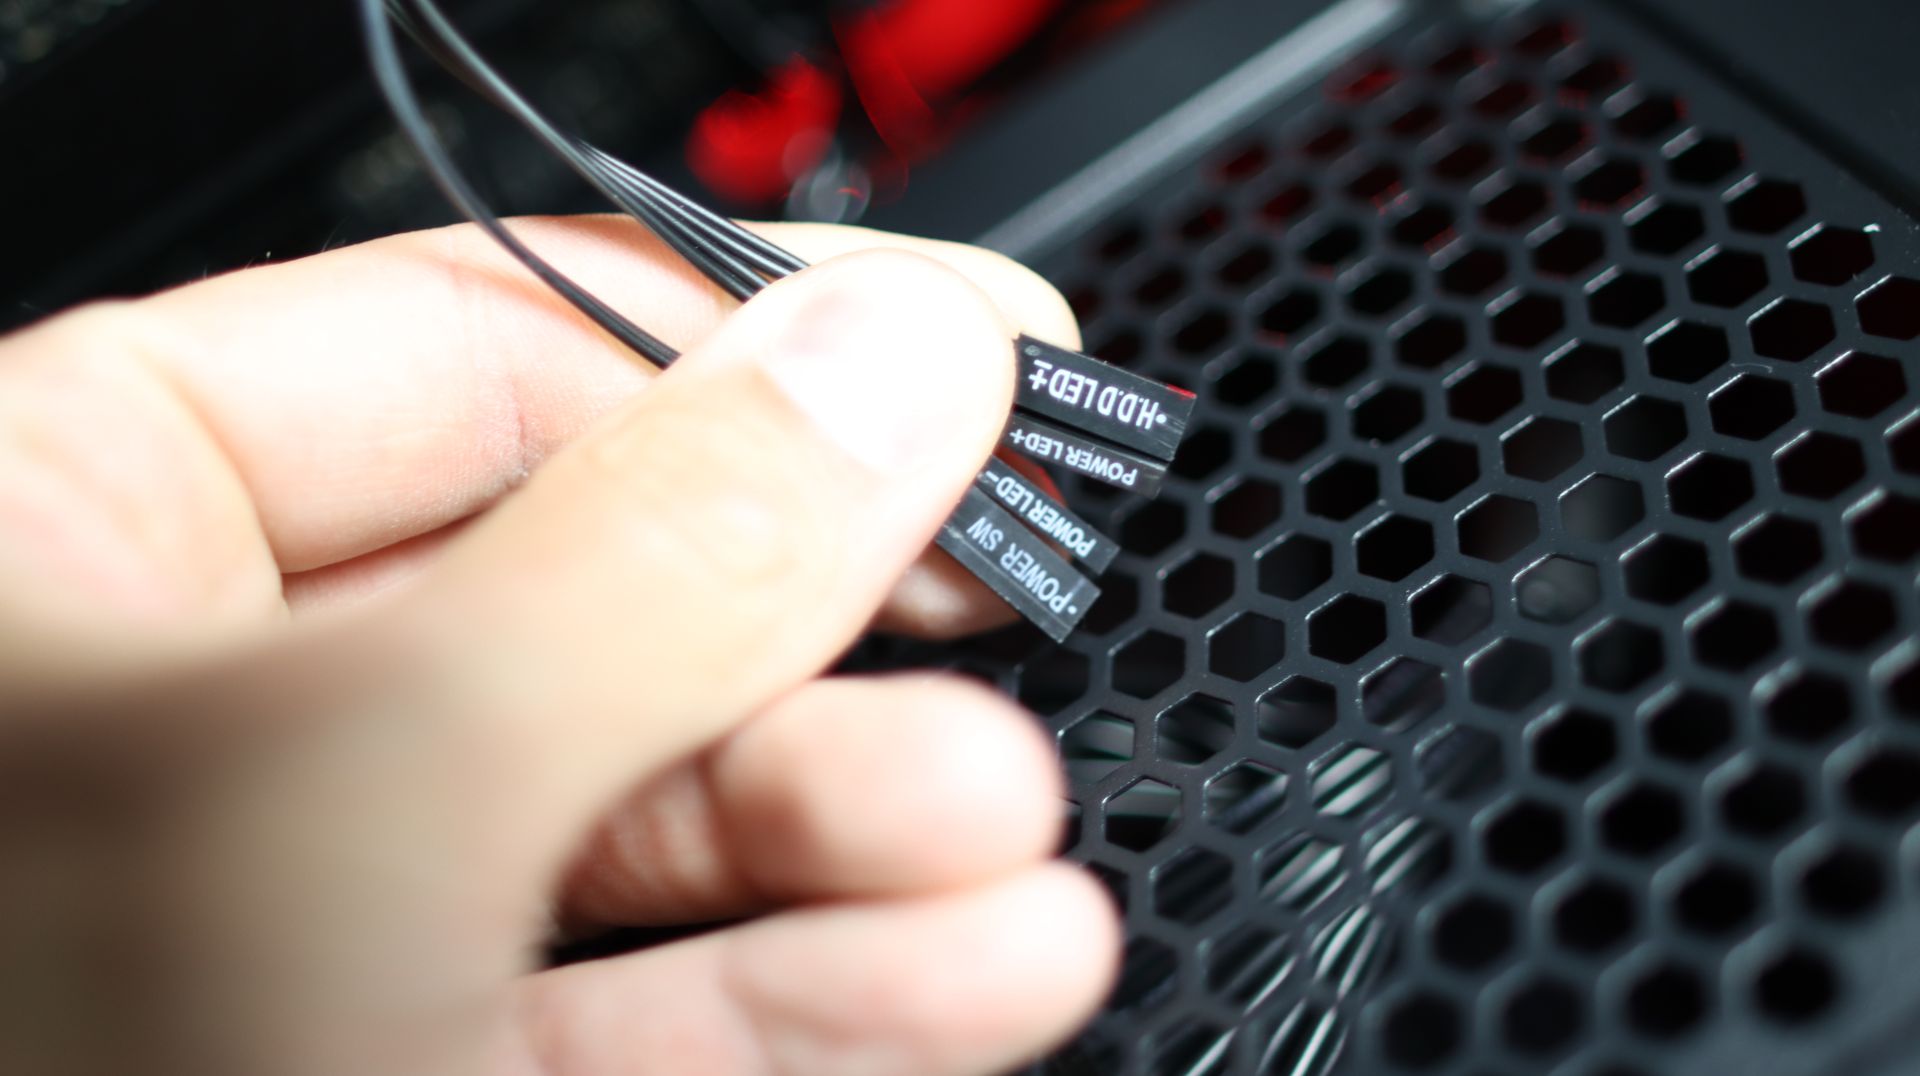
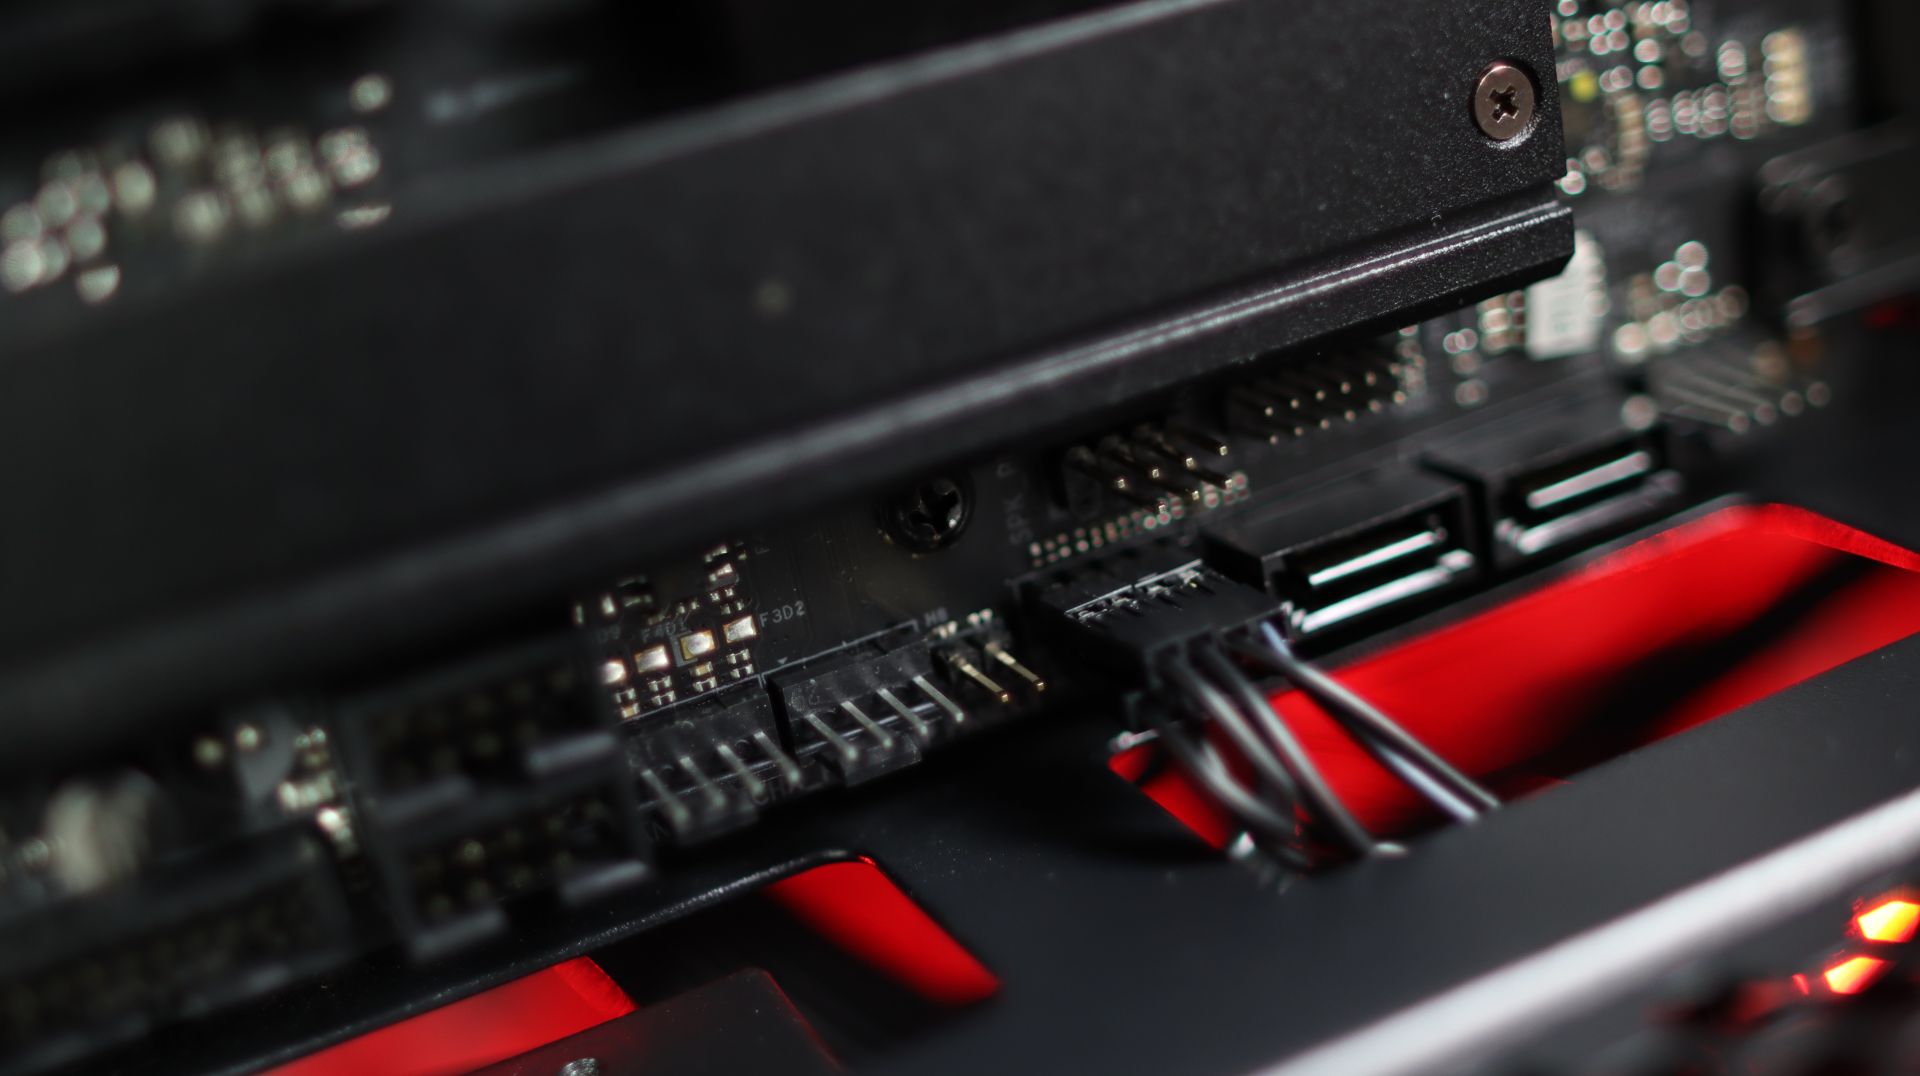
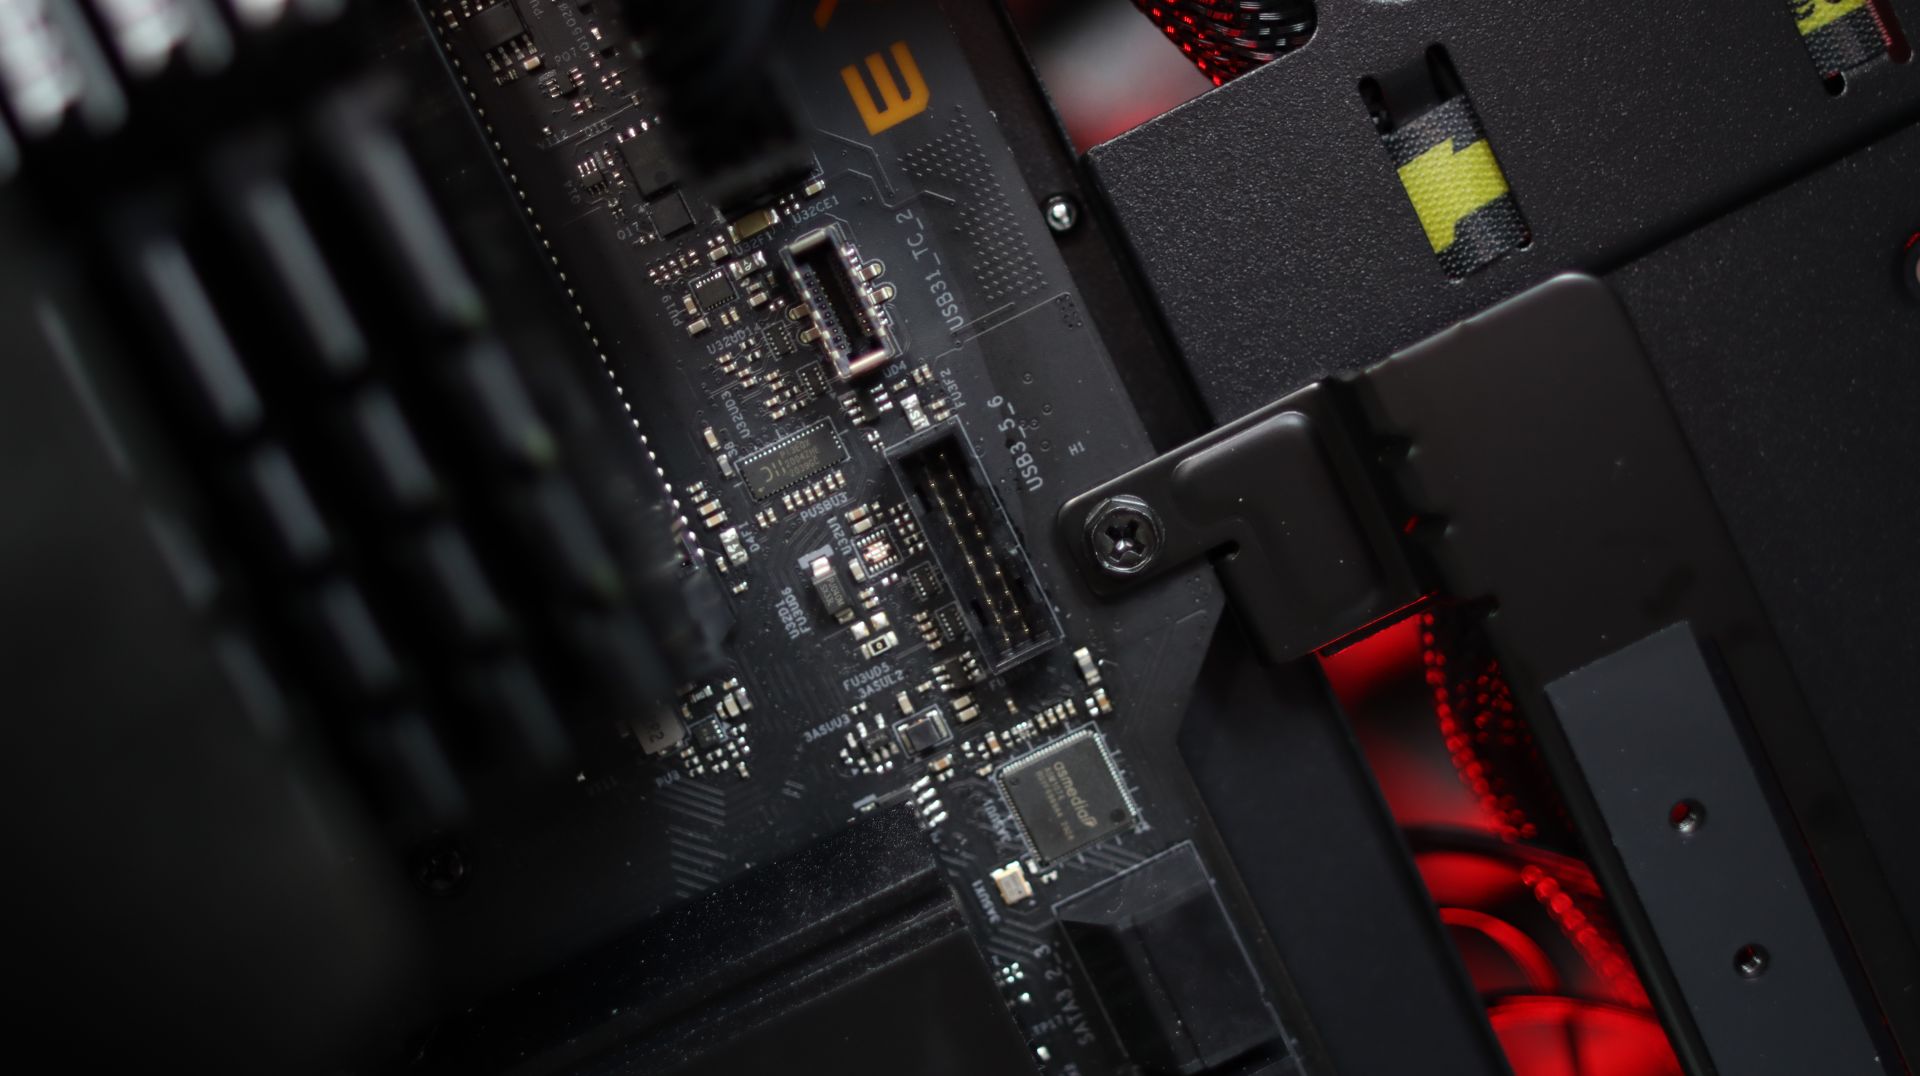
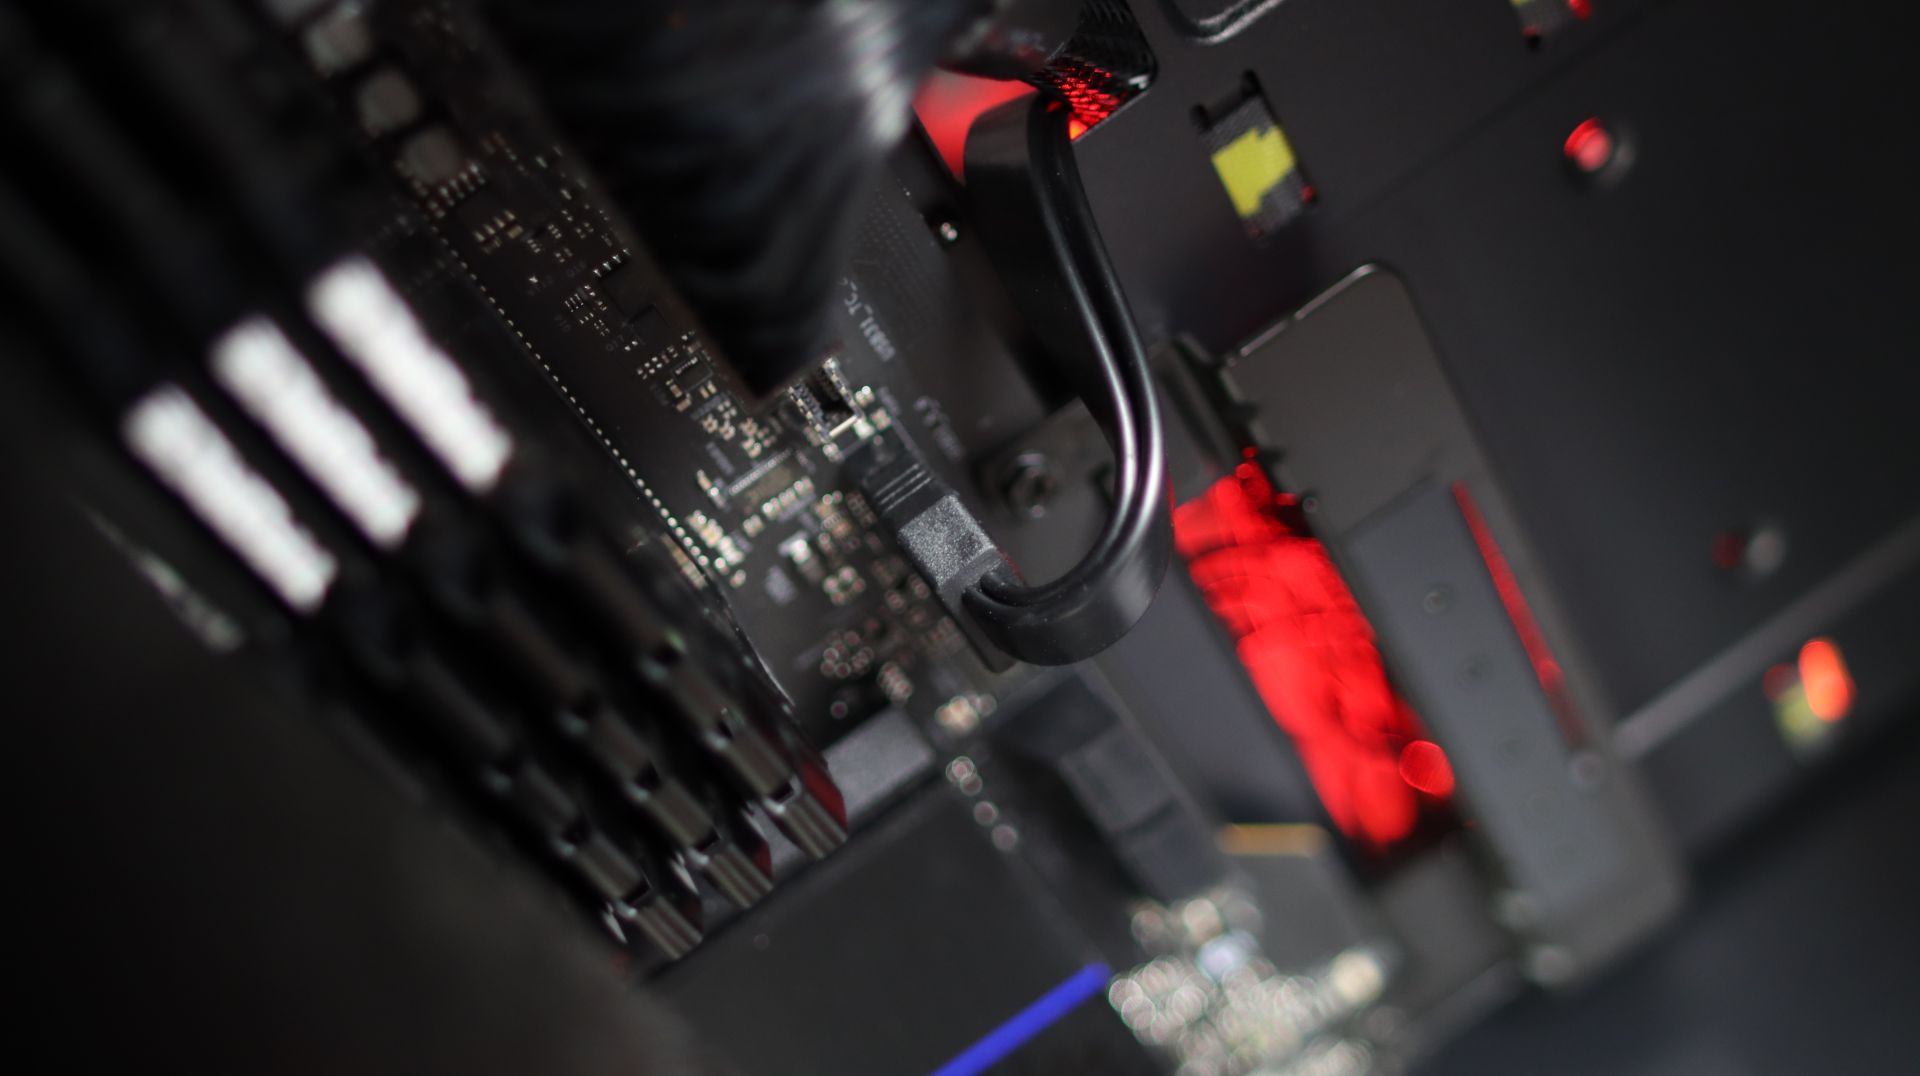
Now connect USB 3.0 front panel to the motherboard, Audio header, front button header for powering on your computer. All the exact instructions are either written already on the motherboard or you can find the exact description in the motherboard instruction manual.
Time to place in the graphics card. Check how the graphics card will be placed inside the first PCIe slot and then you will realize which PCIe covers need to be removed. In our situation, we had to remove the second and the third from the top.
Release the latch that holds the graphics card to the motherboard and gently align the graphics card to the PCIe slot and the PCIe brackets that will additionally hold it in place.
Now tighten two screws at the back of the case which will hold the graphics card in a straight position. In case there is a slight GPU sag, we would suggest acquiring an anti-sag bracket for it. Connect the 6-pin and 8-pin EPS to the graphics card in a position so that the latch on the cables attaches to the pins on the graphics card which will hold the cable.
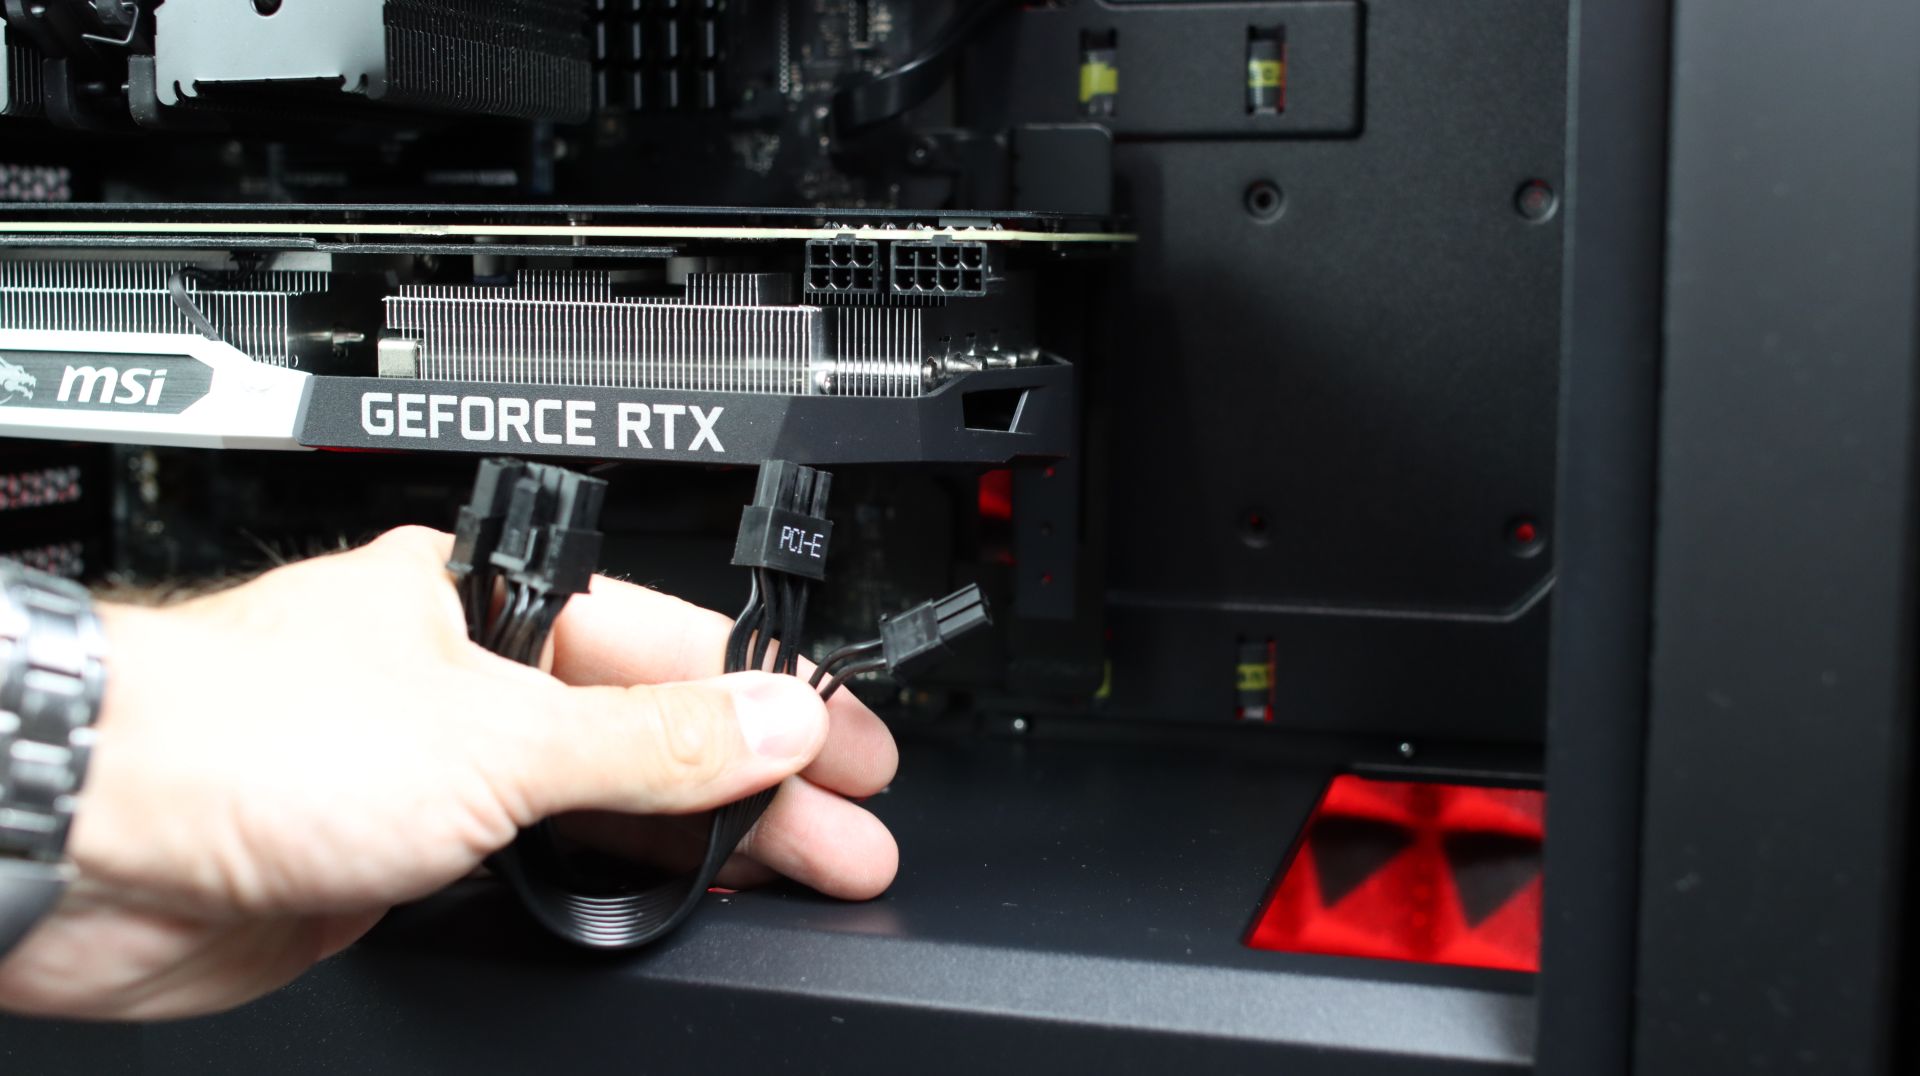
When all of this is done, one more time check all the cable connectivity and if the cables are properly in place without any movements inside the connector. Arrange the cables at the back with zip ties or velcro ties and close the back panel of the case.
Connect the power cable from the wall socket to your power supply and switch it on. Press the power button on the case and there you go.
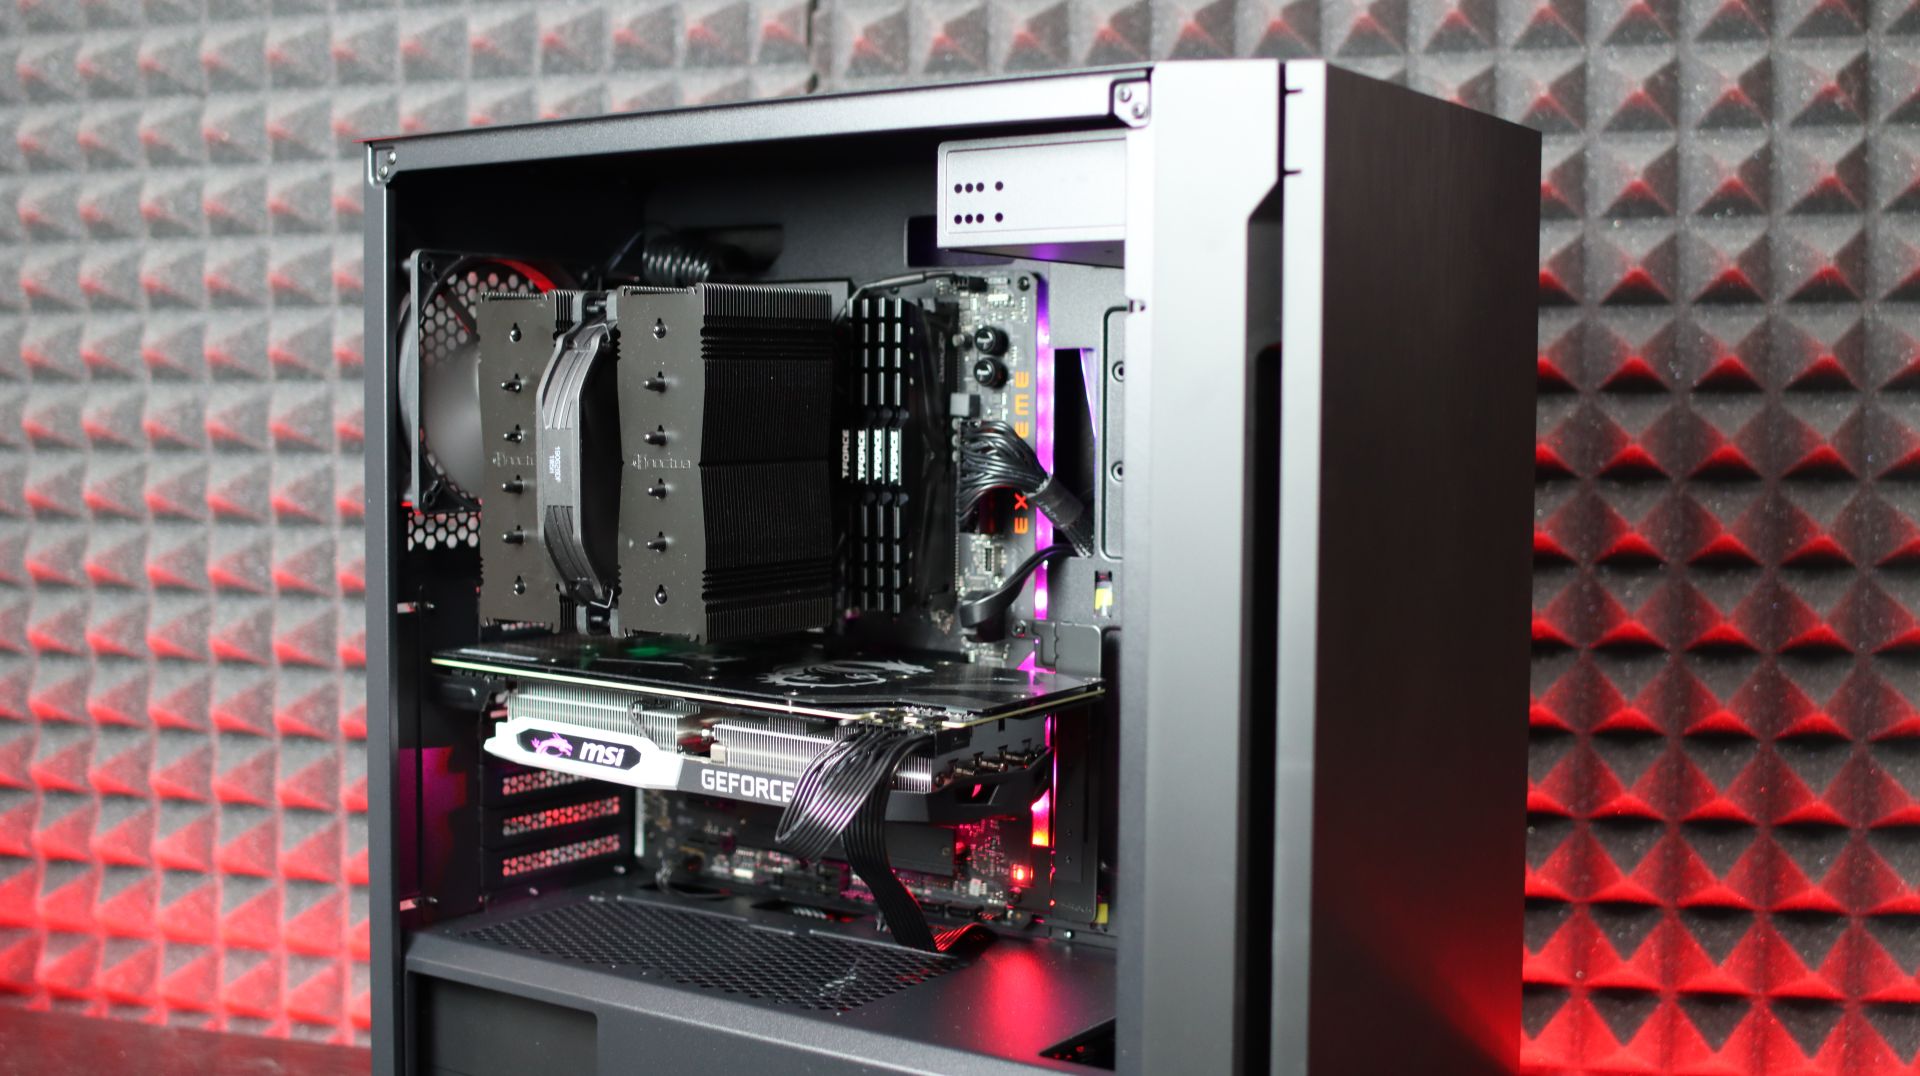
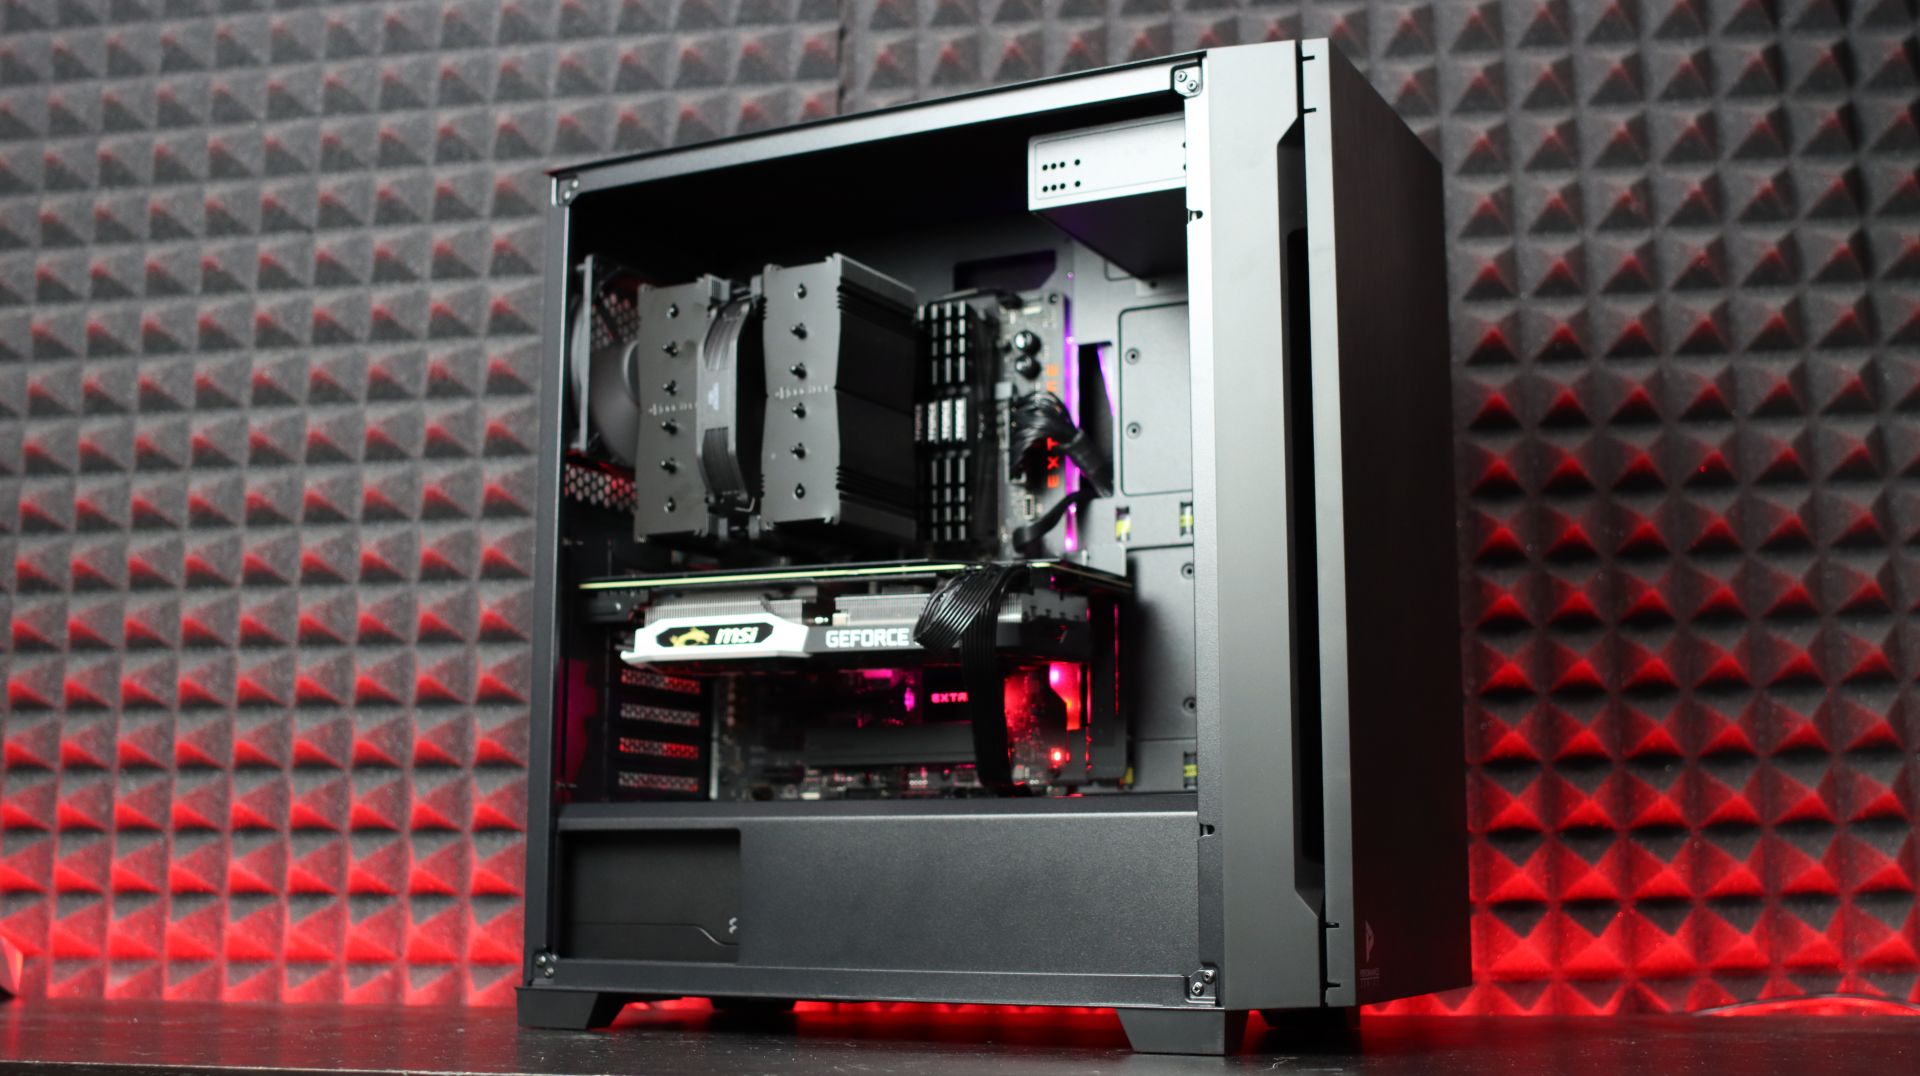
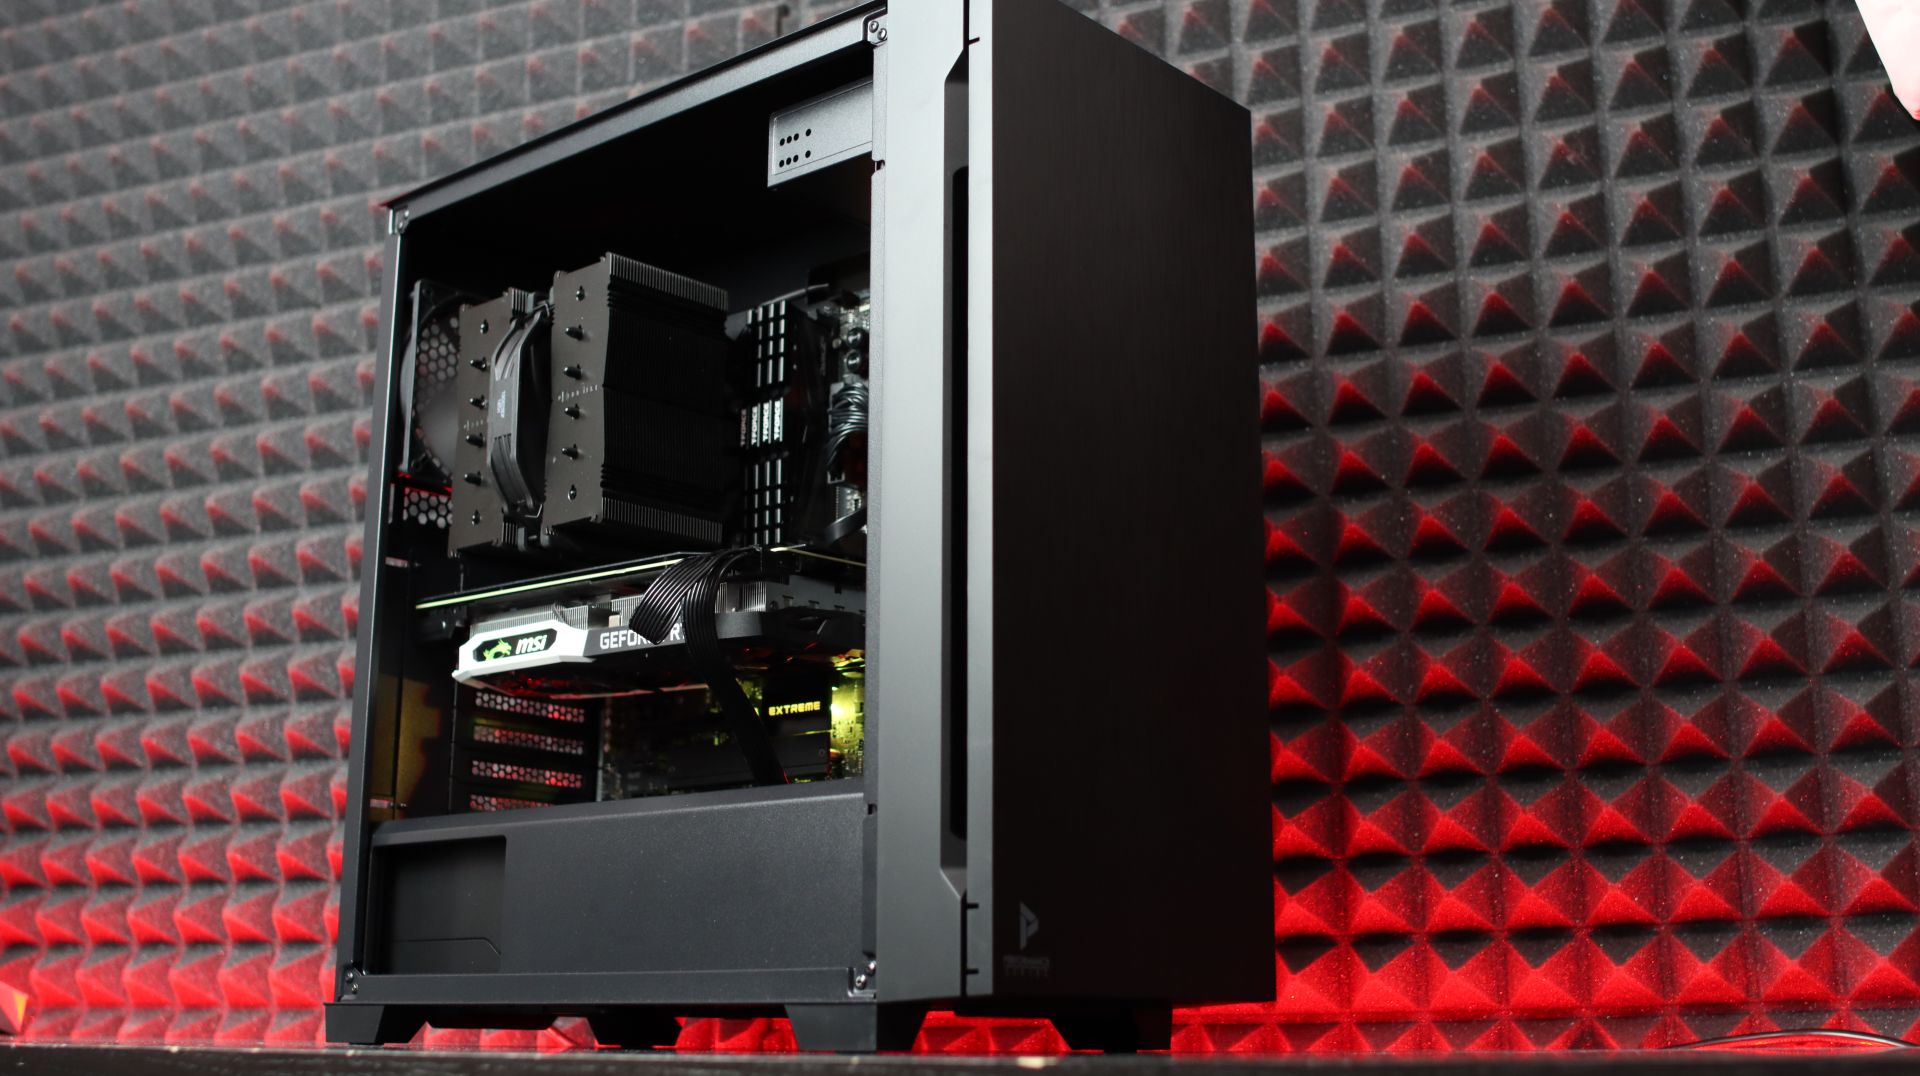
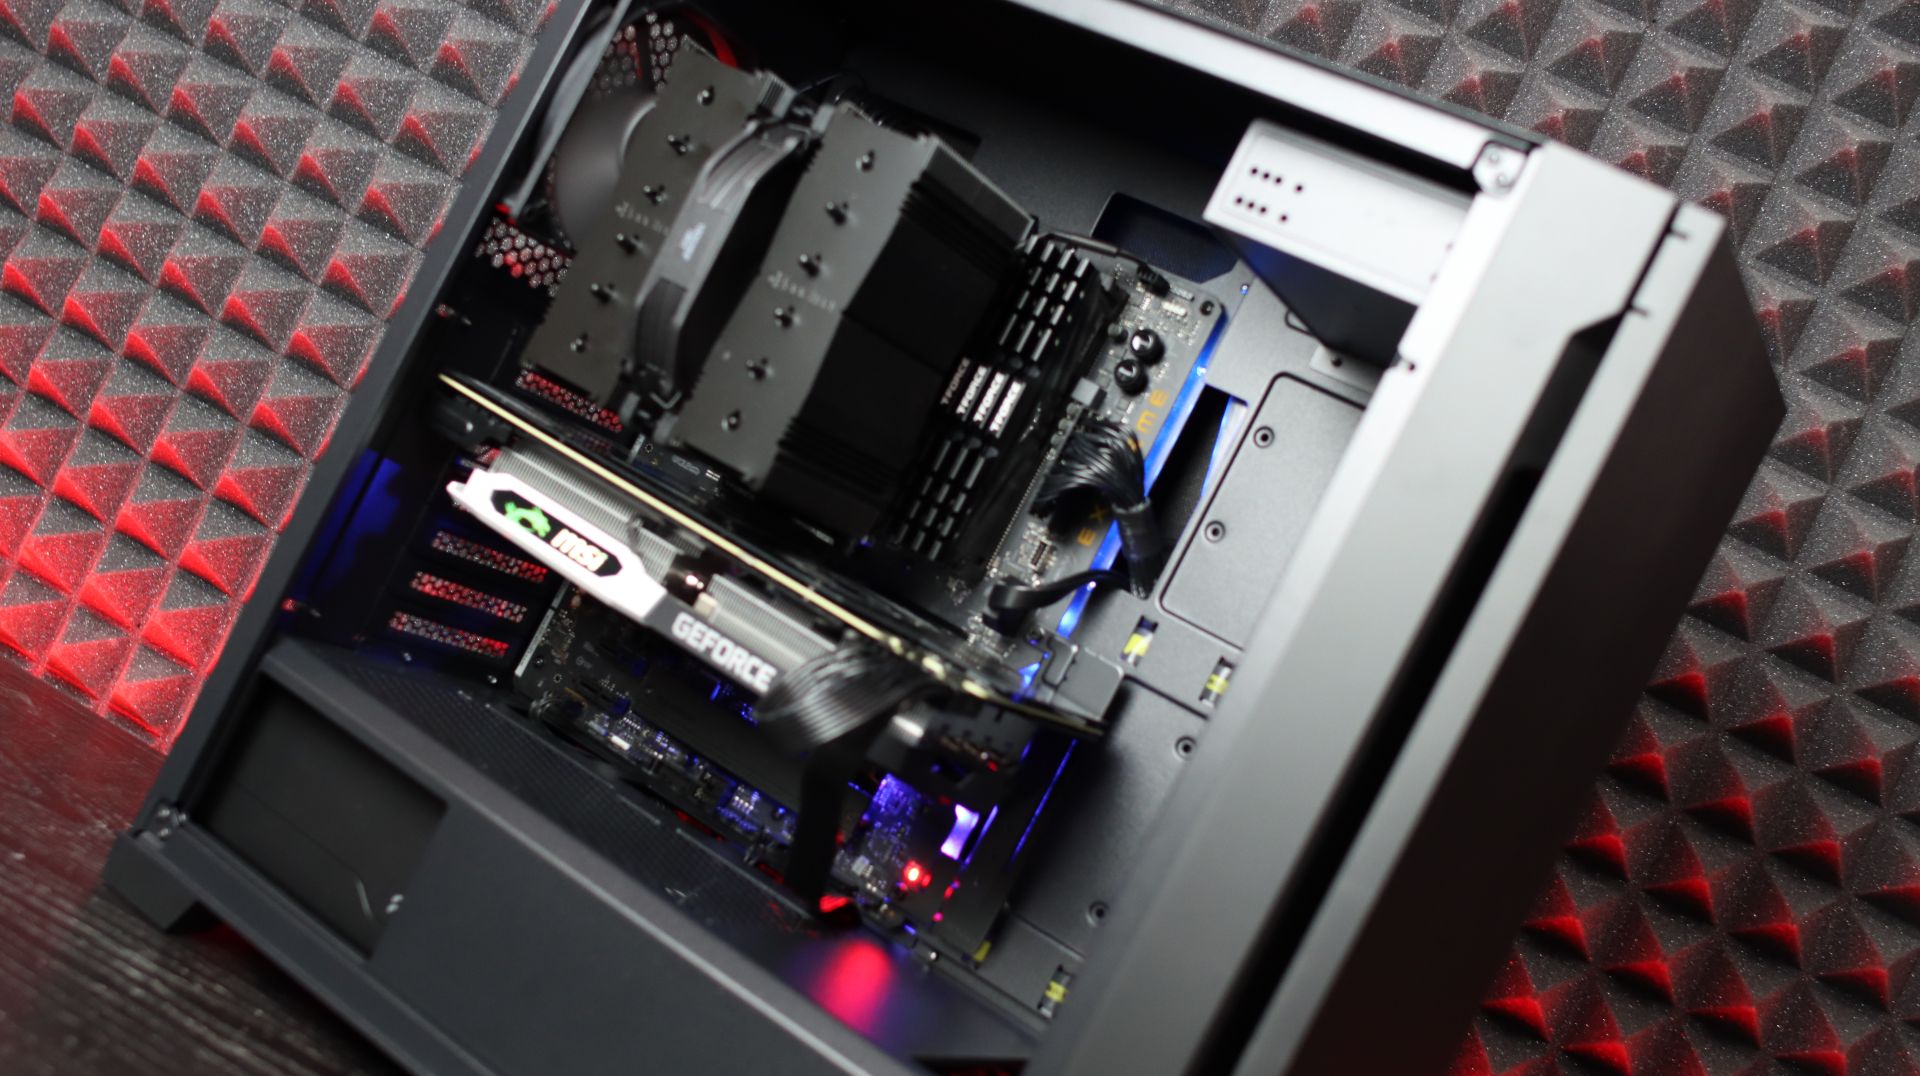
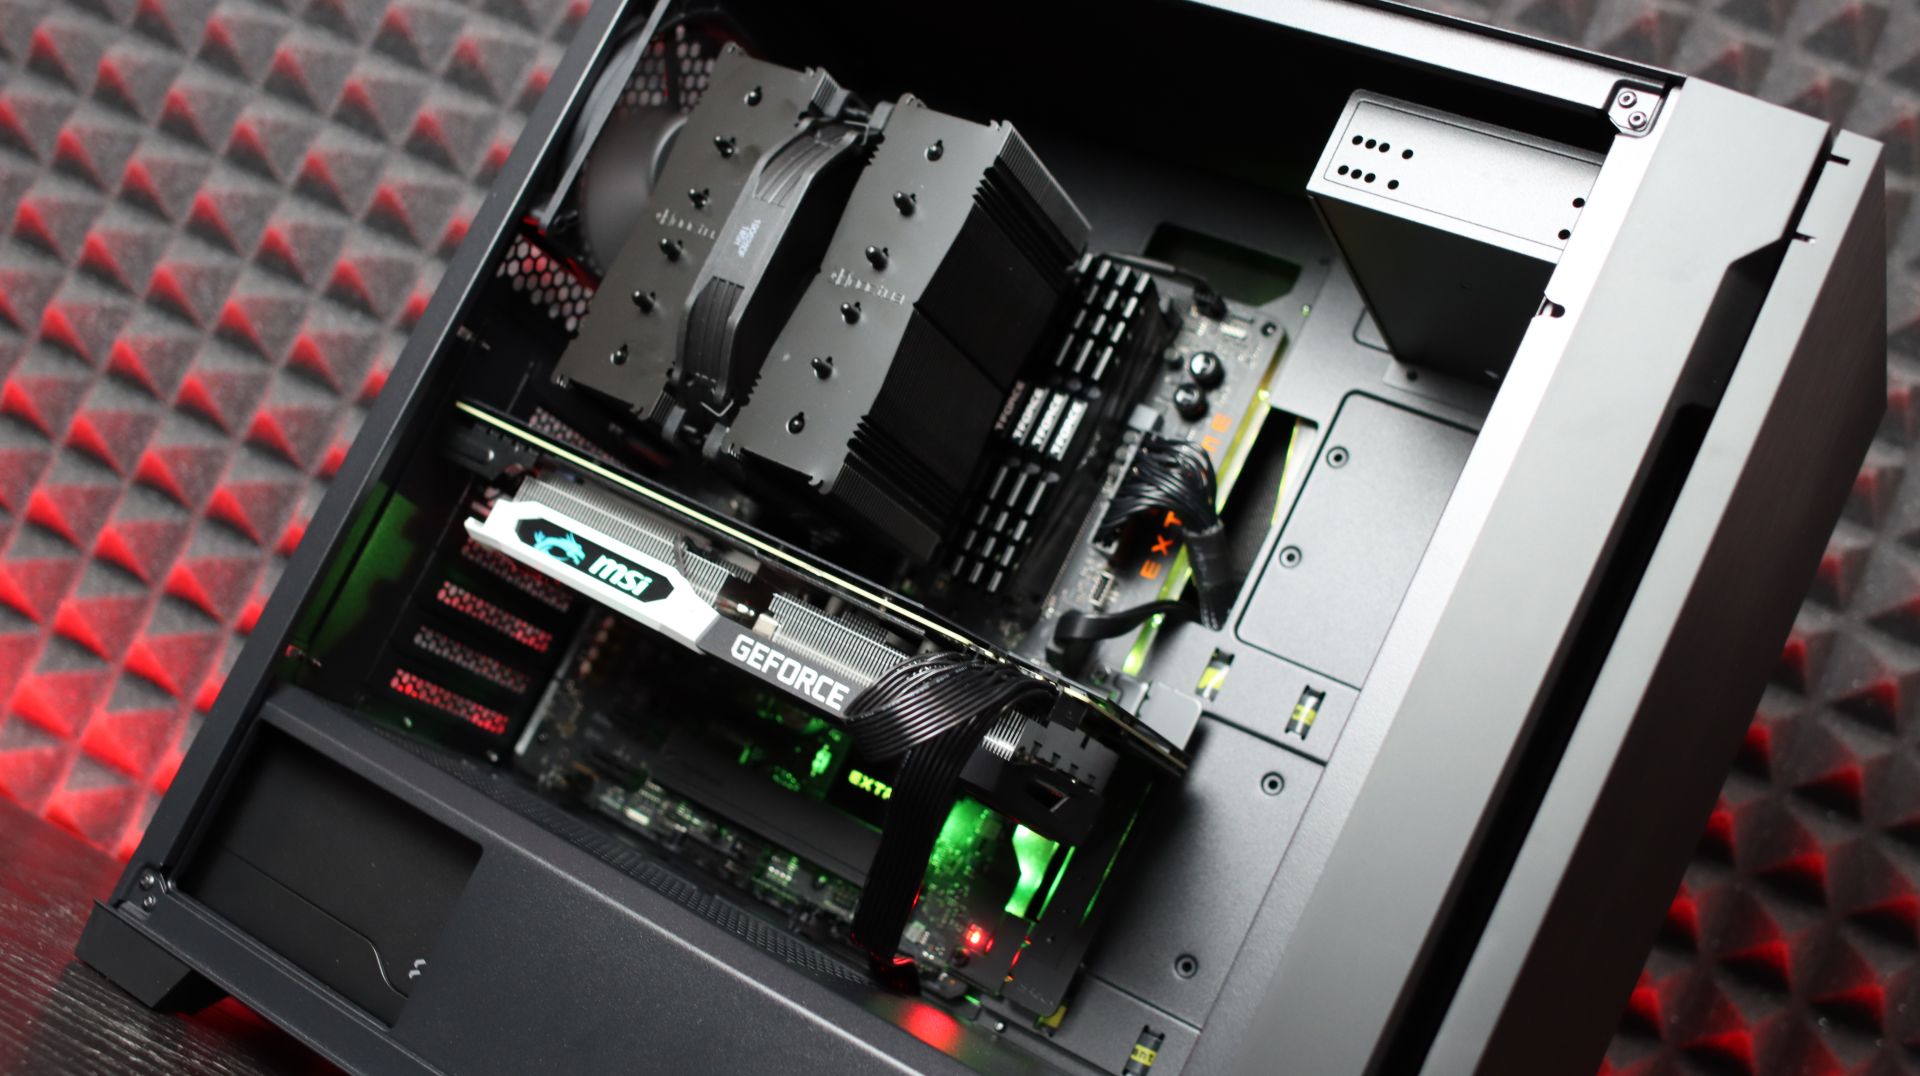
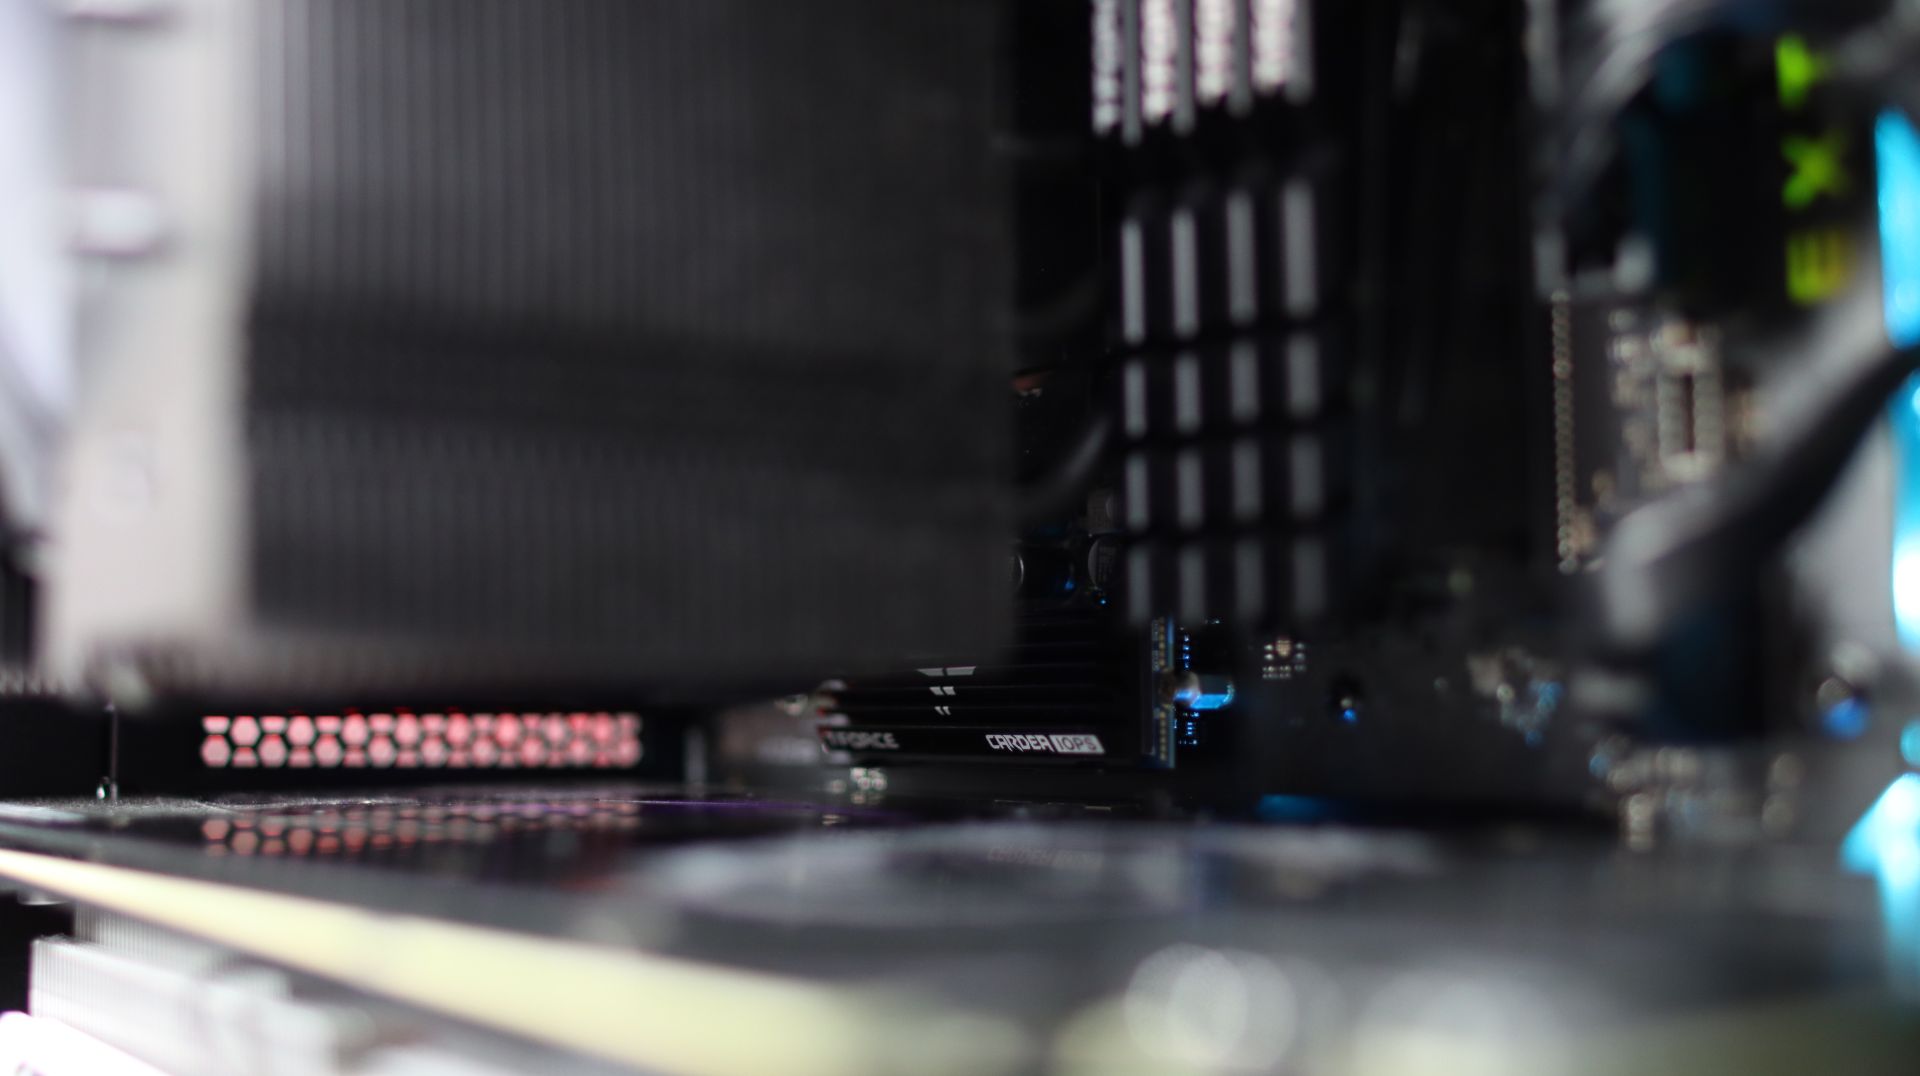
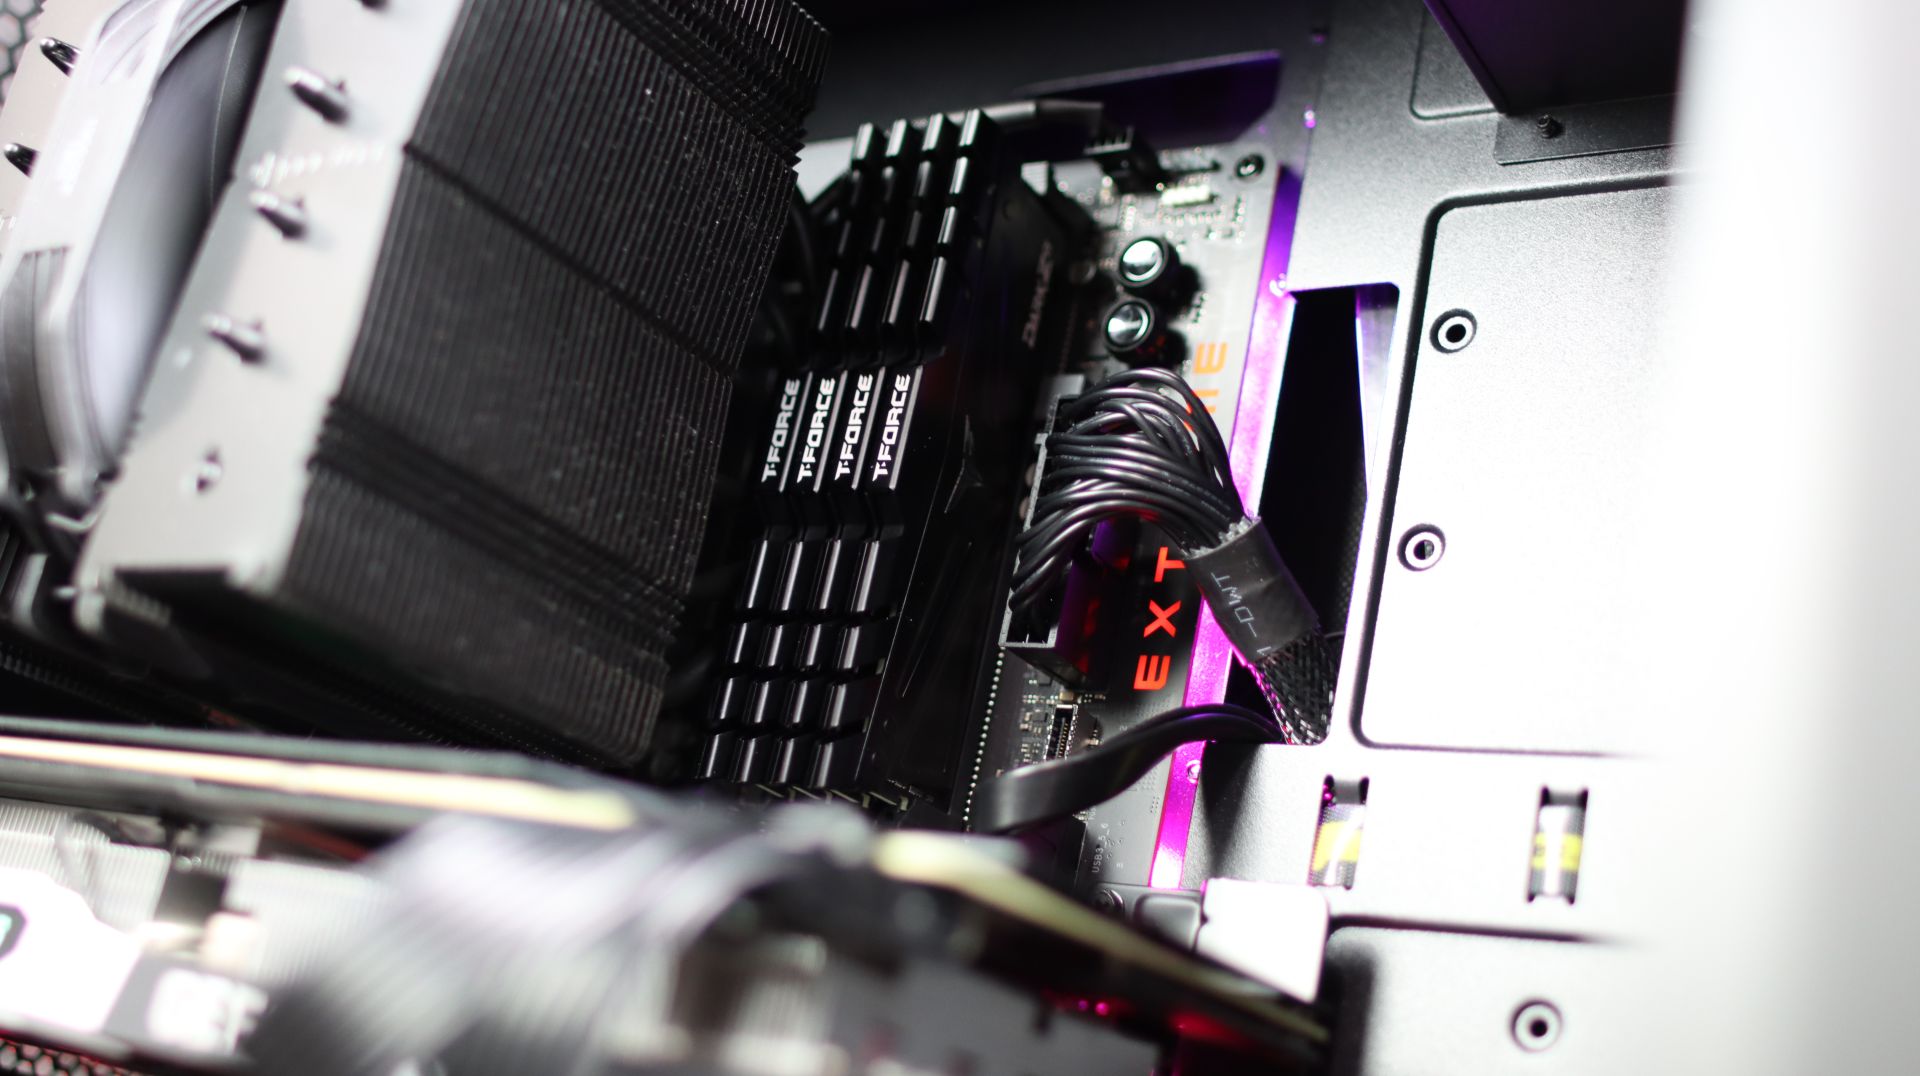
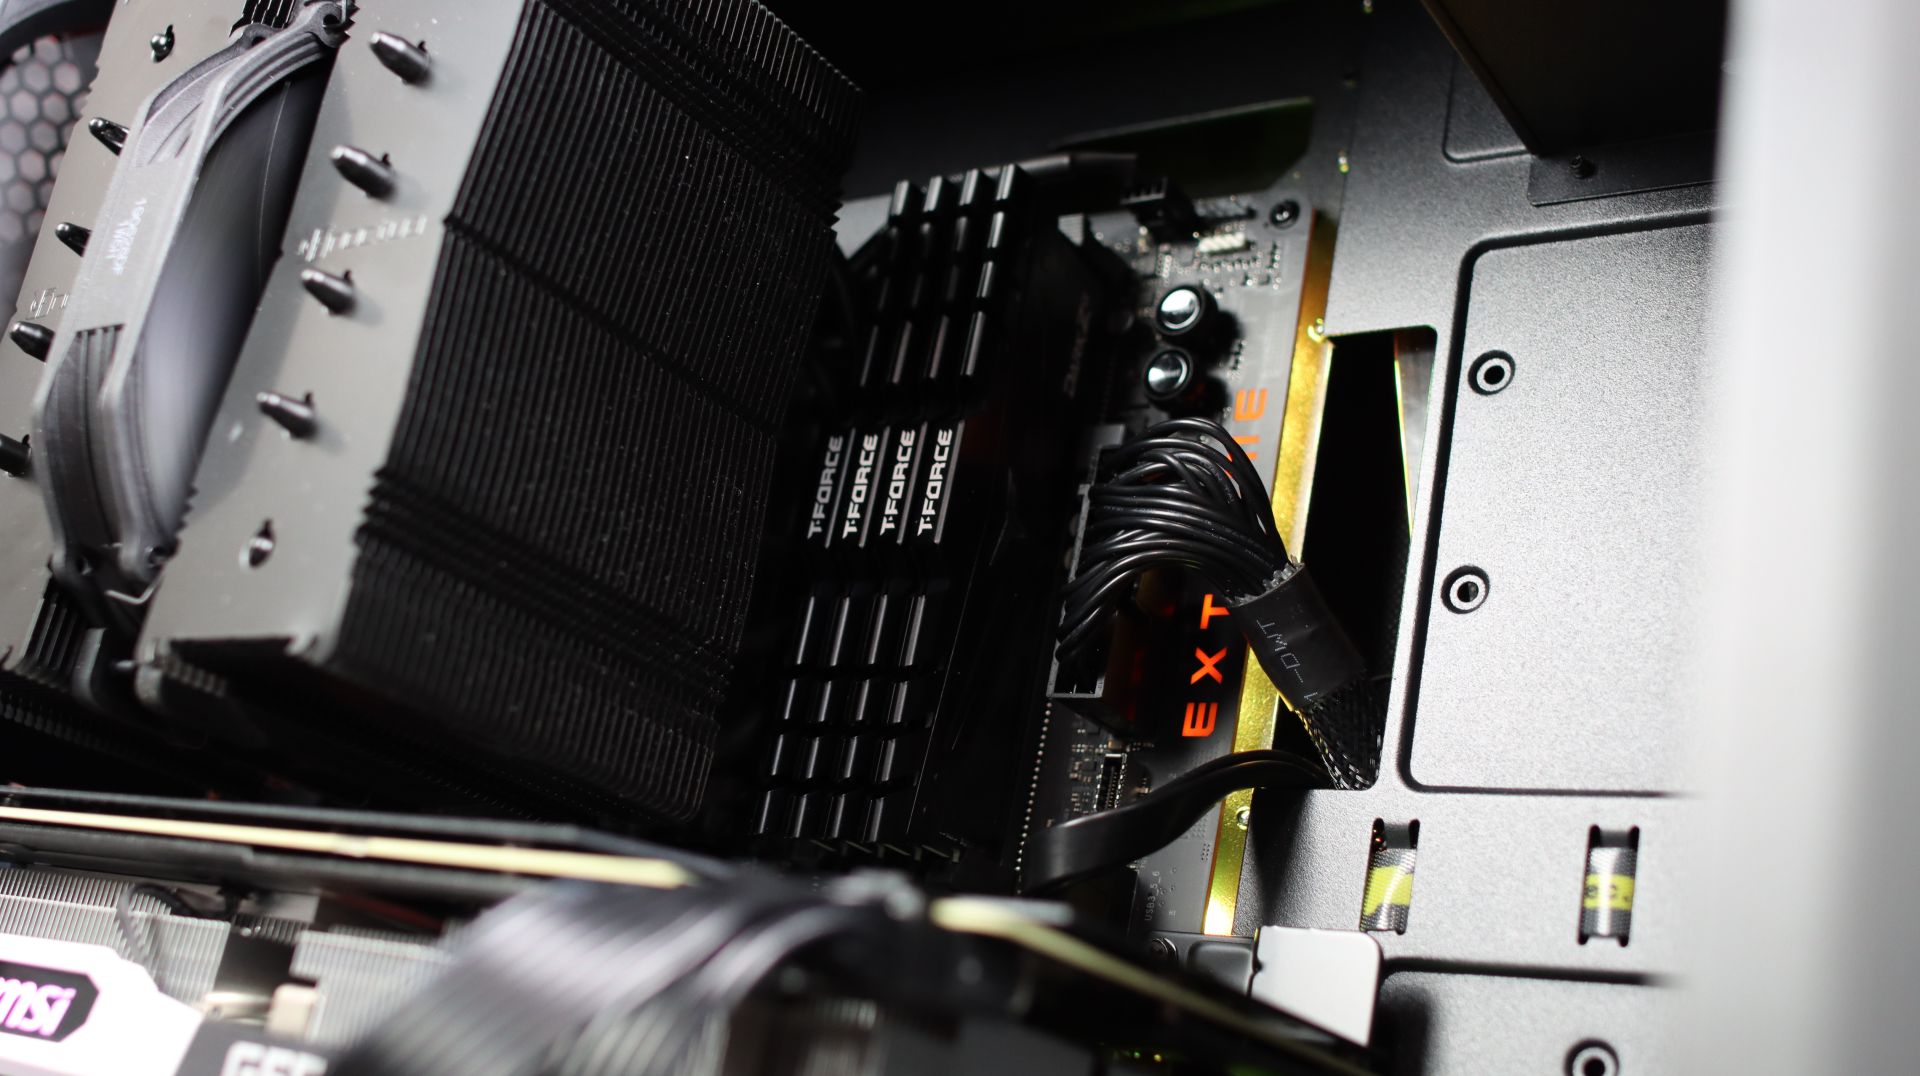
Now you are only left with placing a bootable USB stick with desired OS, installing motherboard drivers (chipset, LAN, audio and others), graphics card drivers from the official website and then start downloading games.

First, the computer components that you need to build it.
You will need:
- Motherboard (MBO)
- Processor (CPU)
- Computer memory (RAM)
- Storage (SSD or HDD)
- Graphics card (GPU)
- Power supply (PSU)
- Cooler for the processor
- Case
In addition to those parts, if you are getting a processor that already had a stock cooler and that is solid, you do not need an additional CPU cooler like a tower cooler or an AIO. Our advice is also to check out a case that already has some pre-installed fans that will create a good air flow through the case and help the coolers on the graphics card and processor get fresh air.

【All components for PC build】
Let us check out the parts individually.
1. Motherboard: ASRock Z590 Extreme


There is always a possibility to go lower or higher with the motherboard, but we will be using this one as an example. It supports 10th and 11st Generation of Intel Core processors but also supports PCIe 4.0 graphics cards and Gen 4x4 NVMe M.2 SSDs with some other cool features. If you are not comfortable with overclocking your processor, you can always go with a lower grade model of a motherboard.
2. Processor: Intel Core i7-10700k


Even though 11st Generation of Intel Core processors is well on the market, suggestion for the processor that packs a punch doesn't heat up much compared to the 11st Generation is this one. We are talking about a processor that has 8 Cores and 16 Threads, Base Frequency of 3.8GHz and Turbo Boost Frequency on 5.1Ghz with 16MB Cache memory. Maximum power consumption of this processor is rated around 125W.
3. Computer memory: T-FORCE DARK Z Alpha 3600 8GBx4


The amount of memory which is enough for todays gaming PCs is 16GB. That is somewhat a sweet spot, but we are going to use 32GB just to fill up all the slots for future proof and for the looks. Also, if someone wants to start with some PhotoShop or video editing, this would be just the right amount. We are choosing Team Group T-FORCE DARK Z Alpha 4x 8GB on 3600MHz. If this PC was more in the budget category, we would go with 2x 8GB on 3200MHz.
4. Storage: T-FORCE CARDEA IOPS M.2 PCIe SSD 1TB


Our advice is to go with NVMe M.2 SSD to lose the wires inside the case and of course to achieve greater read and write speeds. With Team Group T-FORCE CARDEA IOPS NVMe M.2 SSD with storage of 1TB you will be good for operation system Windows 10, some main applications and loads of games (of course if you don't include Call of Duty – then you are good for couple of games). In addition to that if you are looking for an actual storage, hard drive of 2TB on 7200RPM would be just alright.
5. Graphics card: MSI GeForce RTX 2070 ARMOR


In the current situation, it is hard to acquire a graphics card at all, let alone with a decent price. But nevertheless, we will use a decent card for gaming even though it is two generations back. We will use MSI GeForce RTX 2070 ARMOR with 8GB of memory. This one will be quiet alright even for 1440p gaming on medium settings achieving well above 60FPS in most games.
6. Power supply: Fractal Design Ion Gold 850W


Something to power up your computer, the power supply. There are cheaper solutions with lower efficiency rating, less watts (for this PC 600-700W is quiet enough) and non-modular but we also want to show you what are the benefits of a modular power supply. We choose Fractal Design ION Gold 850W. As said, not that we need 850W, but just as an example in building a computer.
7. Cooler for the processor: Noctua NH-D15 chromax.black


You can choose to use the stock CPU cooler, or you can go advance and get an aftermarket CPU tower cooler or even an AIO liquid cooling system with closed loop. Since we are using a bit stronger CPU, to keep the temperatures lower at higher load, we are going to use Noctua NH-D15 chromax.black which is more than enough for this processor.
8. Case: ANTEC P10 FLUX

Choosing a right case is also important when it comes to building your computer. If it has some pre-installed fans, you are already half way done when it comes to cooling since the initial cooling is solved and the air flow is already designed.
【Installation Process】
1. Install the CPU in the motherboard
First, we will start by removing the motherboard from the box and add all the components we can on it before placing it inside the case.
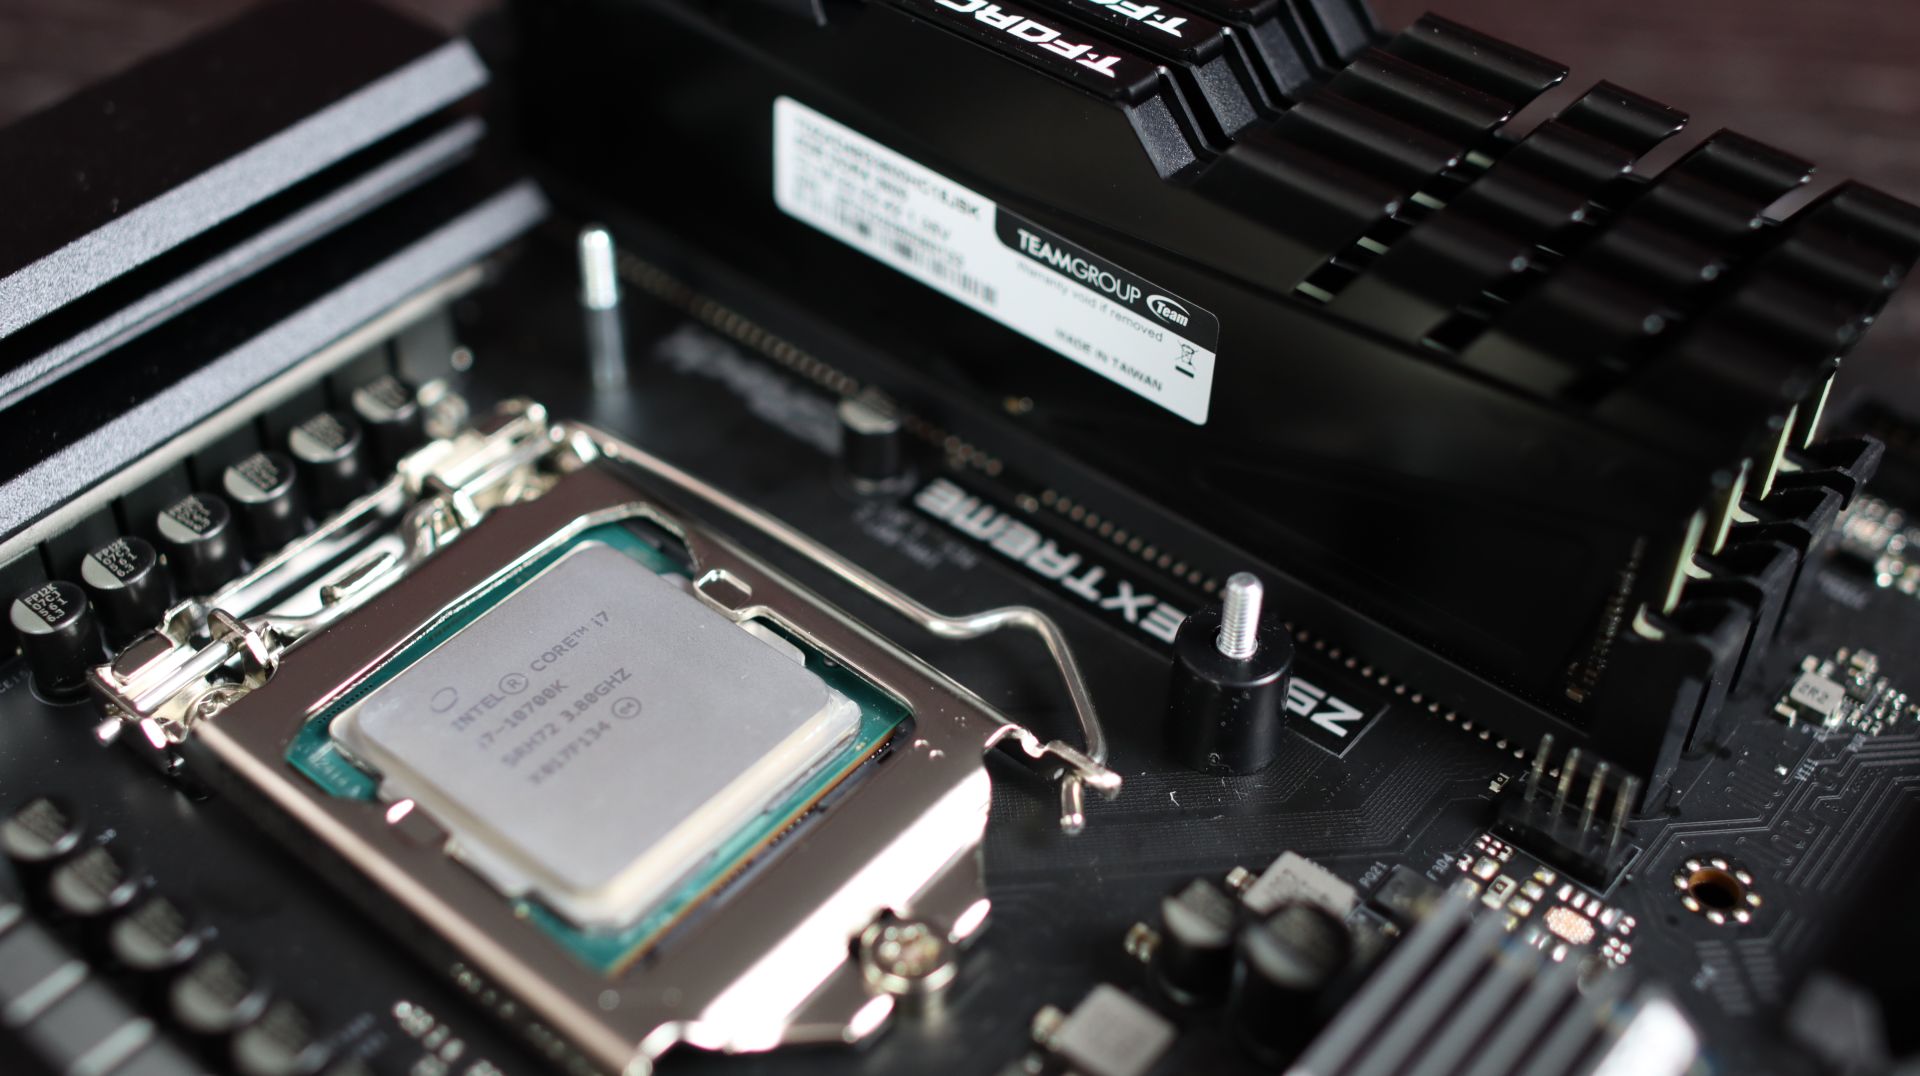
Take the processor out of the box and follow the picture instructions.


Slide and release the latch holding the processor holder of the Intel socket. Leave the plastic cover on and check out for the side cut outs on the processor and how it goes inside. Be careful with the pins on the motherboard because if they get bent you won't be able to place them back in the proper position or you might break them thus making the motherboard broken. Place the processor in the socket and return the latch holding the processor in the original position. When doing this you will need to use a bit of pressure to place the latch back inside. When everything is placed correctly, the plastic cover will just pop out and you can remove it. Store the plastic cover back inside the motherboard box for a possible warranty replacement since motherboard manufacturers don't accept the RMA without it. This is important.
2. Install the SSD on the motherboard
Since on this motherboard you have a passive heatsink, we will remove it since the Team Group T-FORCE CARDEA IOPS has one of its own. Untighten the screws holding the passive heatsink and place the NVMe SSD accordingly to the pins on the motherboard M.2 socket. Pictures for reference.


Then tighten the screw on the motherboard that will hold down your NVMe M.2 SSD.
3. Install the RAM on the motherboard
Next is the RAM placement. Be sure to check where the cut out on the RAM connector is and where it is supposed to go inside the motherboard. Release top and bottom or just top latches that usually hold the RAMs so you can place the RAMs on the motherboard. Pictures for reference.


4. Install the Cooler on the motherboard
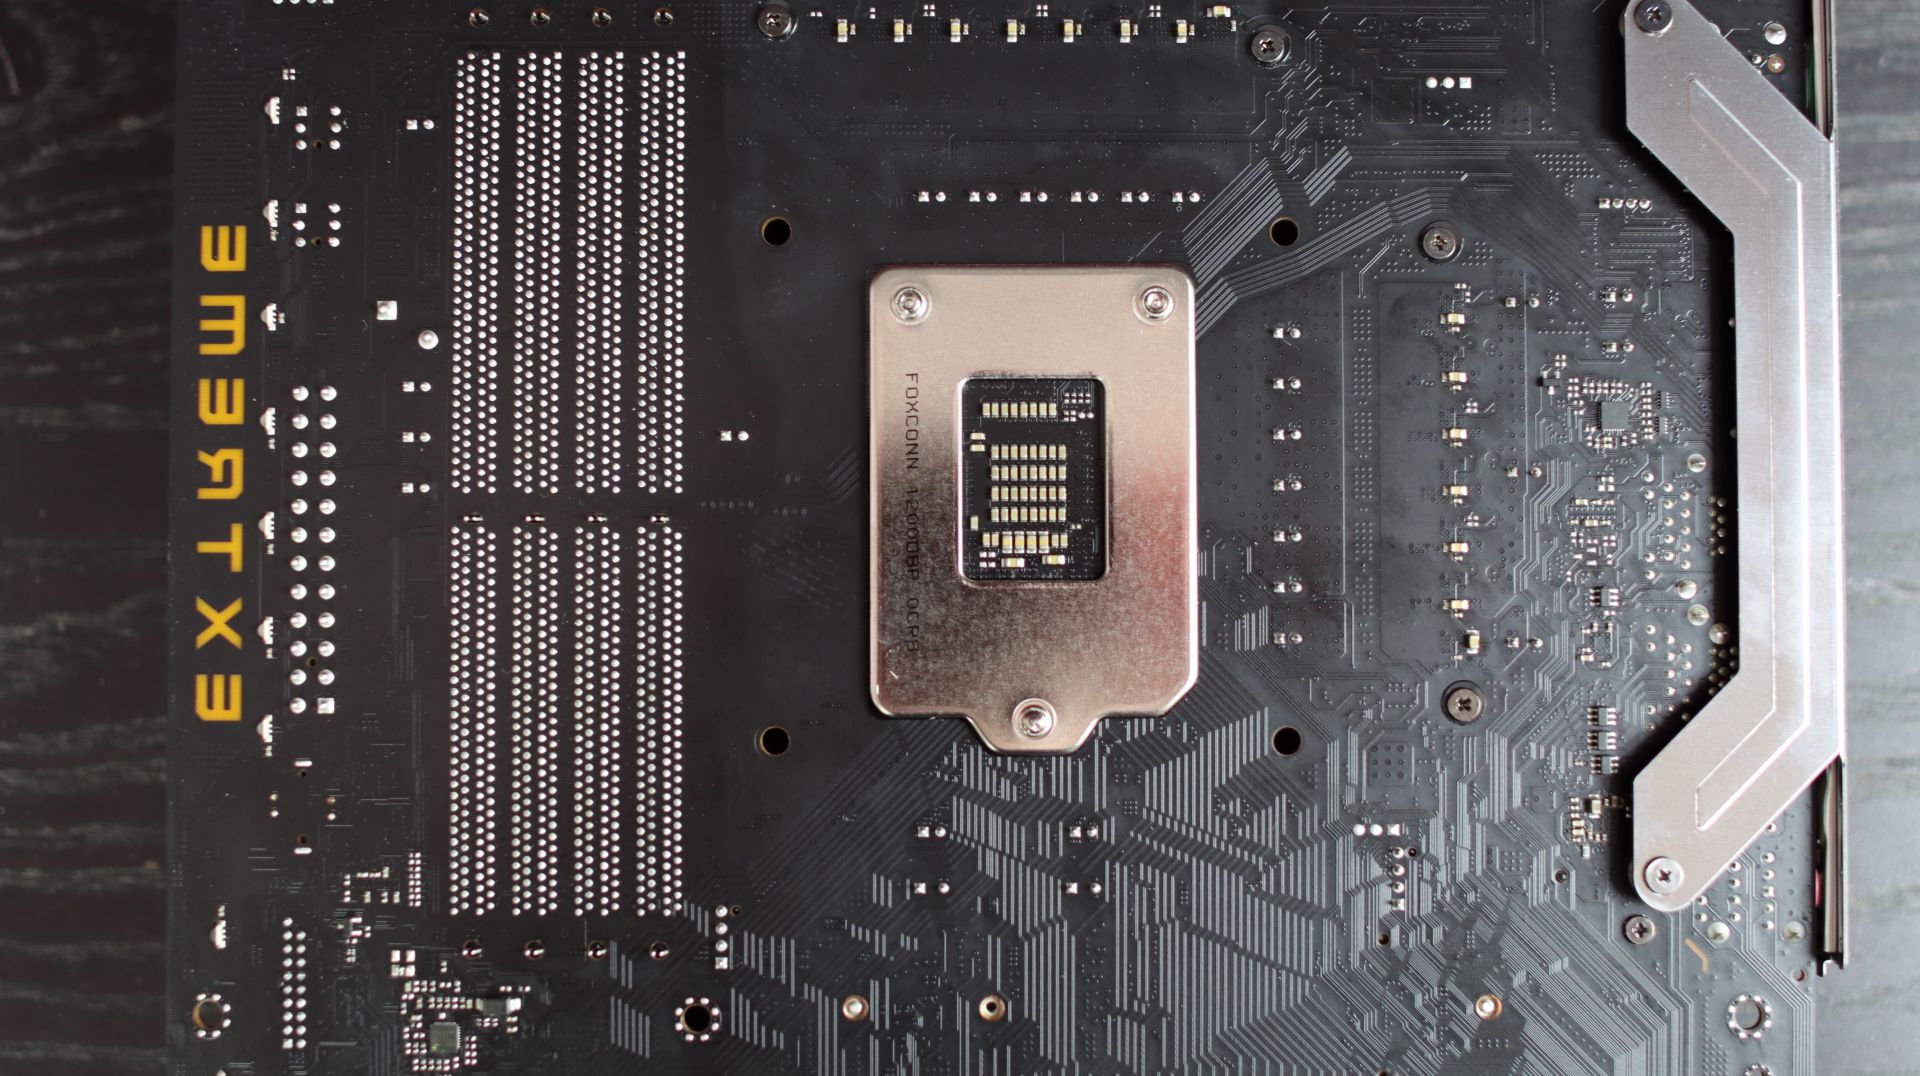
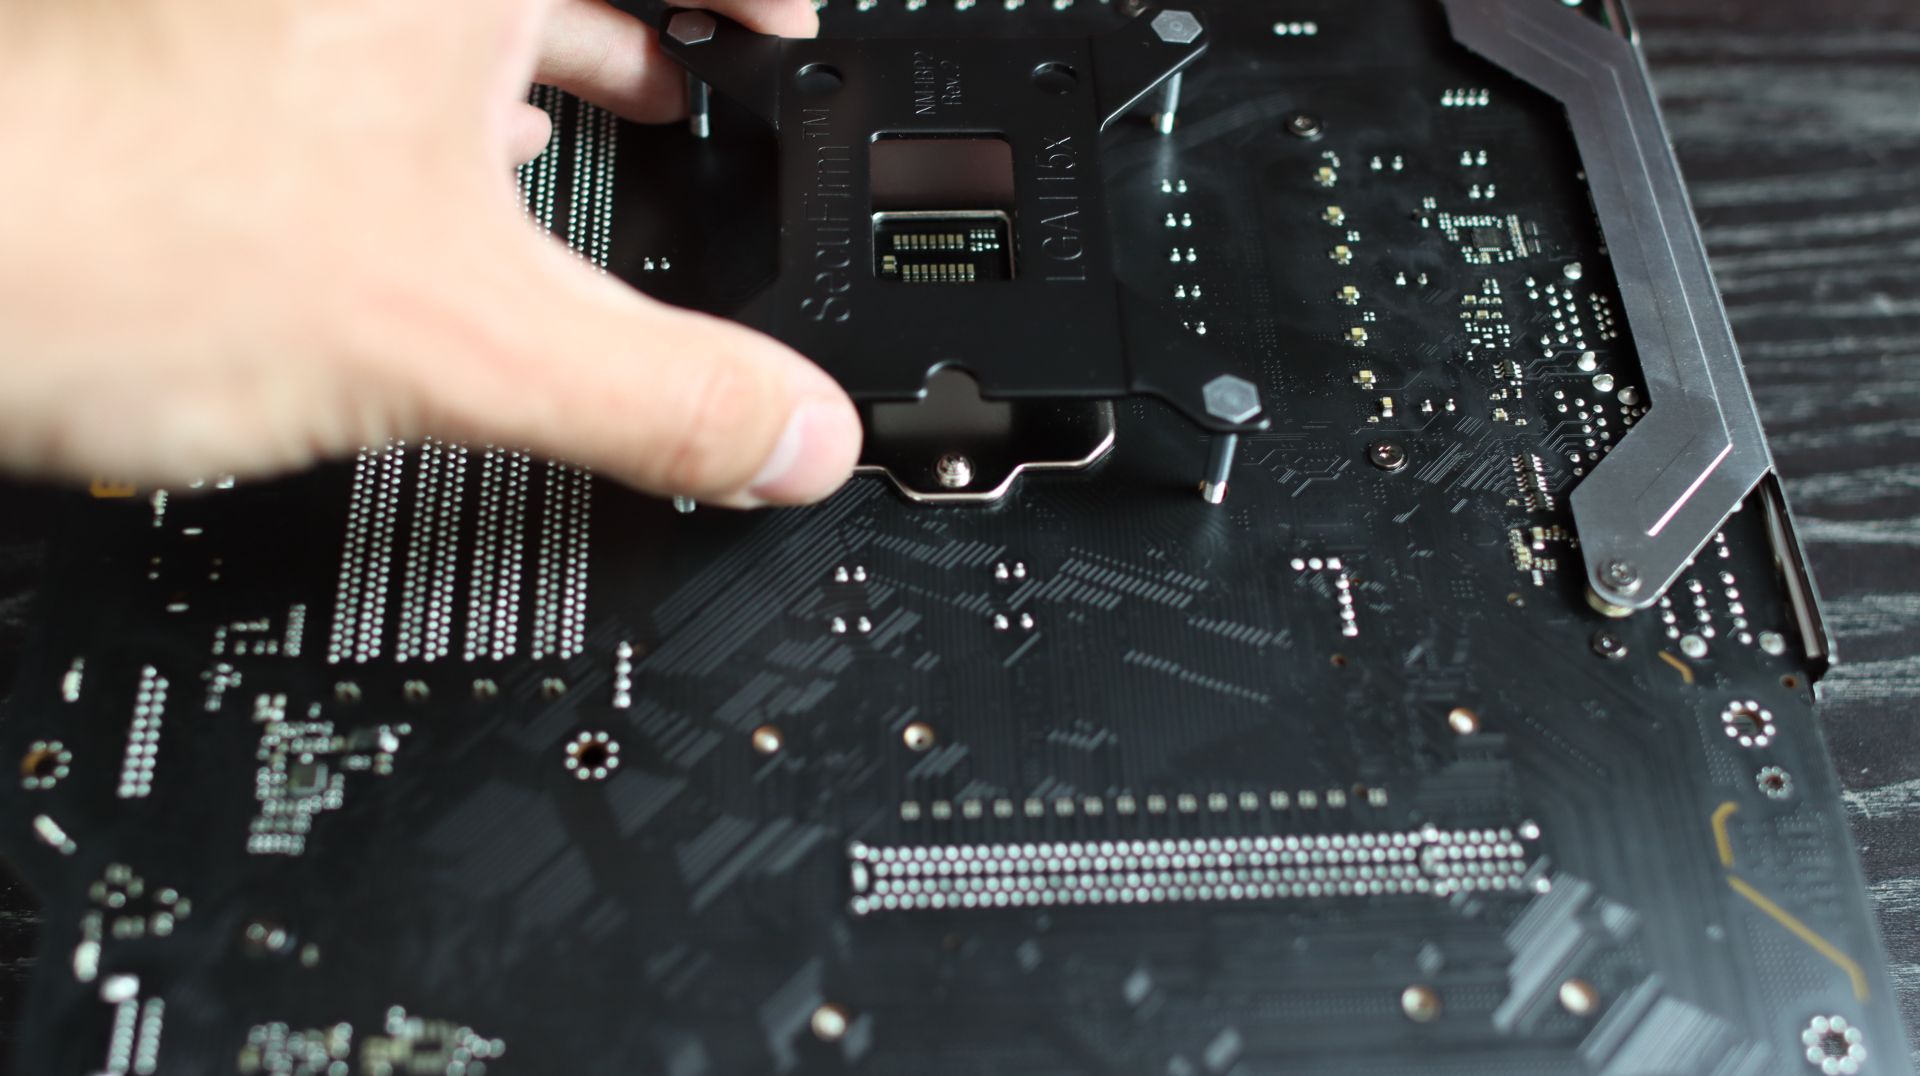
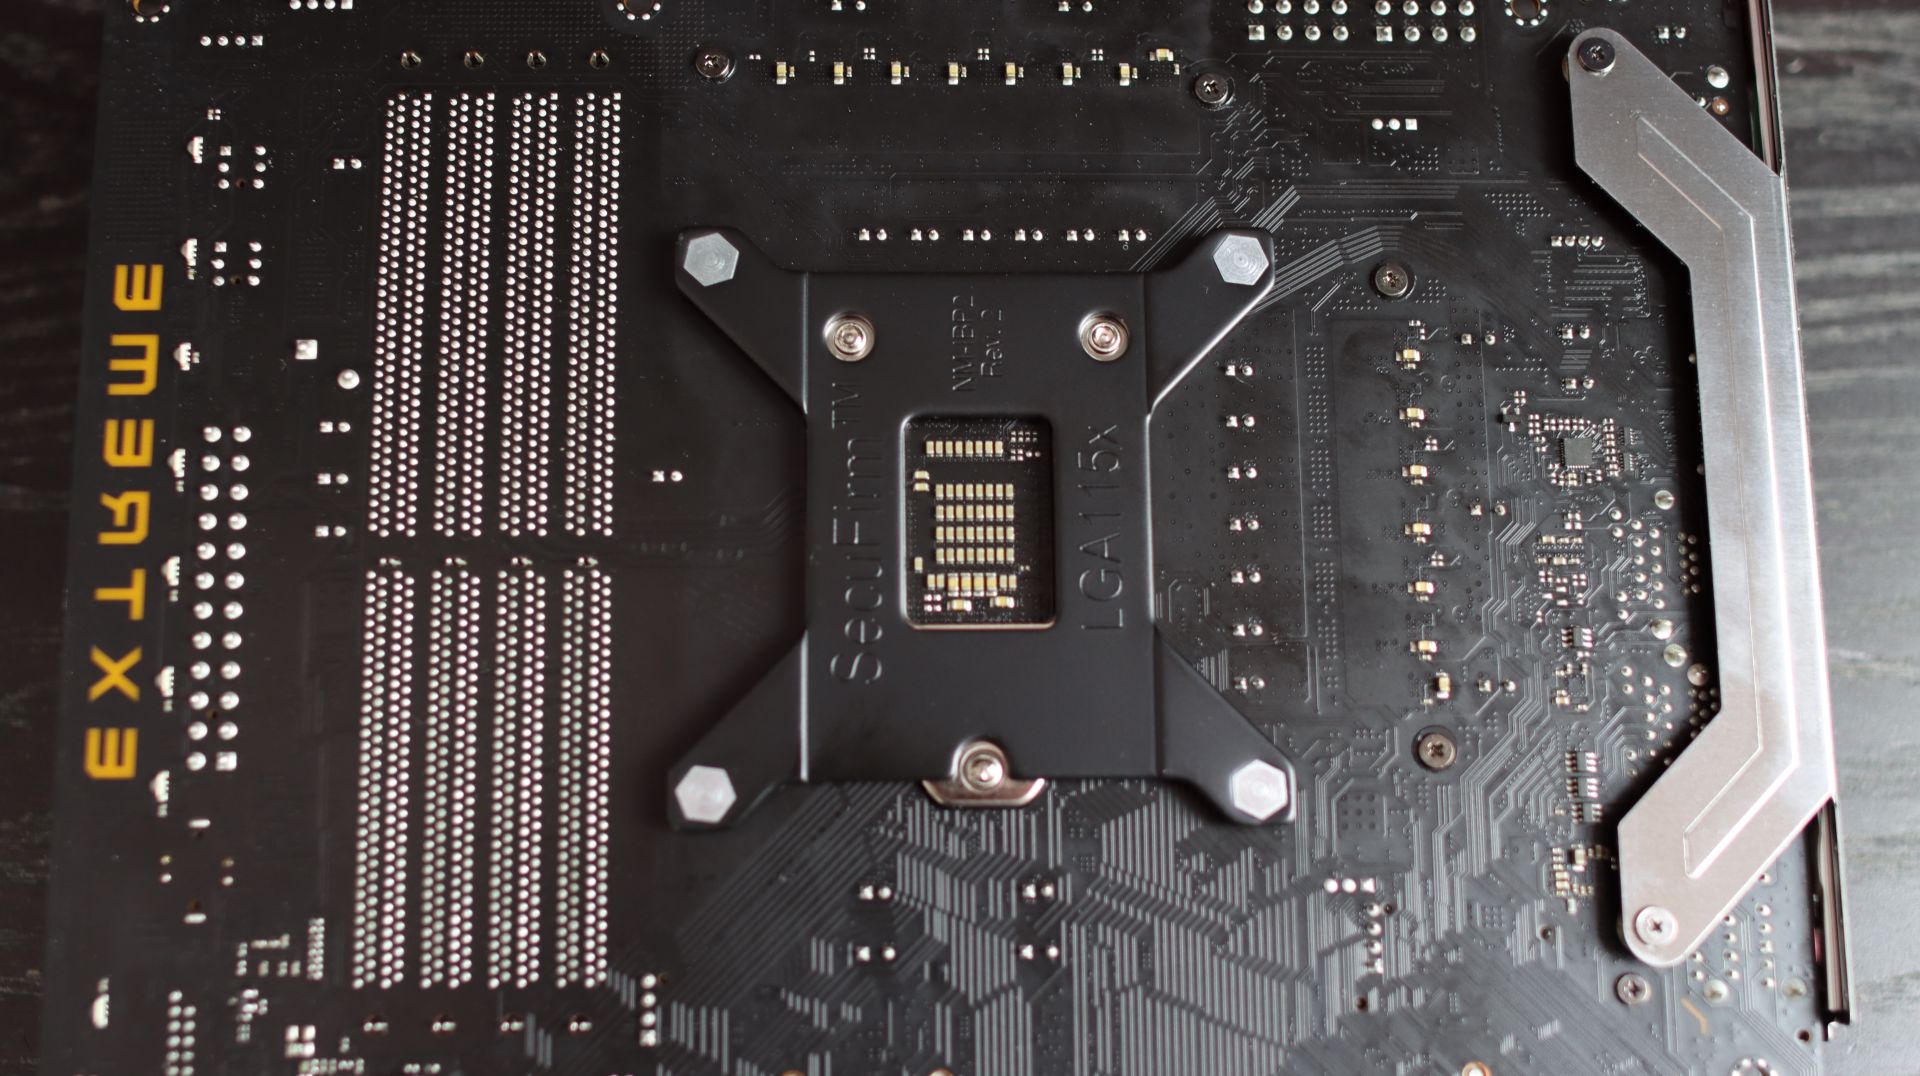
Now it is time to place the cooler, but before that we need to place the backplate at the back of the motherboard and then a pea size amount of thermal grease or paste on the processor in the middle of it.


Since every processor tower cooler has a different way of placing the mounting brackets on the motherboard, please refer to the processor tower cooler instruction manual on how to place them there and of course how to place the processor cooler on the processor. One important tip, diagonally tighten the screws on the processor cooler or if you have two screws like on this Noctua NH-D15 chromax.black, tighten them evenly so the cooler doesn't pop out. Connect the PWM header to the CPU FAN header on the motherboard.

5. Place the motherboard inside the case
Check if your case has all the standoffs for motherboard mounting placed inside.


If they are few missing, use the case accessory box and place them according to the size of your motherboard (ATX, microATX or mini-ITX).
The best way to place the motherboard inside your case is to lay down your case. First check if you have the I/O shield that needs to go inside the case where the connectivity ports on the motherboard are at the back. If the I/O shield is already attached to the motherboard then keep going. Gently place the motherboard inside by checking out the standoffs and if they match with the holes on the motherboard as well as aiming to get a perfect fit with the I/O shield at the back side of the case. Place and tighten all 8 or 9 screws (depending on the case, middle one sometimes can be just a holder to center the motherboard).
In this situation, we are using 2x 8-pin EPS cables that go on the top left corner of the motherboard, 1x 24-pin cable that goes almost in the middle right part of the motherboard, 1x 6-pin and 1x 8-pin PCIe cable for your graphic card, 1x SATA power cable for the controller at the back. Connect all these cables to your power supply if you have a modular one like we have in this tutorial. If you have a non-modular power supply, then just slide it in from the side.
First, connect the 2x 8-pin EPS cables and 24-pin cable on the motherboard.


Now connect USB 3.0 front panel to the motherboard, Audio header, front button header for powering on your computer. All the exact instructions are either written already on the motherboard or you can find the exact description in the motherboard instruction manual.


6. Place the GPU
Time to place in the graphics card. Check how the graphics card will be placed inside the first PCIe slot and then you will realize which PCIe covers need to be removed. In our situation, we had to remove the second and the third from the top.
Release the latch that holds the graphics card to the motherboard and gently align the graphics card to the PCIe slot and the PCIe brackets that will additionally hold it in place.


Now tighten two screws at the back of the case which will hold the graphics card in a straight position. In case there is a slight GPU sag, we would suggest acquiring an anti-sag bracket for it. Connect the 6-pin and 8-pin EPS to the graphics card in a position so that the latch on the cables attaches to the pins on the graphics card which will hold the cable.

7. Verify the cable connections
When all of this is done, one more time check all the cable connectivity and if the cables are properly in place without any movements inside the connector. Arrange the cables at the back with zip ties or velcro ties and close the back panel of the case.
Connect the power cable from the wall socket to your power supply and switch it on. Press the power button on the case and there you go.


Watch full FPS Gaming Build Guide Video
RELATED Blog
1
9
11.Jun.2025
Green Tech: Performance Meets Sustainability
05.Mar.2025
Gaming PC vs. Console: Which is Better?
12.Dec.2024
Understanding CAMM2: Is it the End of SO-DIMM?
30.Oct.2024


