23.Feb.2022
How to Properly Install an AIO Liquid CPU Cooler? What Are the Differences When Installed in Different Positions of the Case?
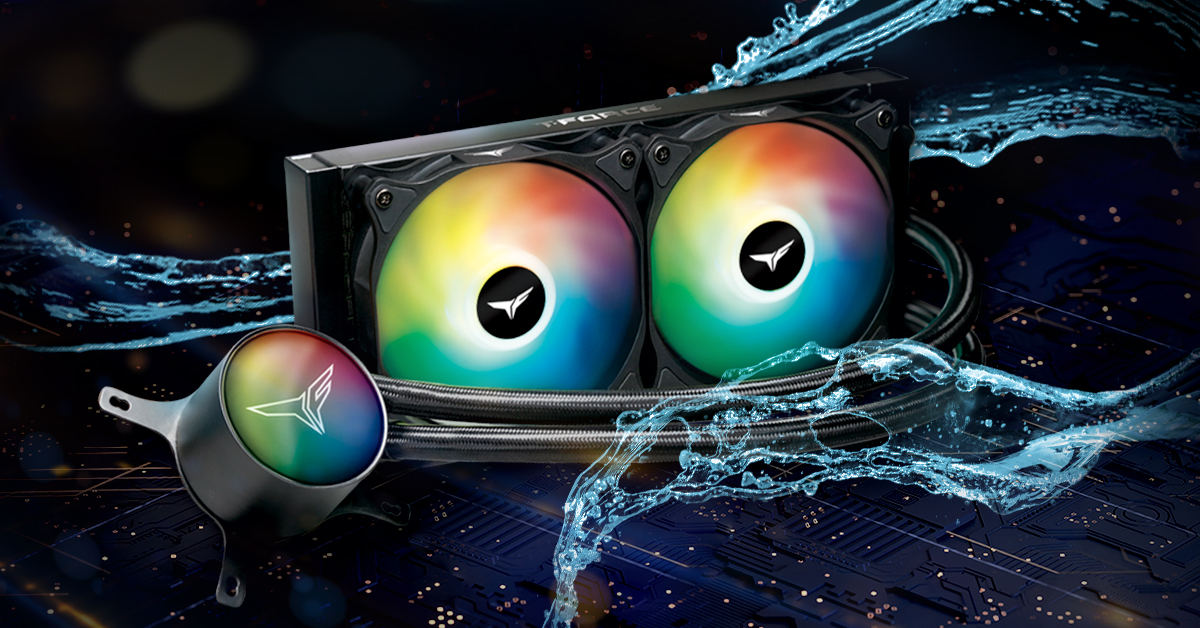
The last article has introduced to you what an AIO liquid CPU cooler is, if you still don’t understand it, go and make up the progress. Is a Liquid CPU Cooler Better Than the Air Cooler? Things You Need to Know Before Buying a CPU Cooler.
Today, I want to share with you how to install an AIO liquid CPU cooler after purchasing it. What should you pay attention to during the installation process?
1. Check the product contents
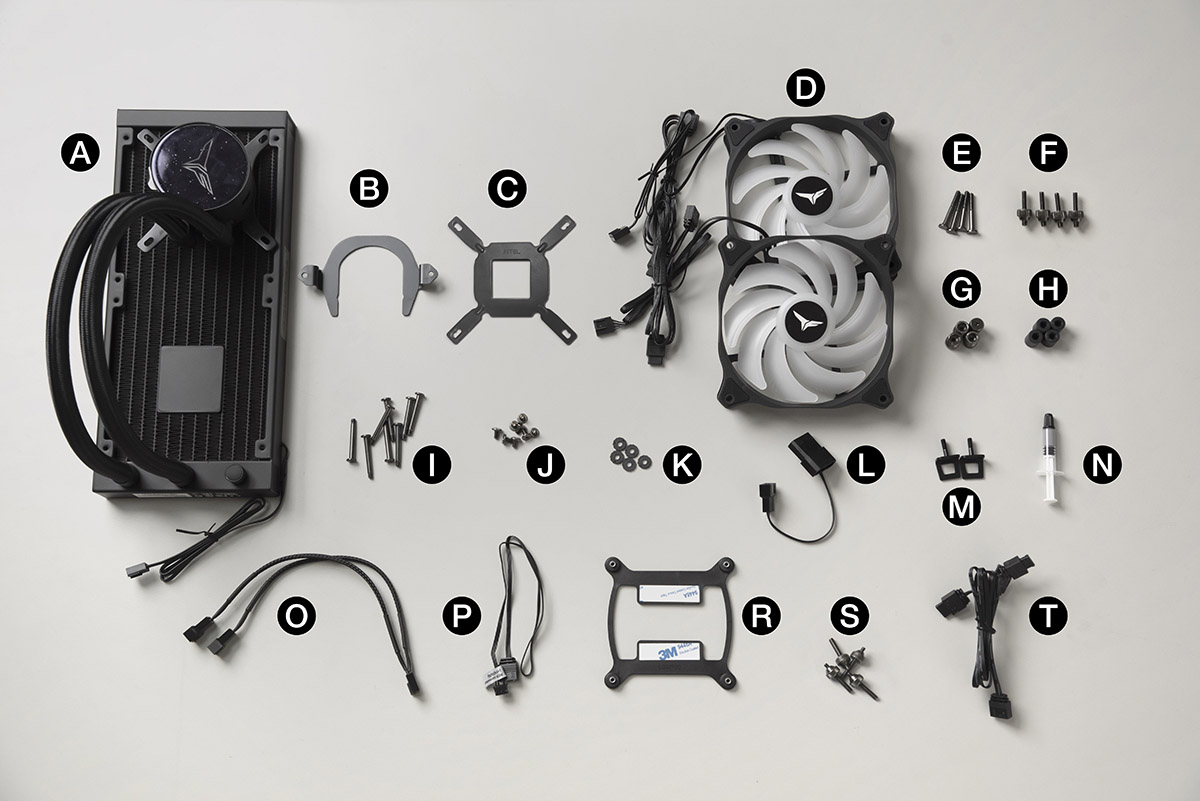
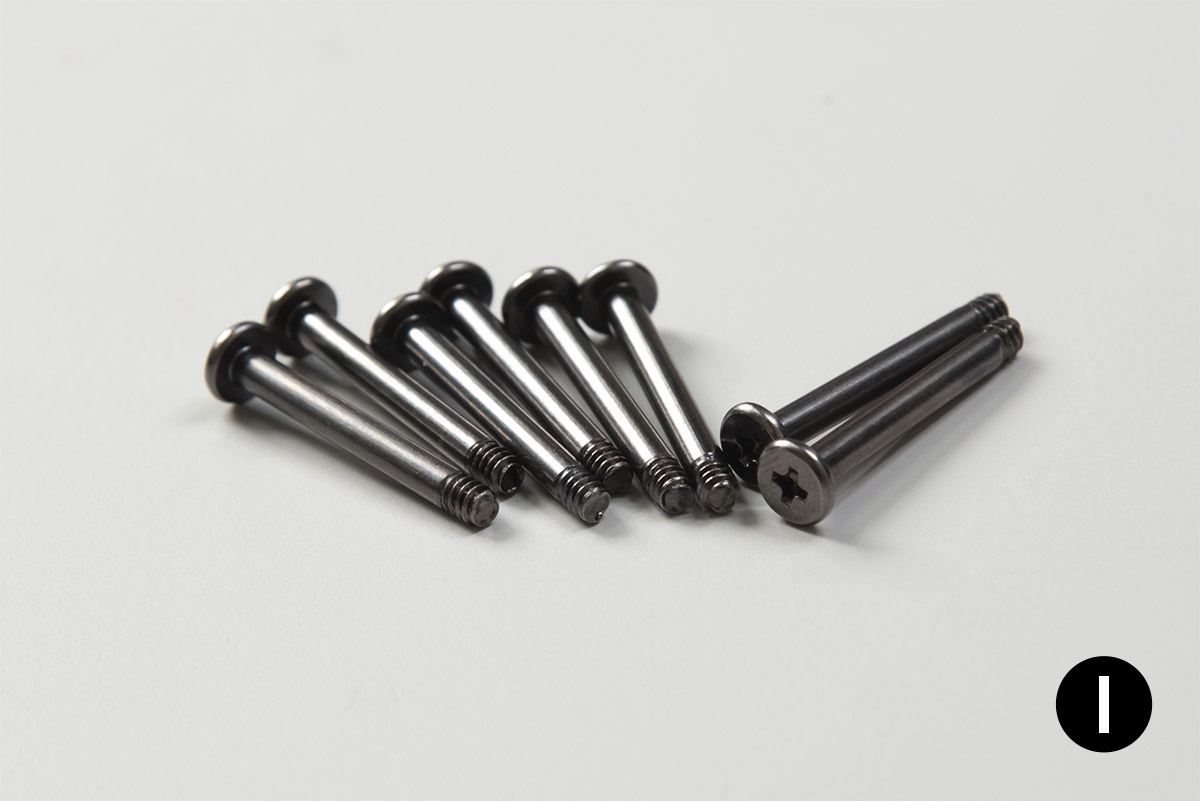
In an AIO liquid CPU cooler, there are many parts besides the cooler itself, such as brackets, screws, and various wires. So the first thing you do is pick up the manual and make sure all parts are there or you may not be able to install smoothly! The following is a demonstration using T-FORCE SIREN GD240E All-in-One ARGB CPU Liquid Cooler.
2. What do I need to pay attention to when installing in different locations of the case?
When you see an AIO liquid CPU cooler for the first time, the first question most people have is how do I install this? The first thing you need to pay attention to is the fans on the water cooling row. Depending on the design of each case, there may be more than one place to install.
Different installation locations have different installation methods for fans. The following two installation positions are more common in the market and have been tested to have more effective heat dissipation.
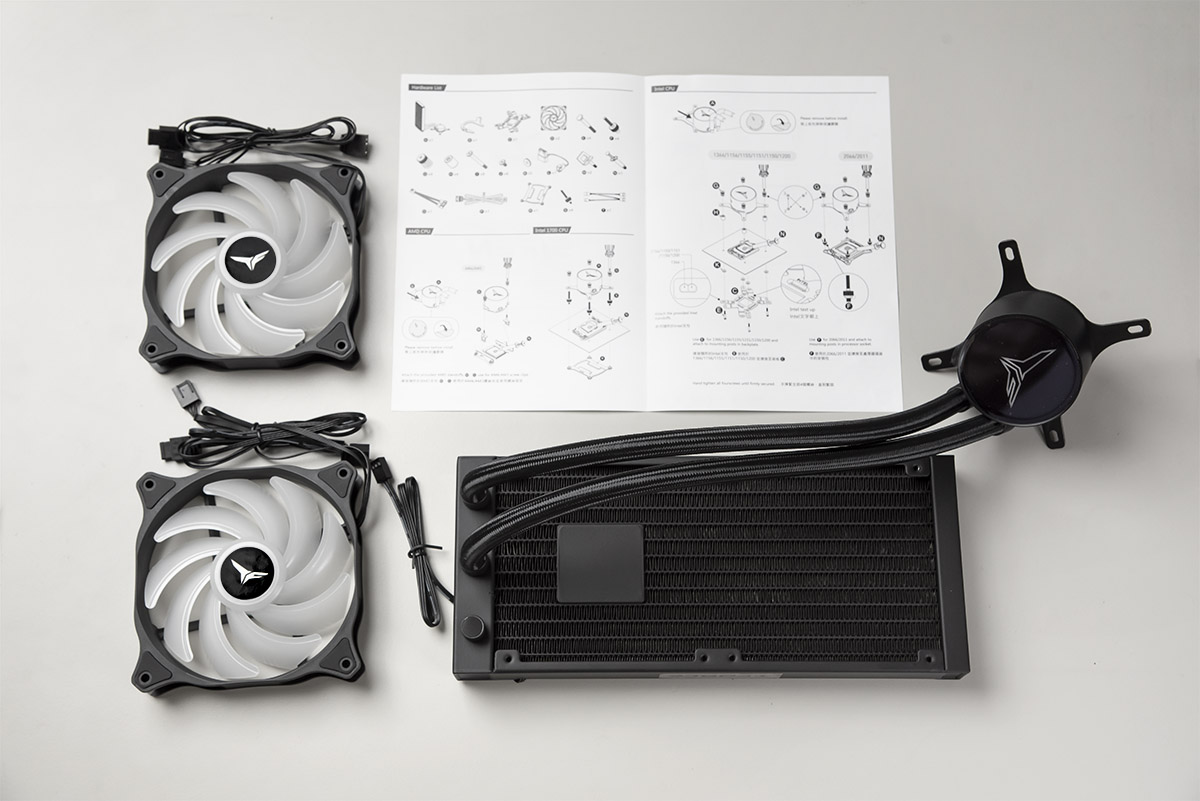
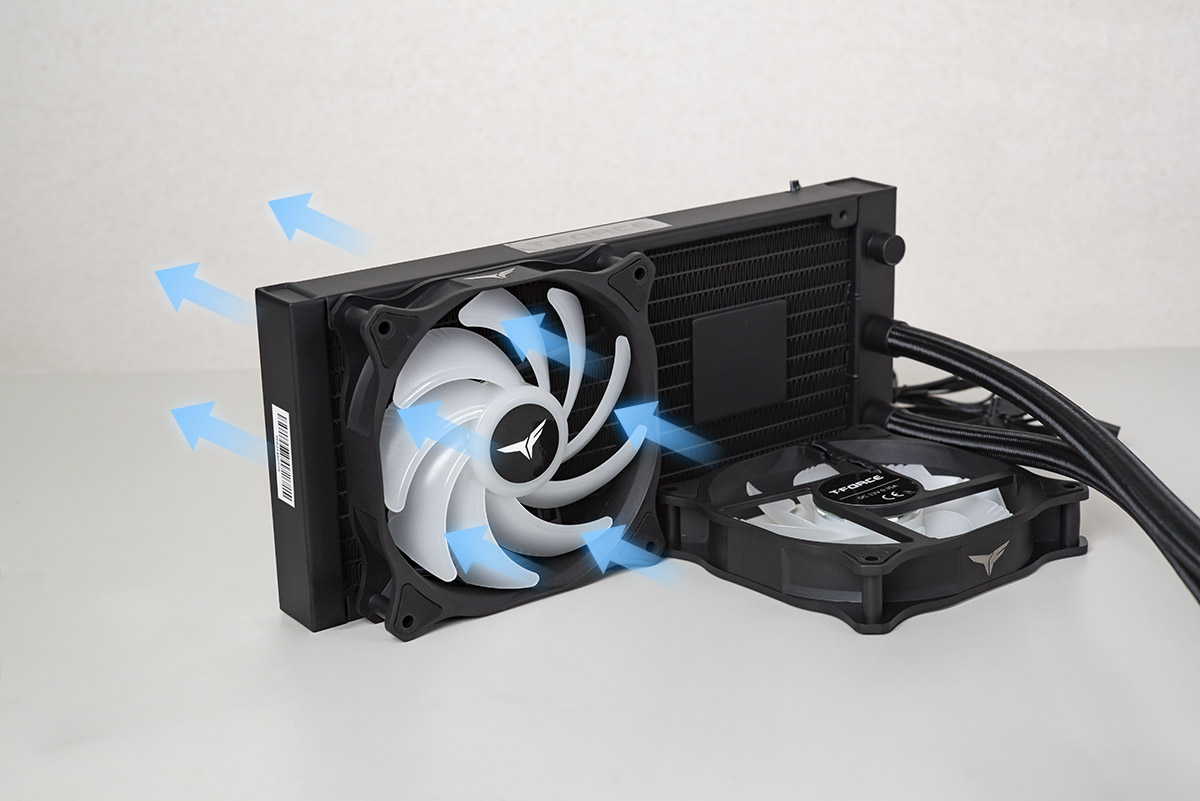
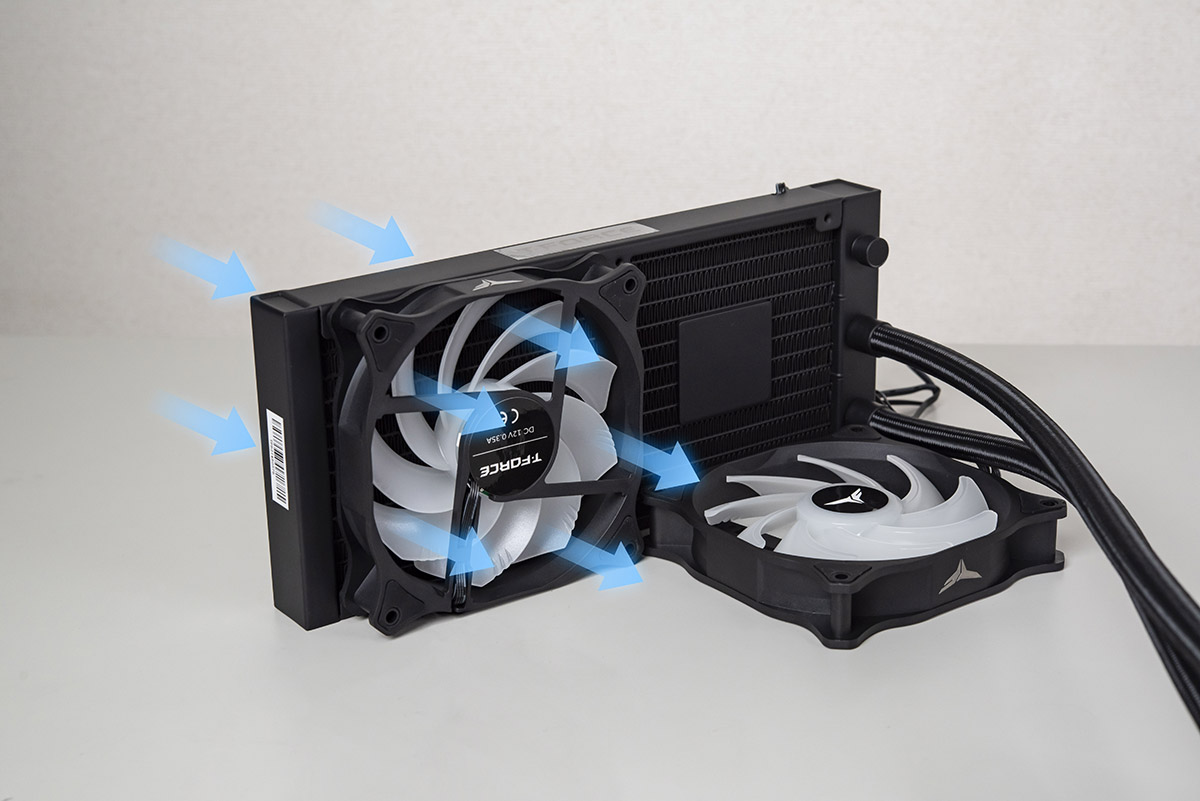
At this point you must be thinking to yourself: Which side is the front? In fact, the installation direction of the fan is related to the direction of air intake. The fan blade basically has a convex and concave side, the convex side is the intake, and the concave side is the exhaust. So the direction of the air flow is like the diagram below.
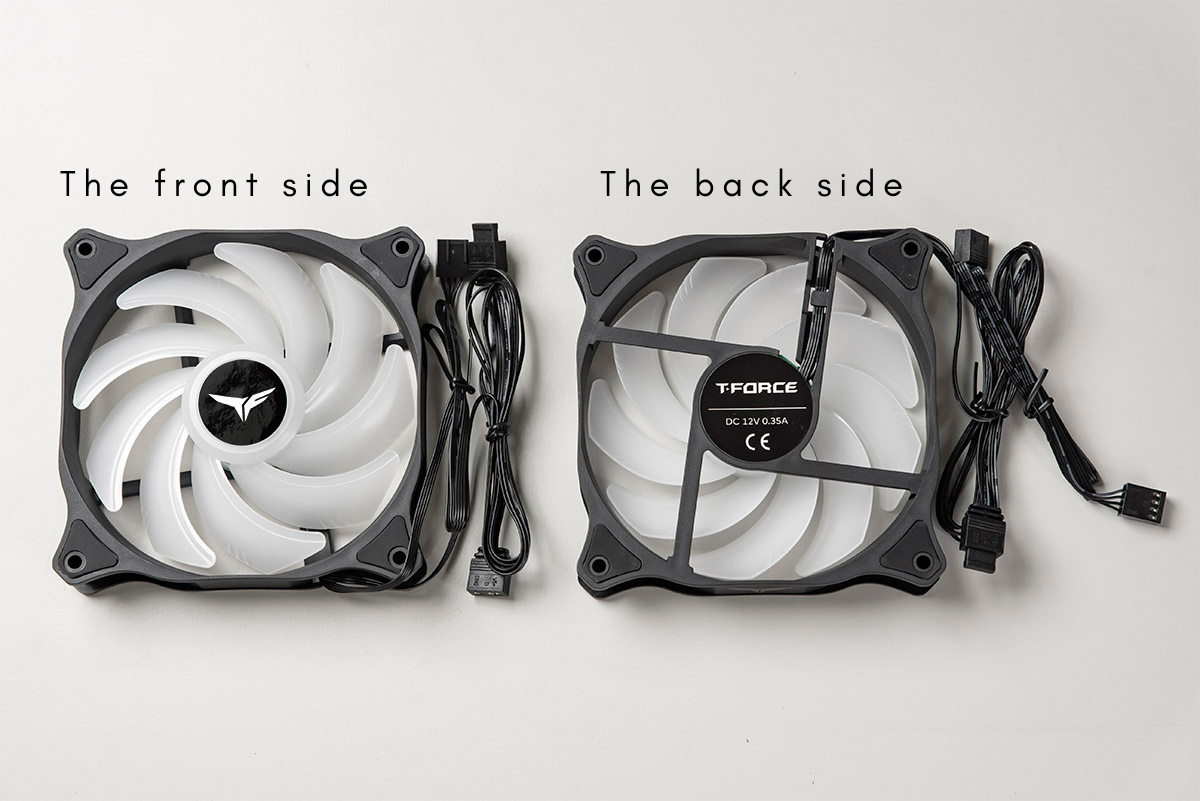
(The front side is convex, the back side is concave)
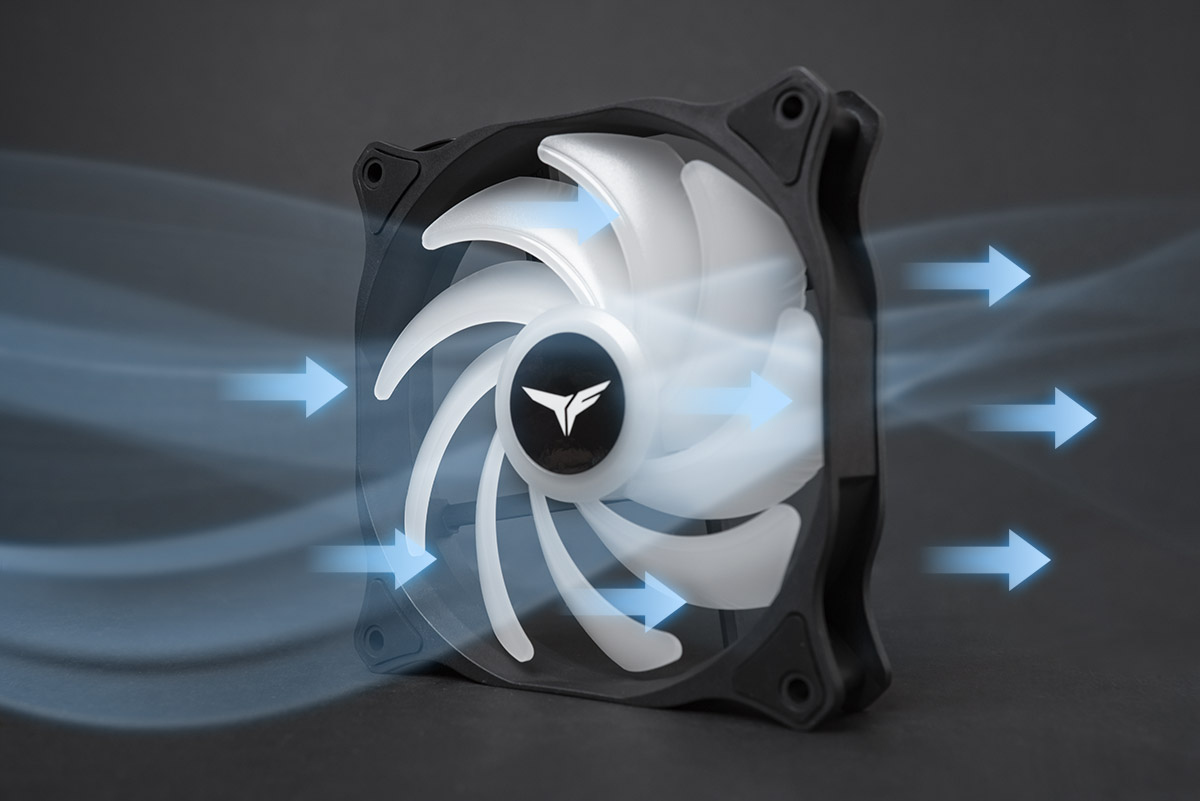
(Fan+air flow diagram)
In the previous article, we mentioned that the purpose of the fan installed on top of the water cooling row is to bring the heat away from the water cooling row, thereby cooling the coolant. If the place you install is at the "top" of the case, the "concave side" of the fan should be installed facing the water cooling row, so that the wind will smoothly blow the heat away from the water cooling row.
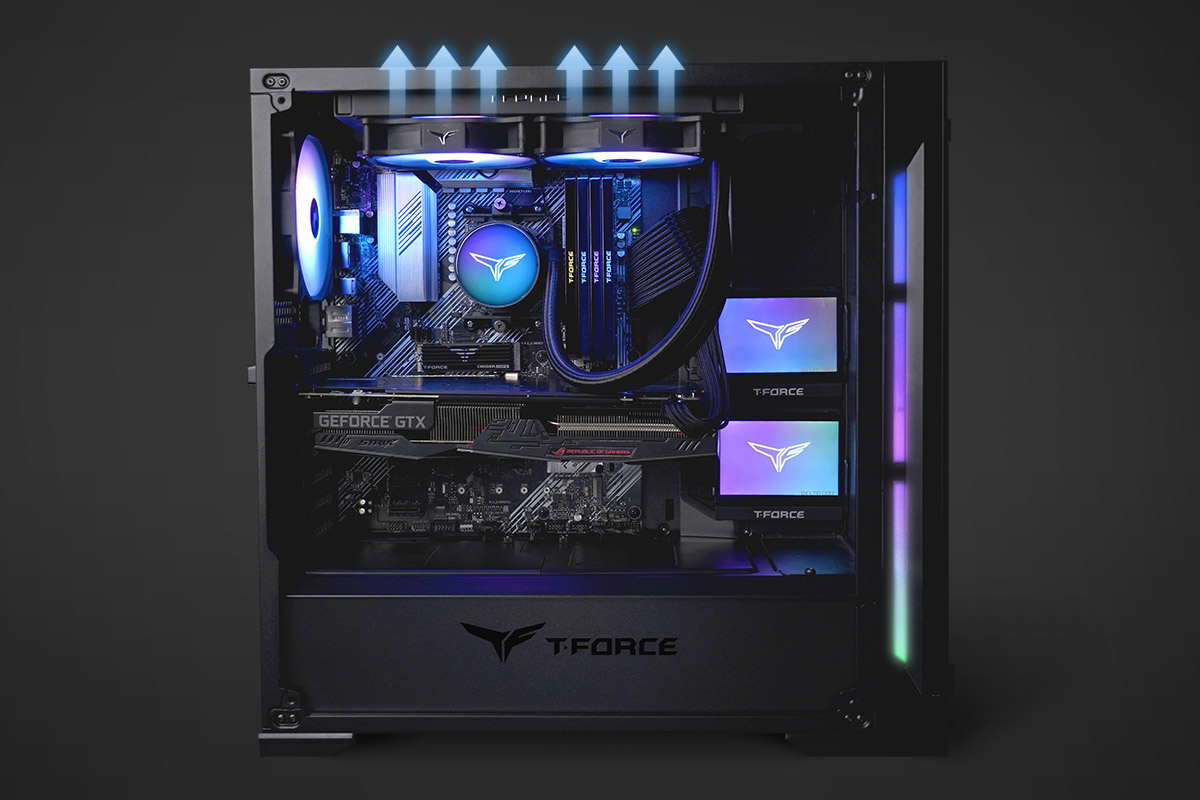
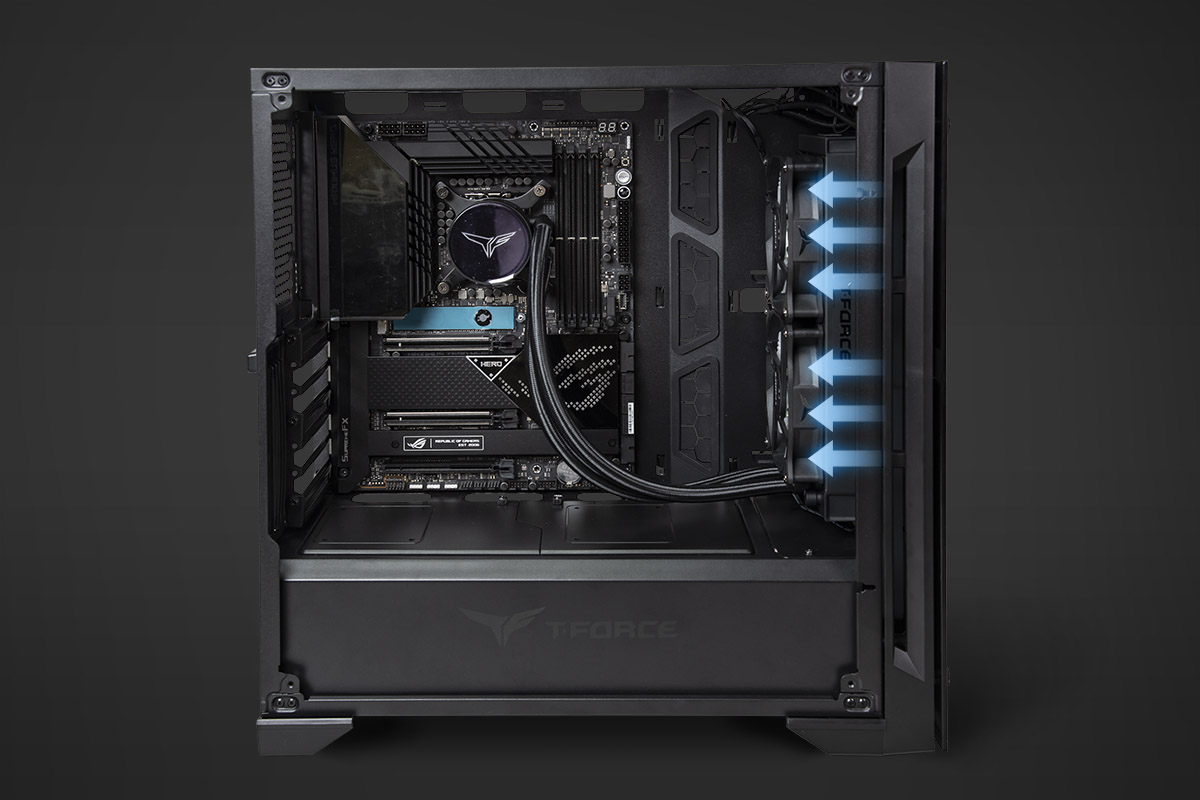
If the place you install is the "front side" of the case, the "convex side" of the fan should be installed facing the water cooling row, and then installed on the front side of the case. It is because the front side of the case is for air intake and the back side is for exhaust, so this way the installation will be in a uniform direction of air flow.
Reminder
The AIO liquid CPU cooler alone can't cool down the entire PC. The PC itself must be equipped with other fan products to achieve an effective cooling effect. A quick tip, if you really forget which side is air intake and which side is the exhaust, try pushing the blades hard to feel the wind flow.
3. Installation steps of the AIO liquid CPU cooler
Speaking of which, let's show you how to install an AIO liquid CPU cooler. Take the SIREN GD240E All-in-One ARGB CPU Liquid Cooler as an example.
1、Install the fan to the water cooling row
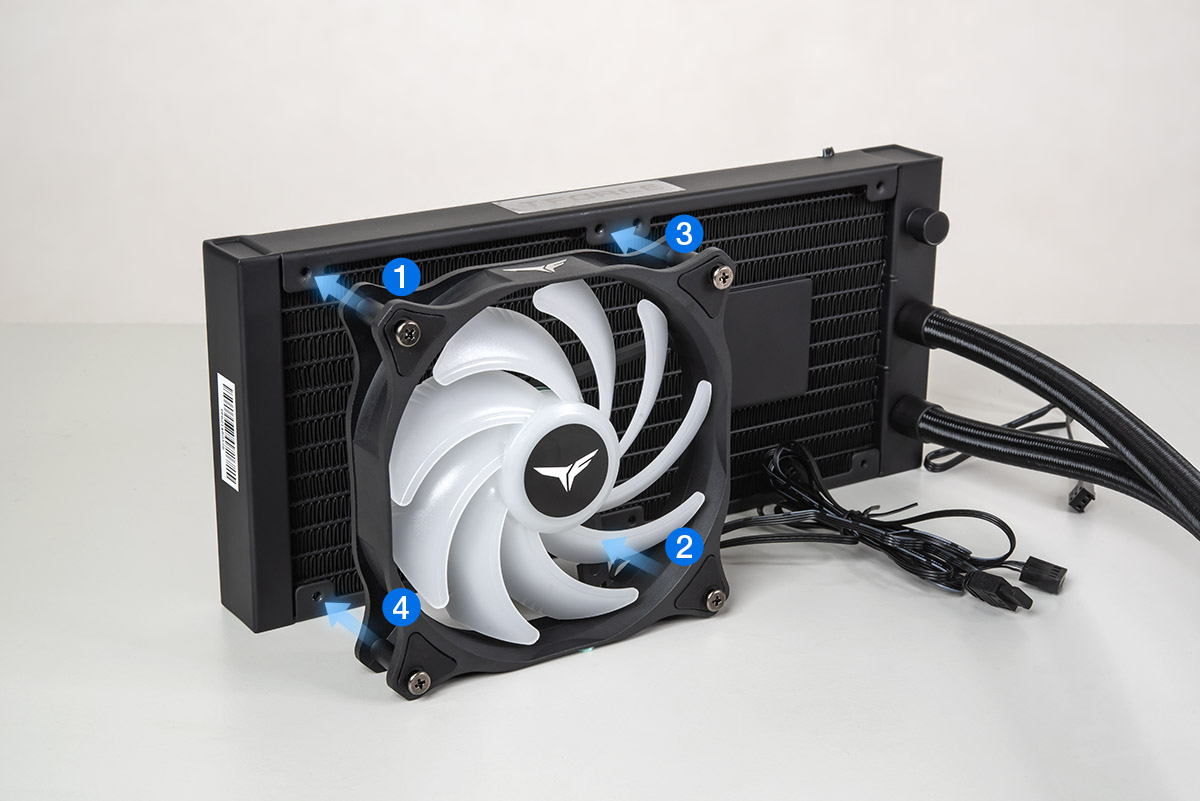
The installation direction of the fan has been mentioned in the previous paragraph. This time we install the water cooling row on top of the case, so the fan direction is as shown below. Confirm the direction and take the longer screws in the package to lock it.
Reminder
Lock the screws in the order of "X". Remember not to lock all four screws tightly at once. After locking all four screws loosely, then tighten them in the same order.
2、Install water cooling row into the case
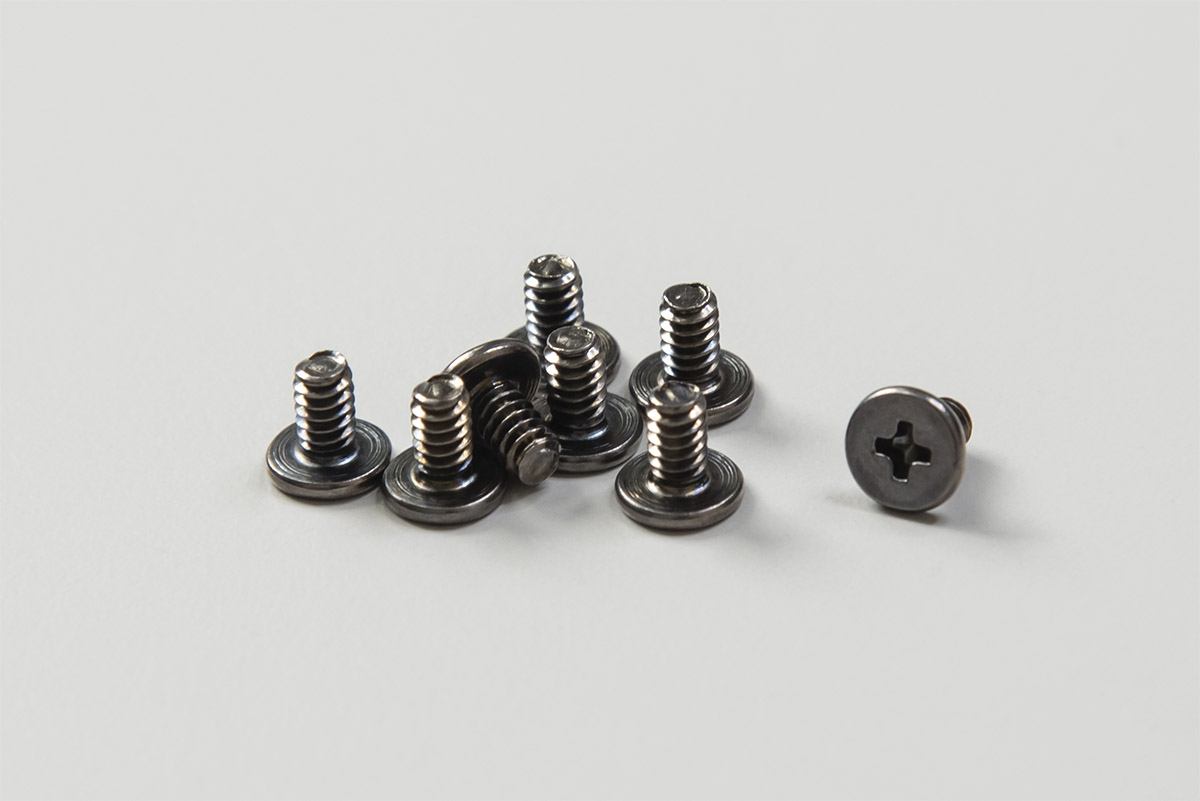
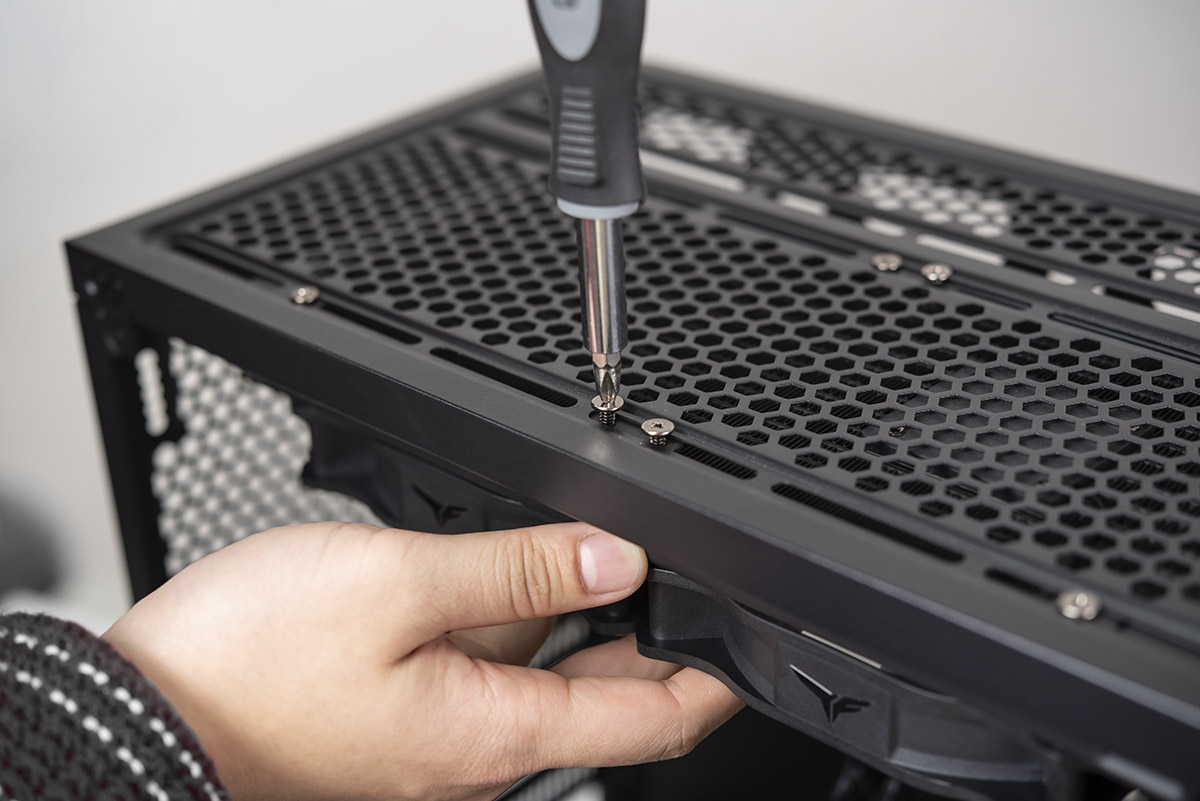
Align the water cooling row with the holes on the top of the case, take the appropriate screws from the package and screw them.
Reminder
Remember not to lock the screws tightly at once. After locking all screws loosely, then tighten them in the same order to avoid damage to the product. In addition, some cases have magnetic filter on the top, you will have to remove the filter to see the installation location.
3、Install water block
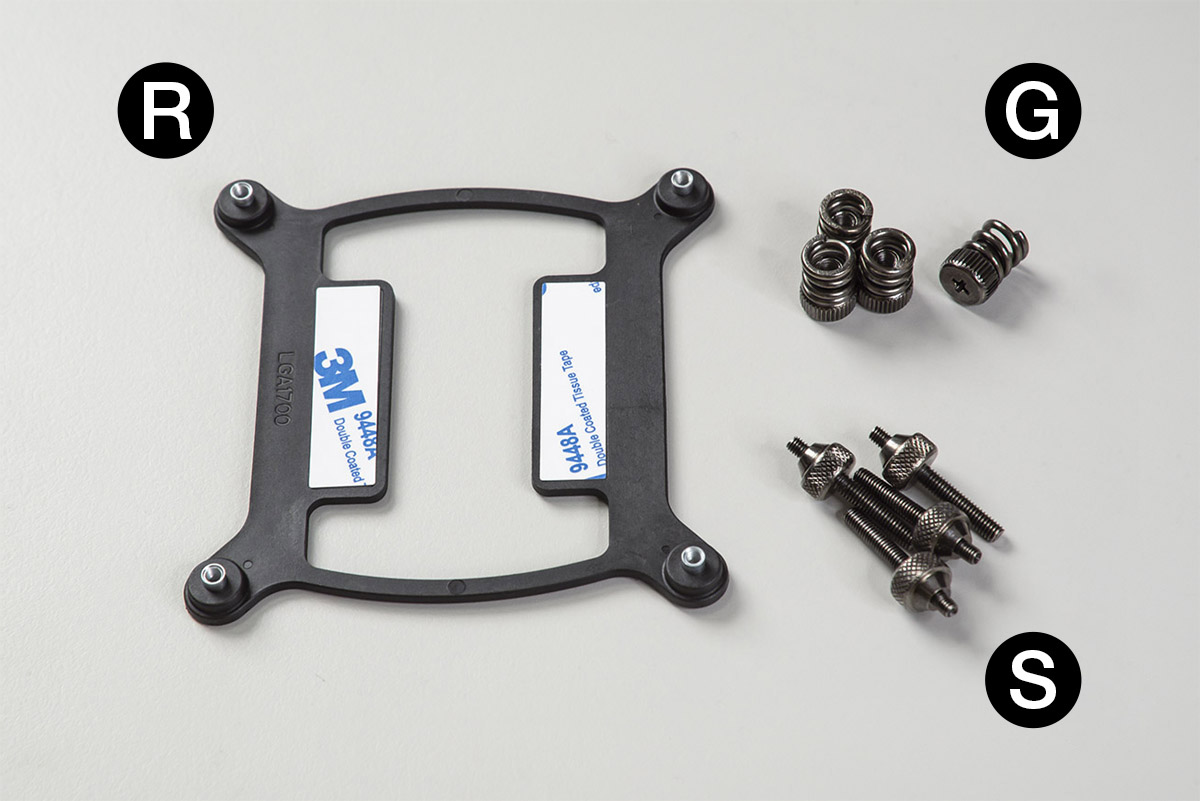
Before installation, select the appropriate bracket. Take the 1700 socket of INTEL's latest 12th generation CPU as an example, the installation steps are as follows:
First, place the bracket for the 1700 socket to the screw holes on the motherboard from the back. Flip motherboard to the front and secure the screws in the four corners.
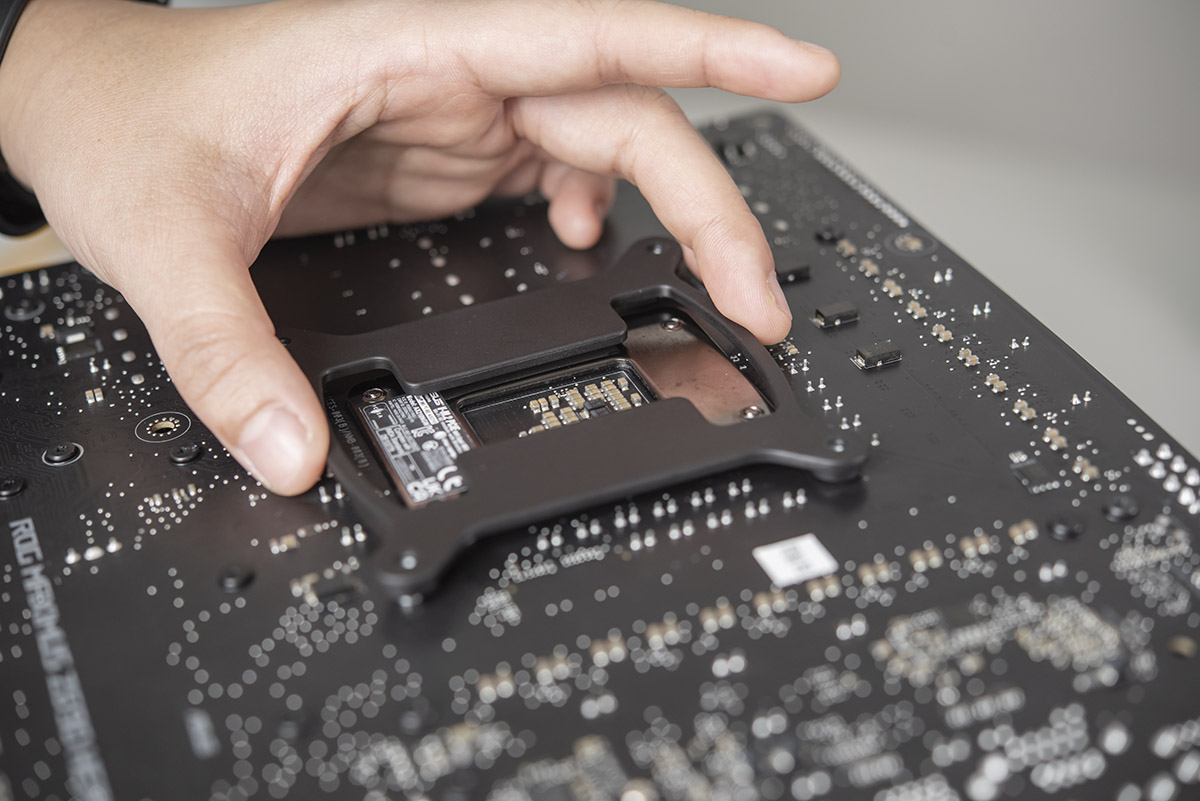
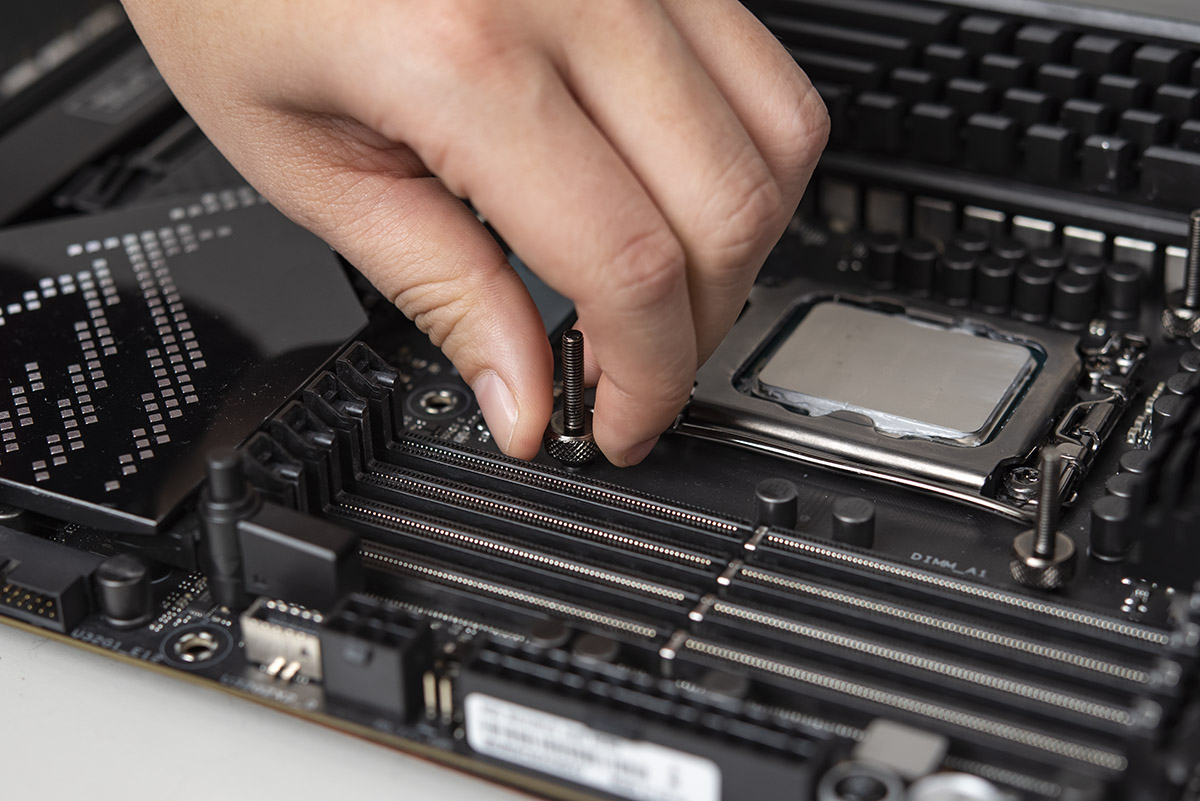
Then, after placing the CPU on the motherboard, remove the protective cover and apply thermal paste. There are millions of ways to apply the thermal paste. I found that the following 5-point method can be applied most evenly.
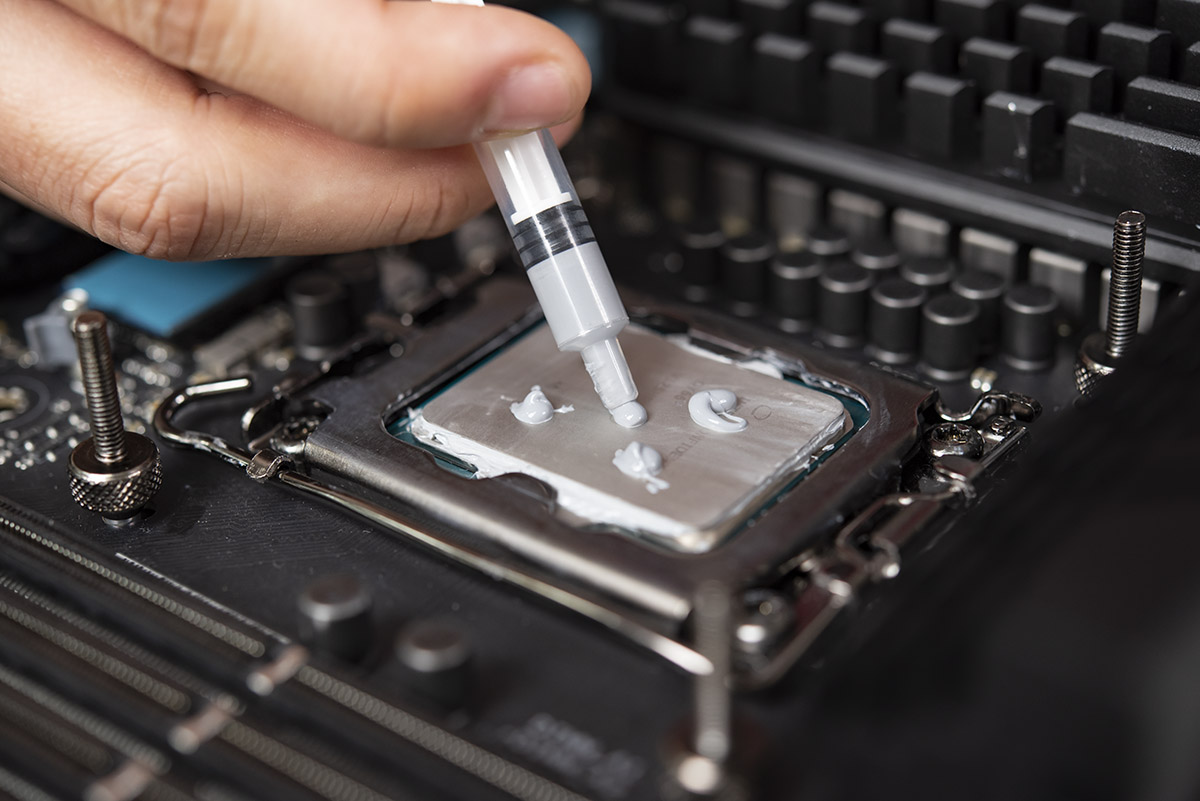
Reminder
When installing the CPU, in addition to paying attention to the installation direction, remember not to remove the protective cover of the CPU first. When the CPU is properly placed and the latch is press down, the protective cover will pop open automatically. This also better protects the pins on the motherboard.
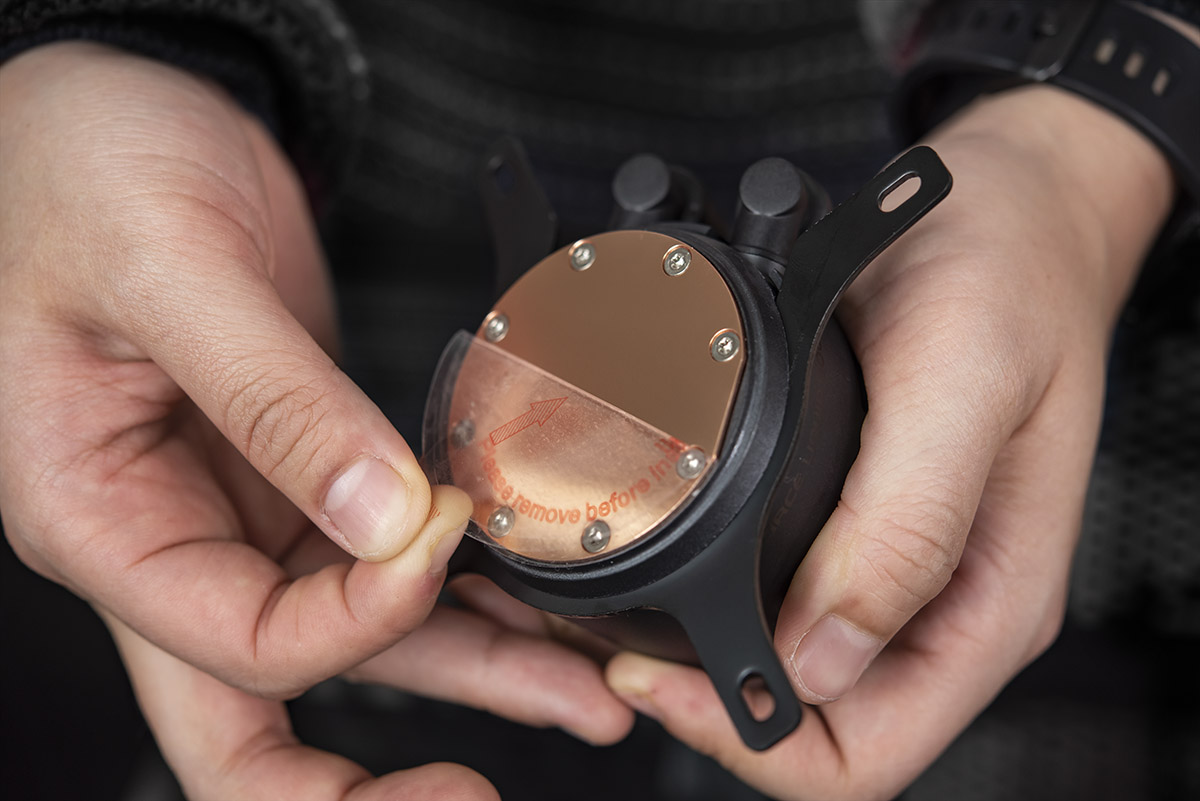
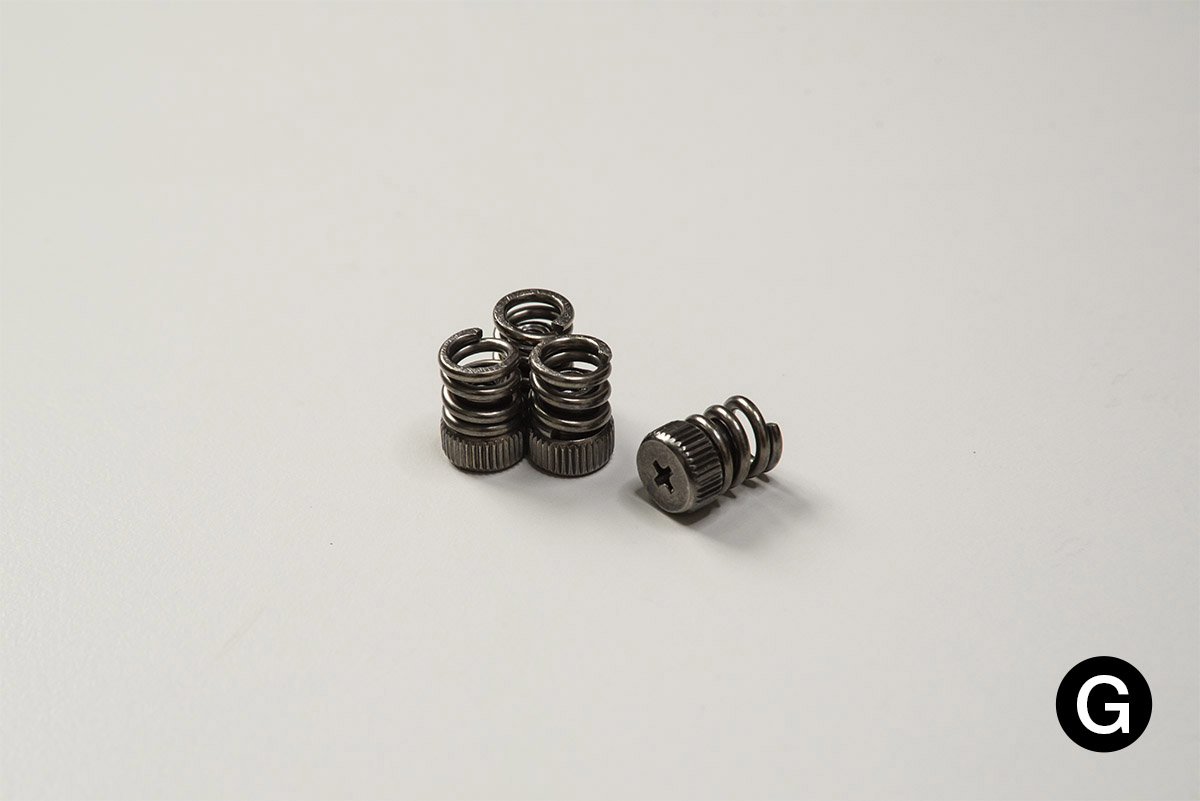
Remove the copper bottom surface protection sticker on the water block of the SIREN GD240E All-in-One ARGB CPU Liquid Cooler. Take the appropriate screws and screw them on the motherboard. The screwing method is the same, following the order of X and do not screw it too tightly at once. Lock all the screws and then tighten them in the same order, so that the water block applies force to the CPU evenly, making the CPU less likely to be damaged.
4、Wiring to the motherboard
After securing the AIO liquid cooler to the case and the motherboard, the last step, and the most important step, is wiring! First, you must identify the purpose of each wire.
Since the fan and the water block of T-FORCE SIREN GD240E AIO ARGB liquid cooler have ARGB function, therefore the fan has two cables individually, one for the power and one for the ARGB signal, while the water block only has one ARGB signal cable.
Reminder
The ARGB signal cable is a 5V 3 PIN connector (below left), which is different from the power cable (below right)!
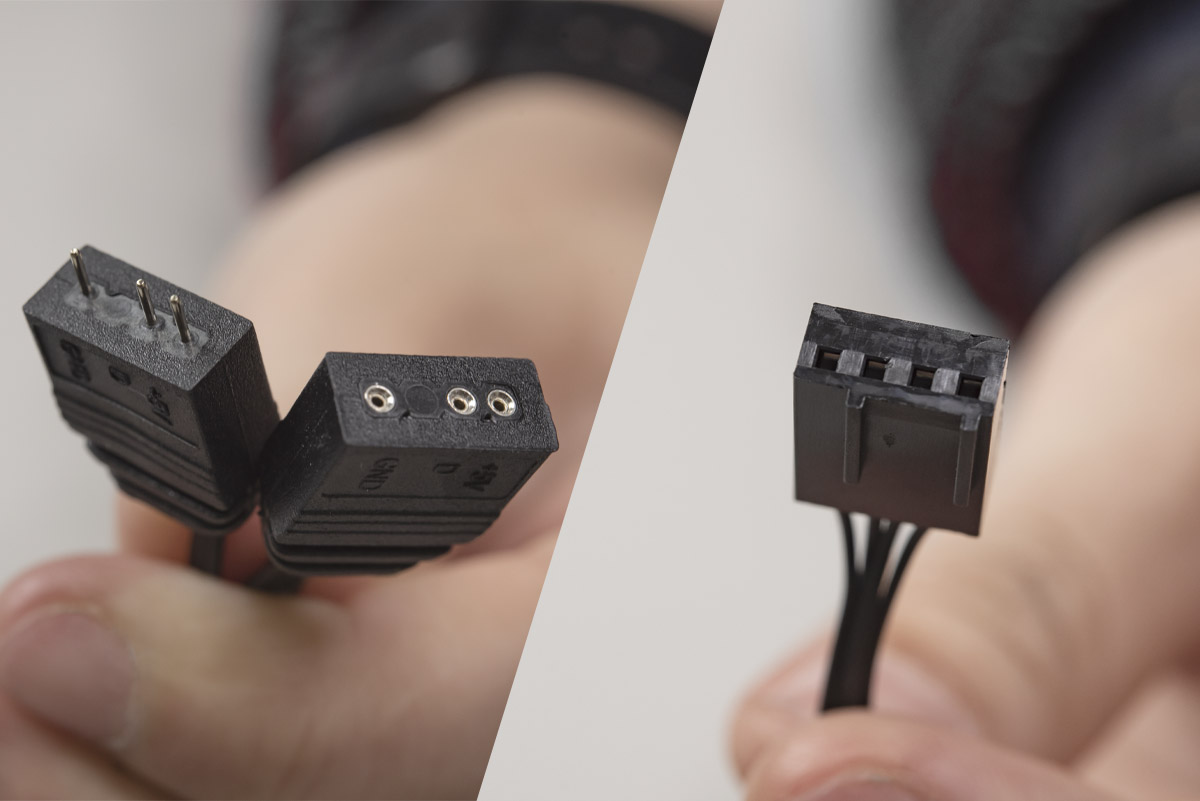
Wiring is quite simple. First, you connect the water block's ARGB signal cable from the package.
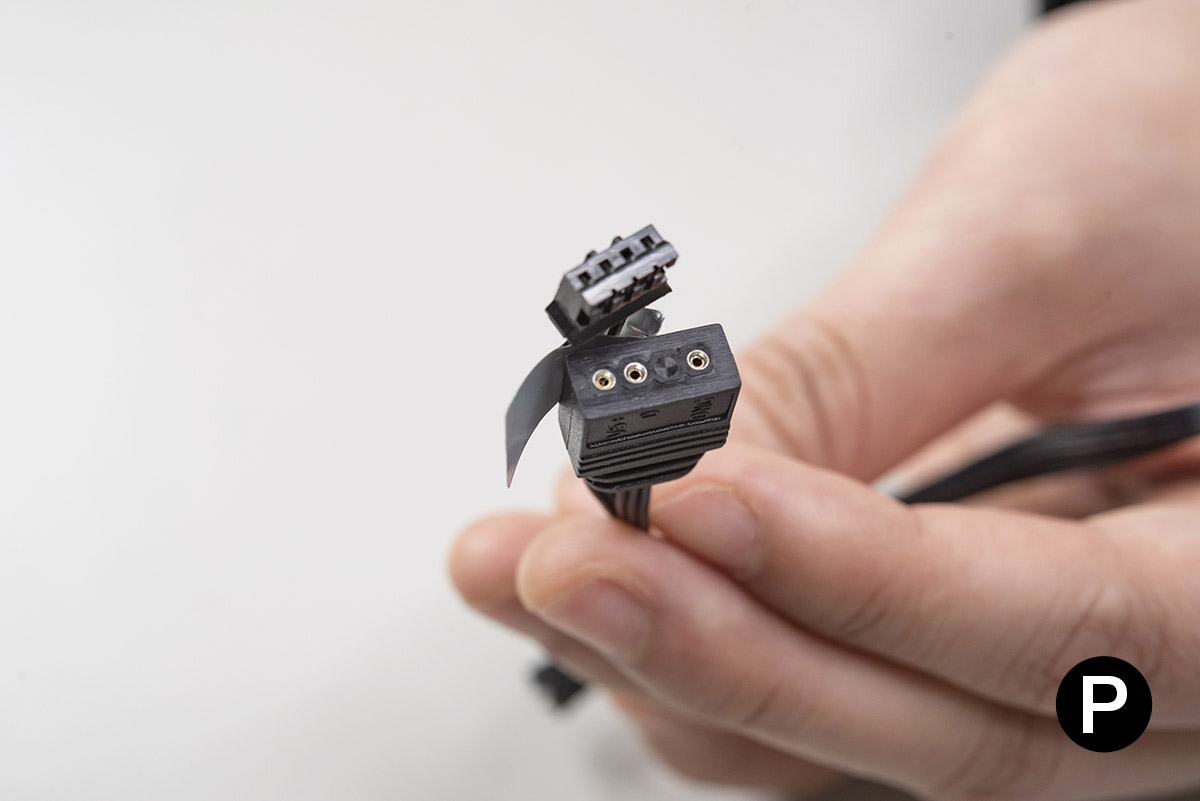
Find the one-to-three cable from the package, and get the fan and the ARGB signal cable of the water block and plug it in, then connect it to the 5V 3 PIN position on the motherboard and you are done.
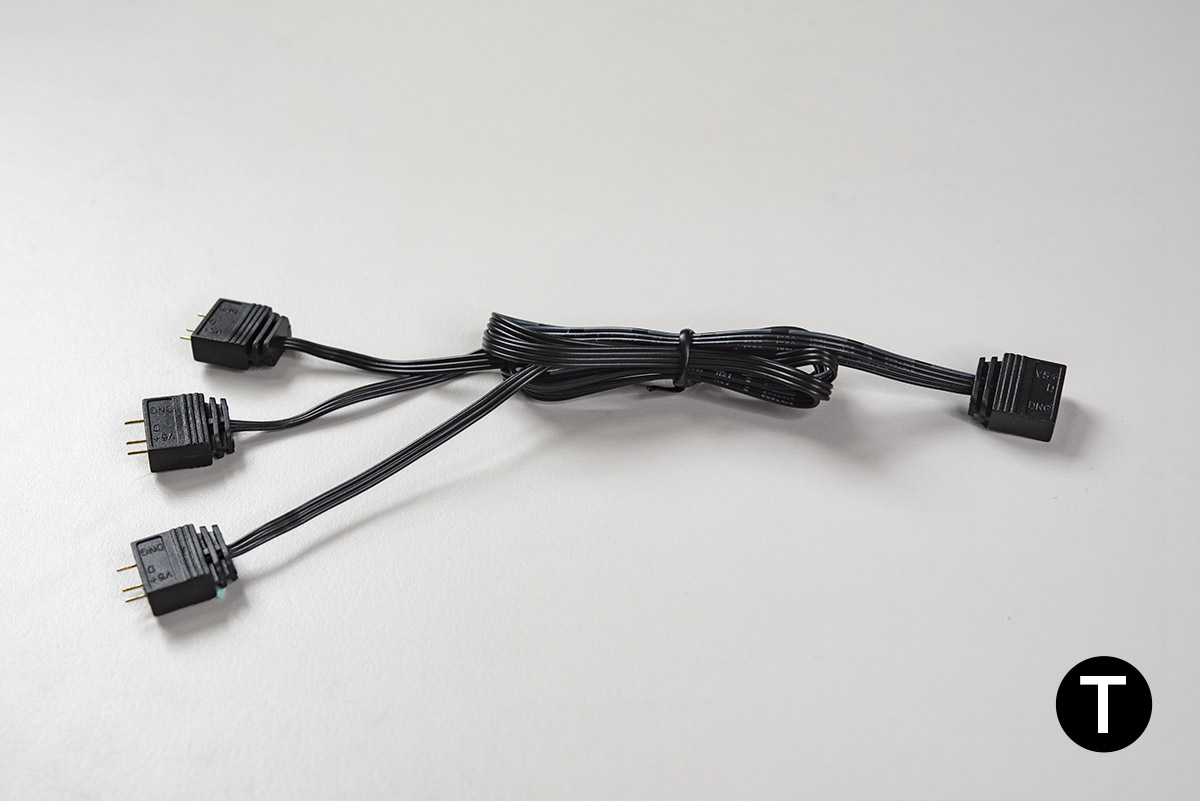
Then there is the is the power cable. The power cable on the water cooling row should be connected to the AIO_PUMP on the motherboard. It will be marked on the motherboard, you don't have to worry.
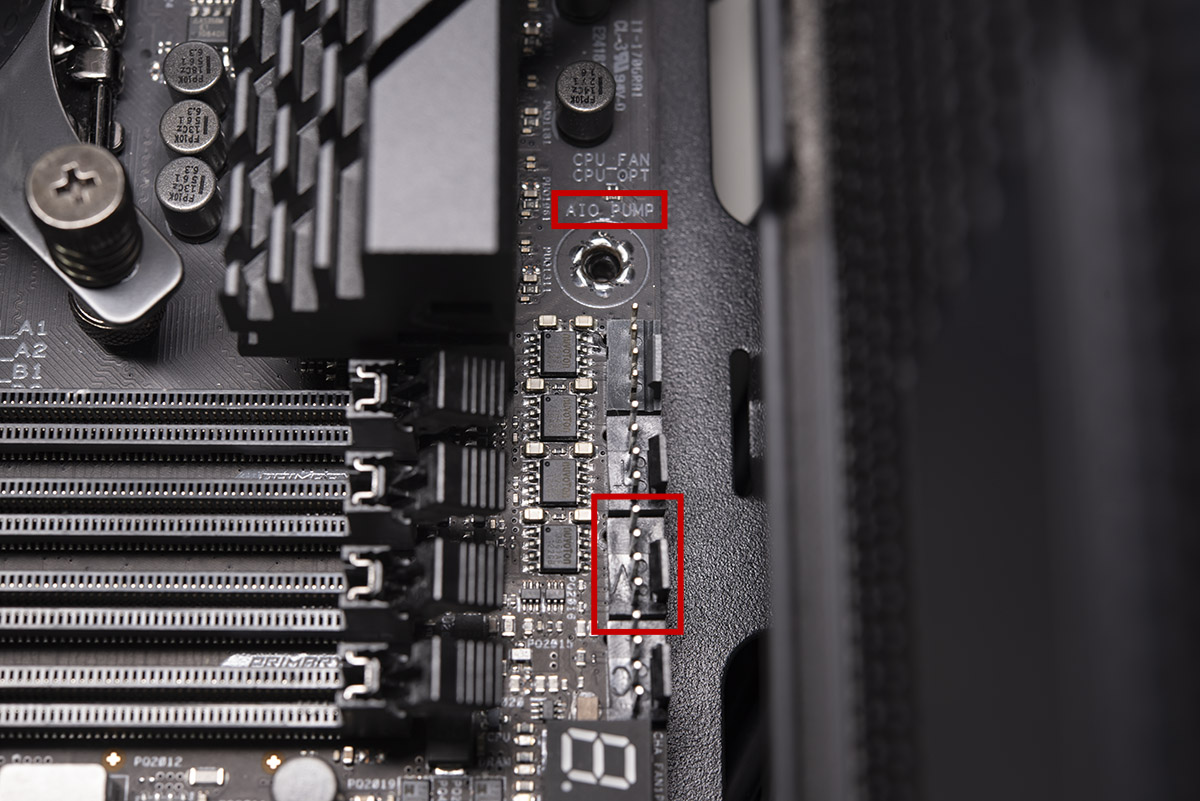
The power cable on the fan is connected to the CHA_FAN position on the motherboard, and that's it!
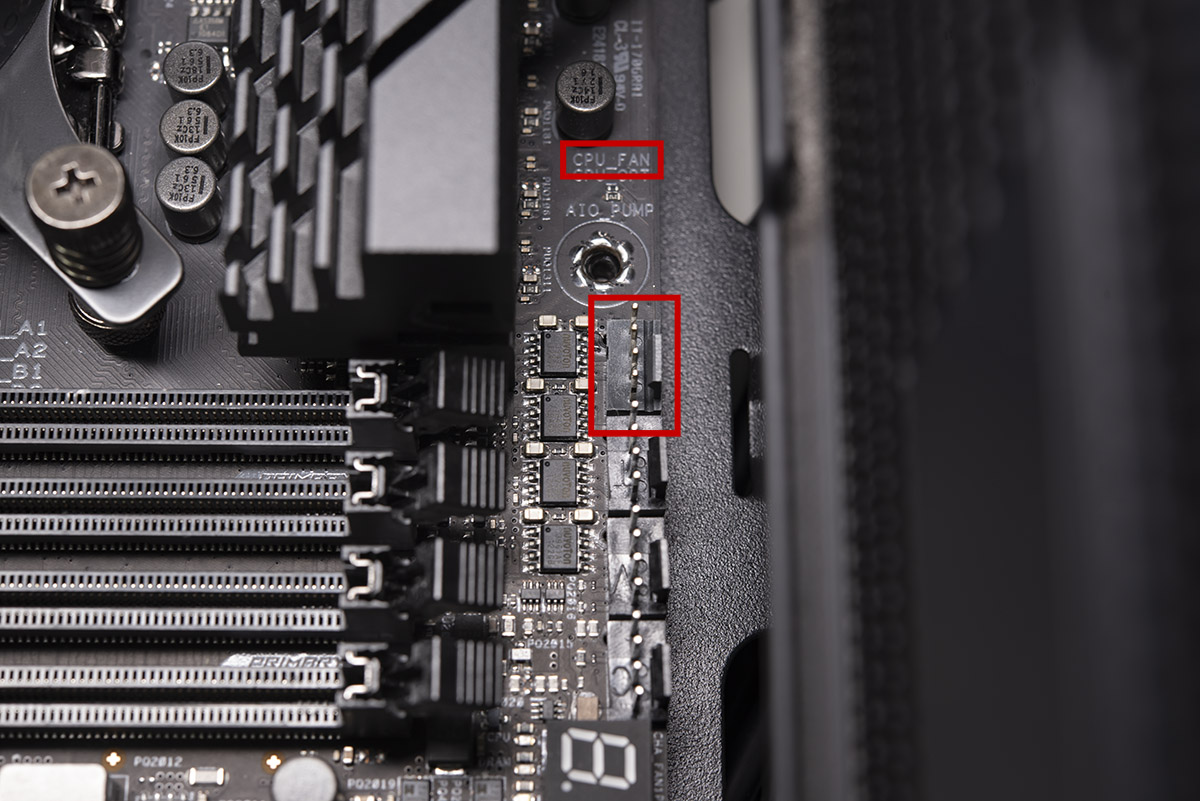
You must be wondering why there are still many things in the package that are not used? Some of them are brackets for AMD platform that we didn't demonstrate this time, and some of them are for cables that need to be used when there are limited holes on the motherboard. If your still having problems during the installation, don't worry, feel free to leave a message at the bottom, I will do my best to answer them. I will see you next time.
RELATED Blog
1
9
11.Jun.2025
Green Tech: Performance Meets Sustainability
05.Mar.2025
Gaming PC vs. Console: Which is Better?
12.Dec.2024
Understanding CAMM2: Is it the End of SO-DIMM?
30.Oct.2024


