【Guide to Build a PC】How to build a Gaming PC that can play all games for $1,000
There are too many factors to consider for such a question, but if you don't mind spending time on it, assembling it yourself is definitely more cost-effective than buying a finished PC. Today, we'll recommend you the most suitable and affordable PC build on the market, and explain in order how to assemble the computer by yourself. Just follow the steps and you can build your own gaming PC!
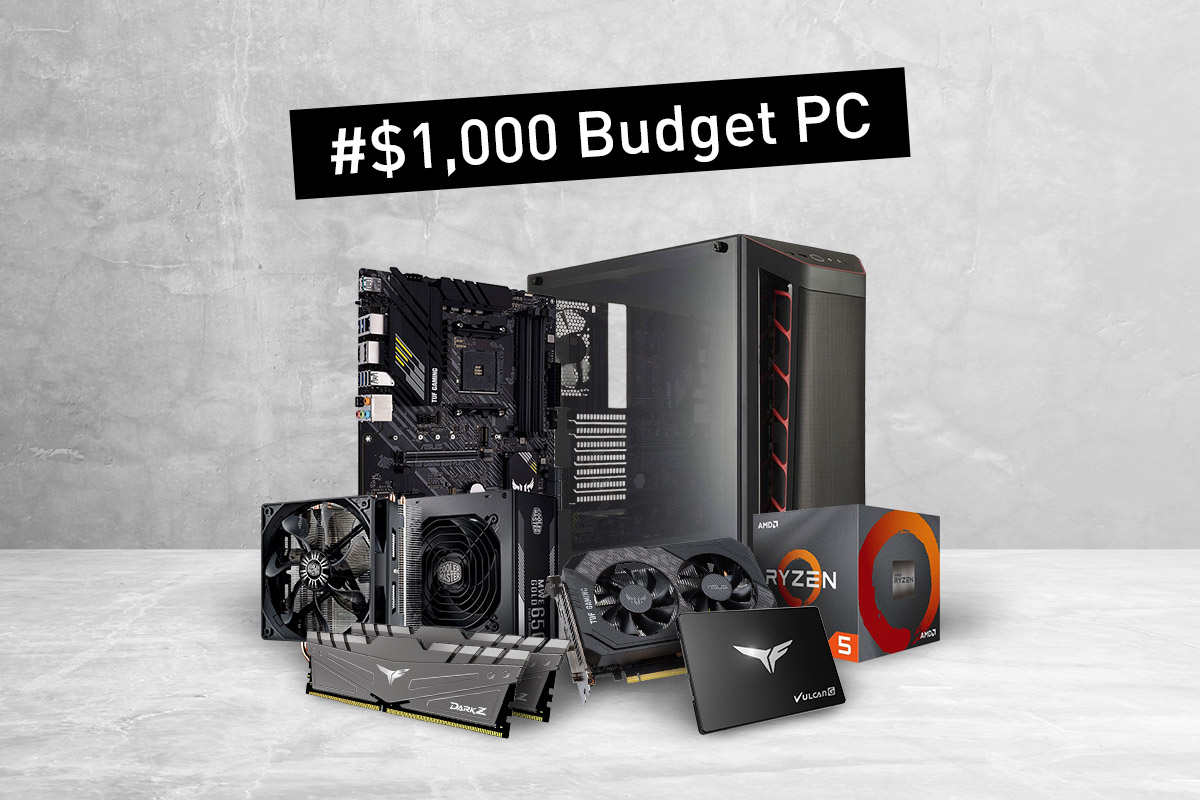
If you want to assemble your own gaming PC, first you have to know the list of parts you need to buy. The necessary parts include:
- CPU
- Motherboard
- Memory
- Hard drive
- Graphics card
- Power supply
- Case
In addition, you can get:
- CPU Cooler
- Case fan
- Network card, etc.
The main reason that CPU cooler is listed here is that the CPU comes with a fan, so it's not a necessity. However, if it's a large game load, it is recommended to buy a CPU cooler with a better cooling ability or a larger CPU cooler to control the CPU temperature to avoid overheating or crashing during the gameplay.
【All components for PC build】
A. CPU
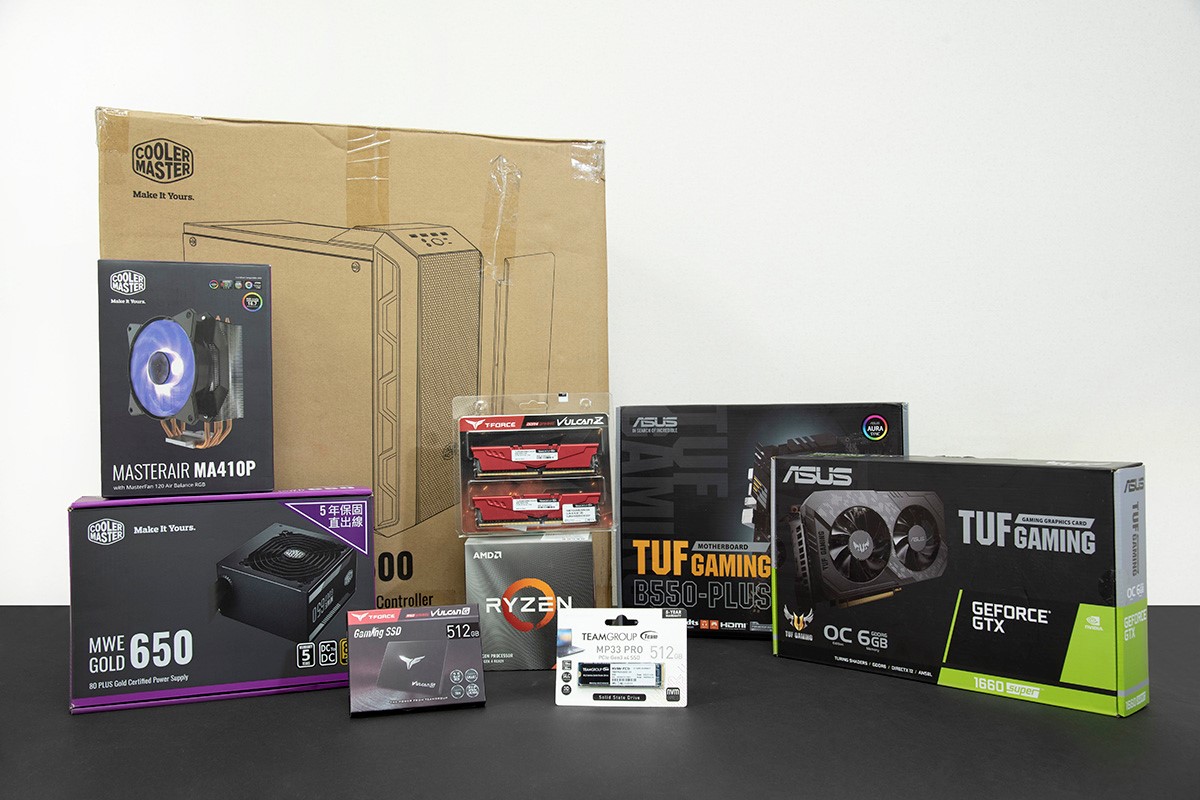
To make it affordable, the R5-3600X will be one of the best choices since AMD is a real bargain in the mid-range. The R5-3600X offers 6 cores and 12 threads. It has a basic clock of 3.8GHz and a boost clock of 4.4GHz, supports native 3200MHz memory, and is PCIe 4.0 SSD compatible. The expandability is excellent, and very few gamers will manually adjust the CPU or memory frequency.
AMD R5-3600X
B. Motherboard
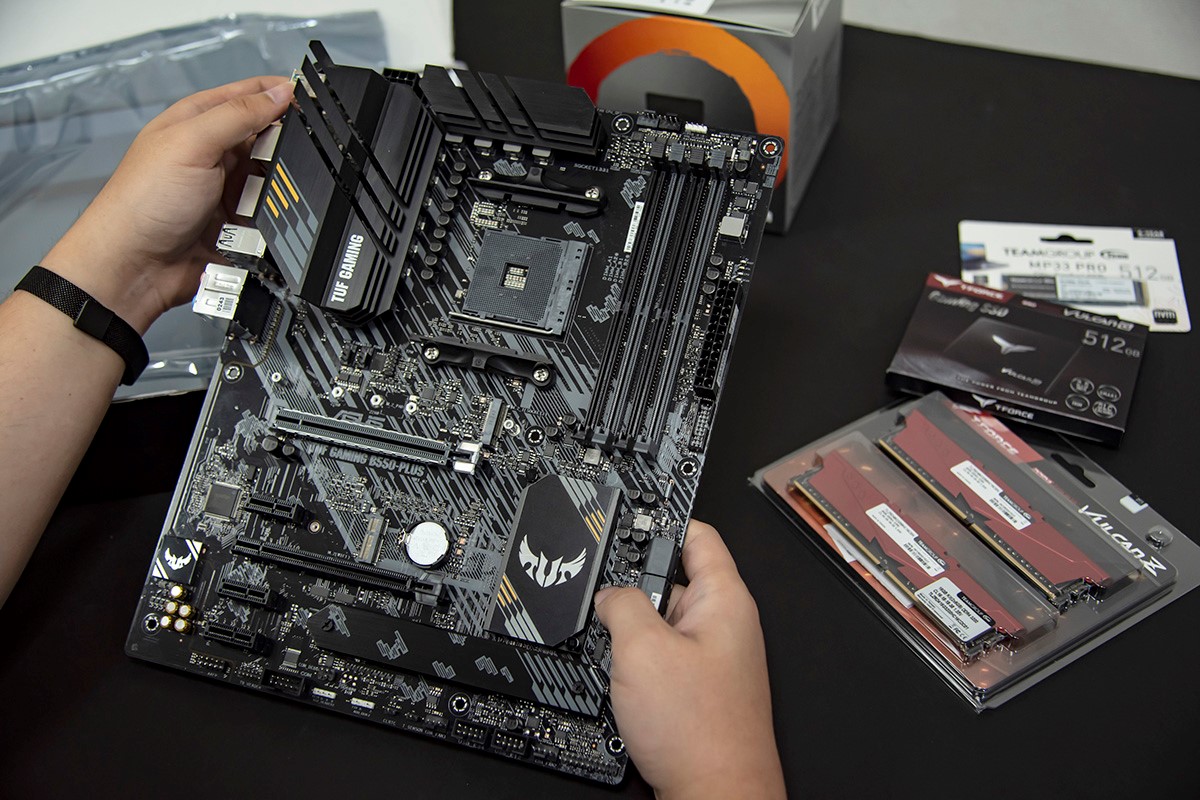
The new B550 series motherboard is definitely a blessing for gamers. In the past, the B series is quite different from the X series in terms of CPU overclocking, memory overclocking and I/O interface; The TUF Gaming B550 PLUS is highly compatible, close to the X570 level, and has a sleek military look, making it the best choice at this price range.
ASUS TUF Gaming B550 PLUS
C. Memory
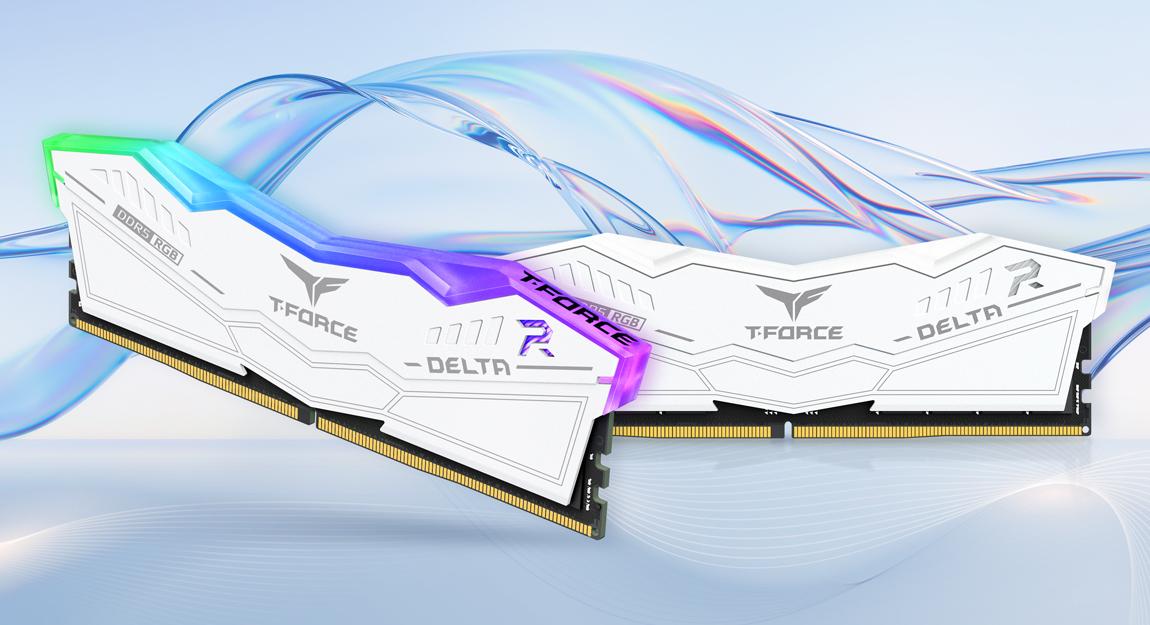
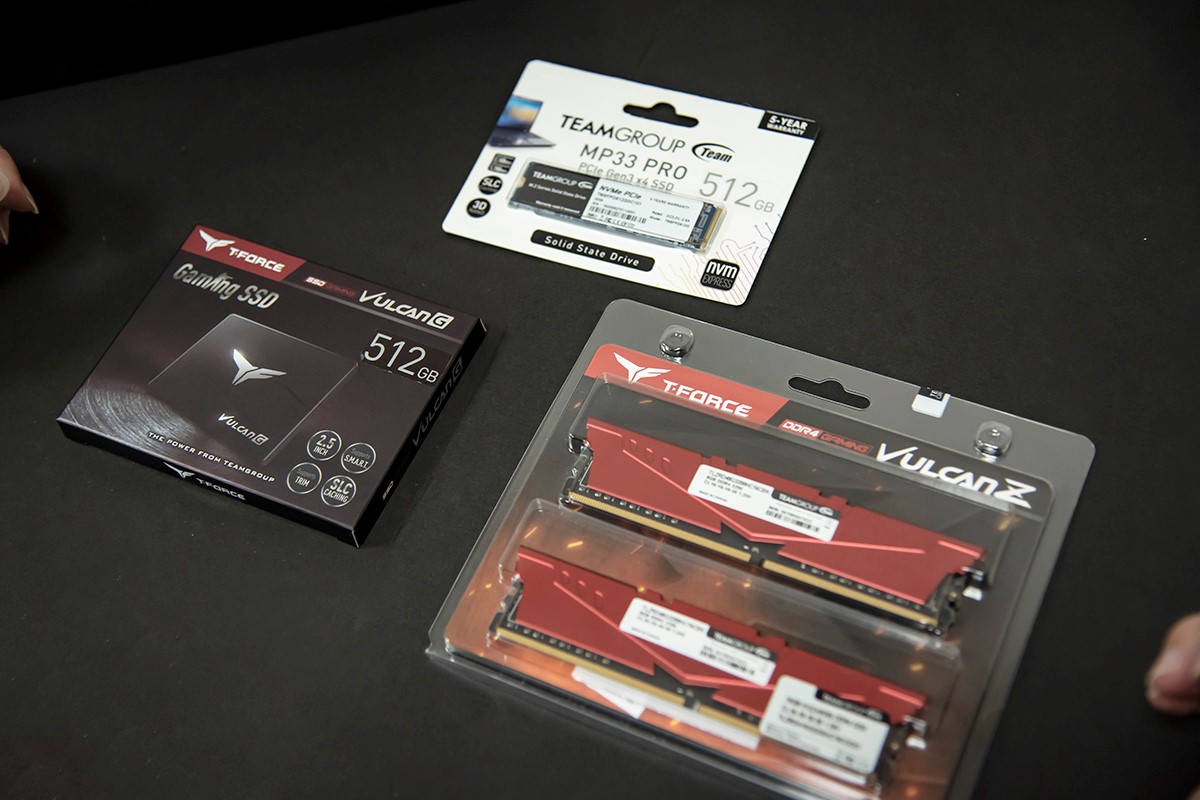
To keep the budget in check, try to avoid getting components that have RGB lighting. However, since it's a gaming PC, the memory must be gaming style as well. We pick T-FORCE VULCAN Z 8GBx2 3200MHz. It looks like a mecha with a strong sense of gaming design, and 8GBx2 3200MHz is also very sufficient to run all kinds of games.
T-FORCE VULCAN Z DD4 | Where to Buy
D. Solid state drive
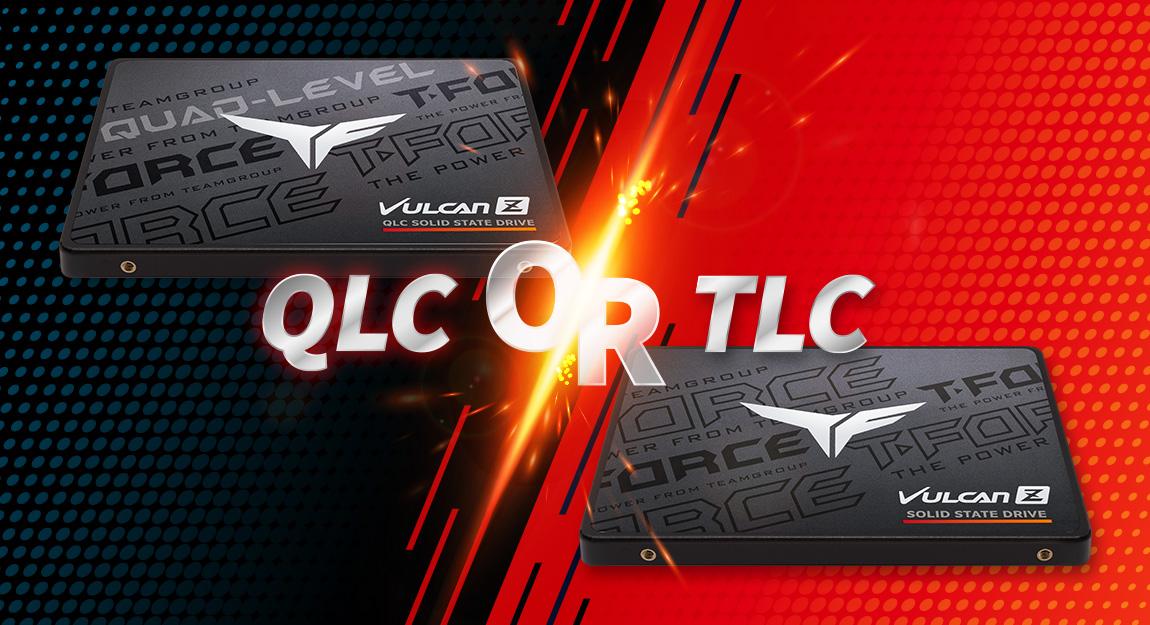
There are some tips on how to choose an SSD. Since we want to have enough speed and capacity while keeping my budget under control, we choose a 512GB TEAMGROUP MP33 PRO M.2 PCIe and a 512GB T-FORCE VULCAN G SATA 2.5" SSD, so the read/write processing is done in PCIe and data storage is stored in SATA to avoid purchasing expensive SSD that has both high speed and large capacity.
| Learn more |
TEAMGROUP MP33 PRO M.2 PCIe SSD | Where to Buy
T-FORCE VULCAN G SSD | Where to Buy
E. Graphics card
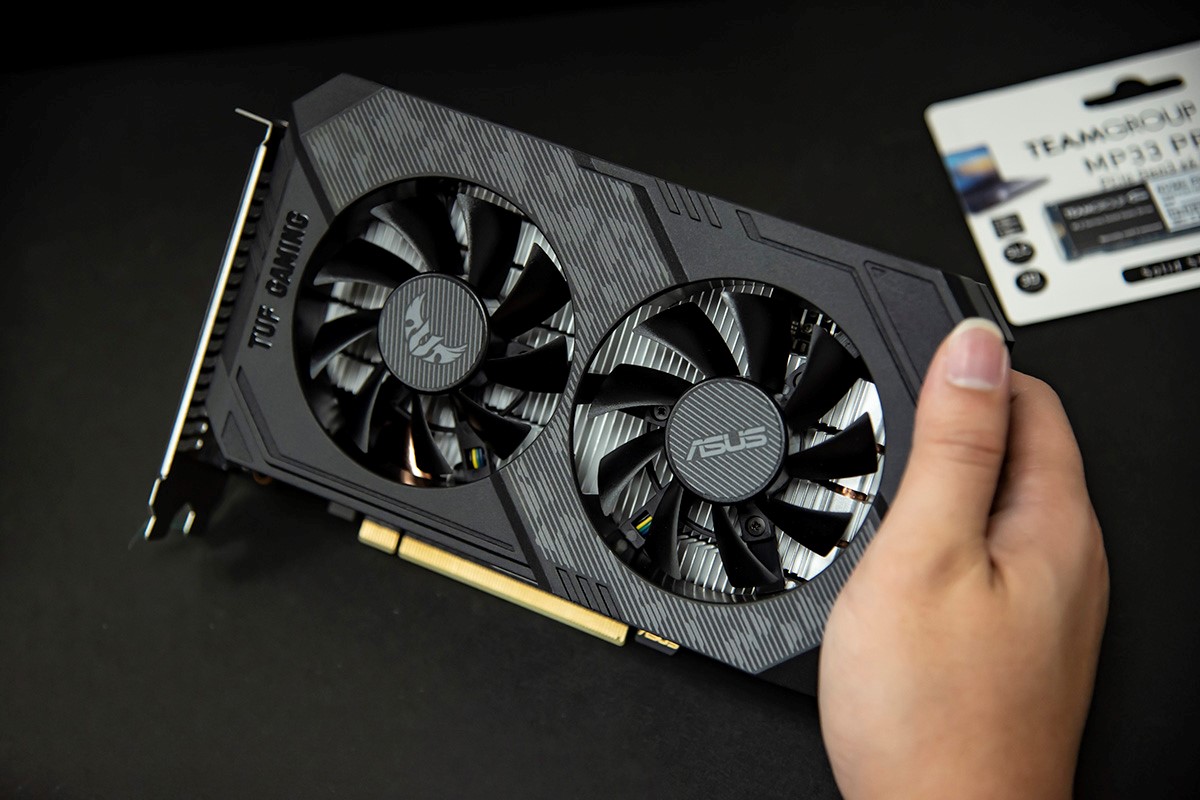
As for graphics card, the ASUS TUF Gaming Geforce GTX1660 Super is a real bargain. Although the performance is not comparable to the ultra-high specification but over-budget RTX 3080, RTX 2080Ti, etc., but the 1660 Super is still the best choice in terms of Full HD quality.
ASUS TUF Gaming Geforce GTX1660
F. Remaining parts (Power supply, Case, CPU cooler)
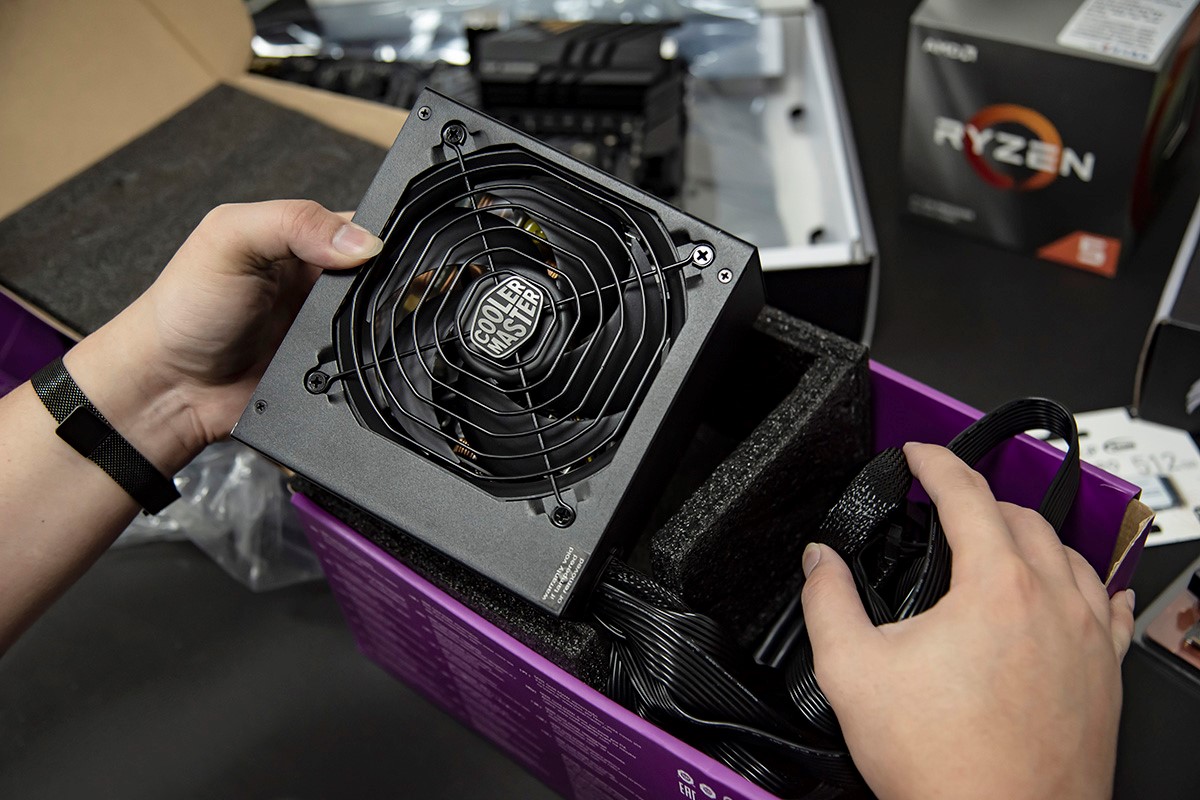
Among the remaining parts, you should pay attention that the use of a major manufacturer's power supply with a better warranty, such as the durable CoolerMaster, will reduce the chance of burning out. The wattage should be sufficient to support PC's normal operation. Generally speaking, it is recommended to choose a power supply of more than 650W for a PC build with a discrete graphics card. The case and the CPU cooler are basically the same as long as they are compatible. Anything that isn't bad enough to become an oven can be considered.
| Learn more |
【Installation Process】
Next is the installation process. How to make a cool PC build out of the scattered parts? Even if you are a total beginner, just follow these steps and you will be all set!
1. Install the CPU cooler base onto the motherboard
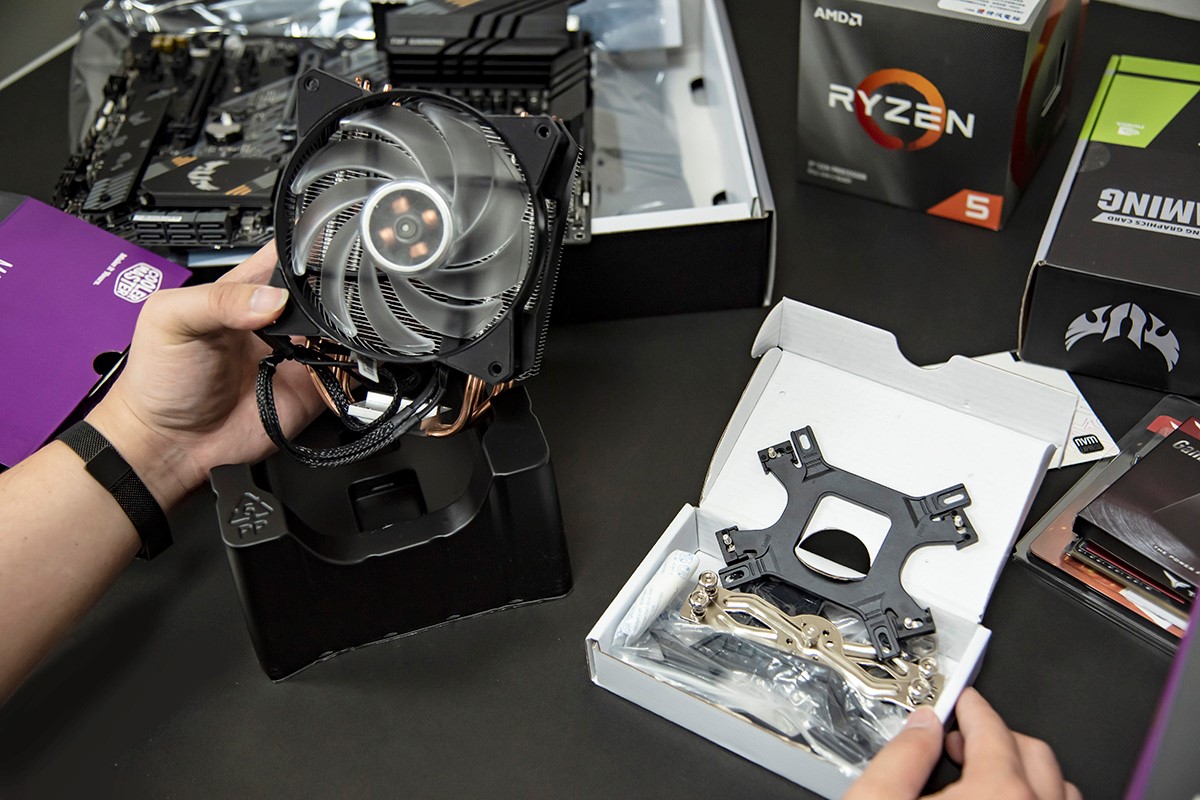
Nowadays, many CPU coolers are designed to be used by both AMD and Intel, so the screws need to be slightly adjusted to align with the motherboard holes. You can refer to the attached manual for the adjustment. The manual of the Cooler Master Hyper 212 EVO CPU Cooler is quite detailed, so don't worry!
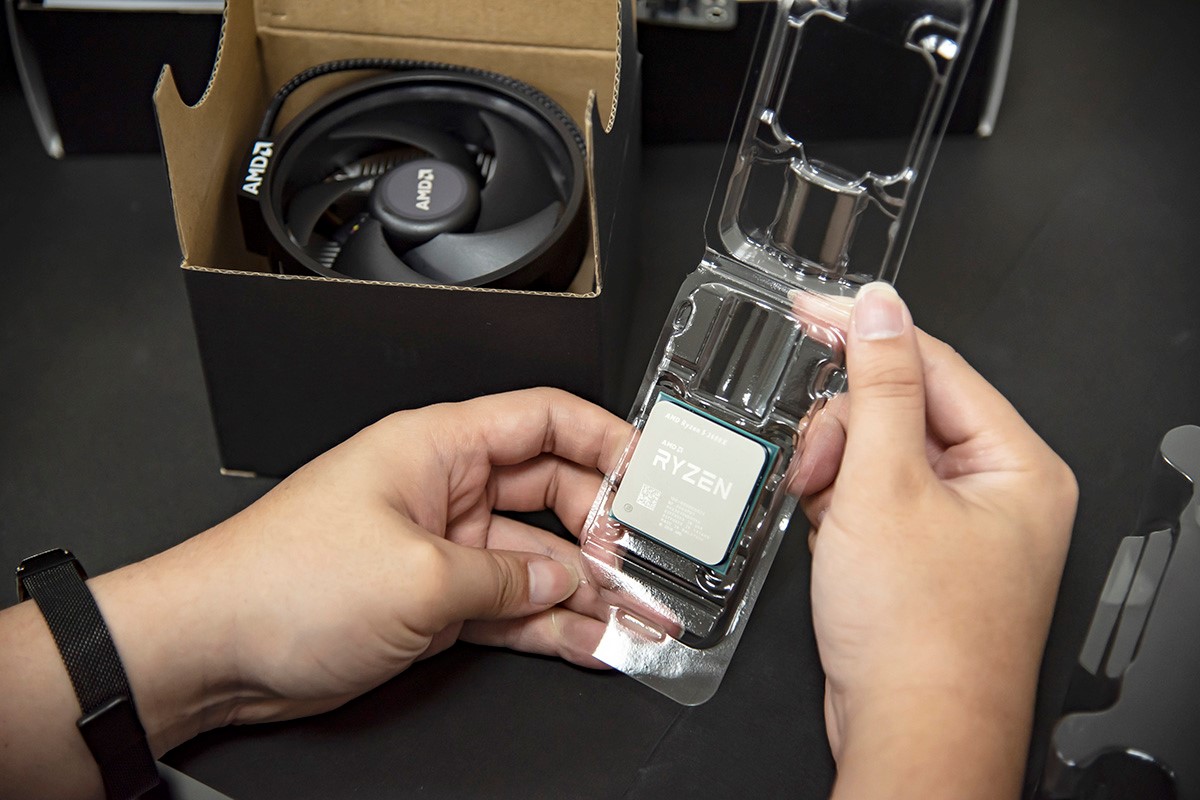
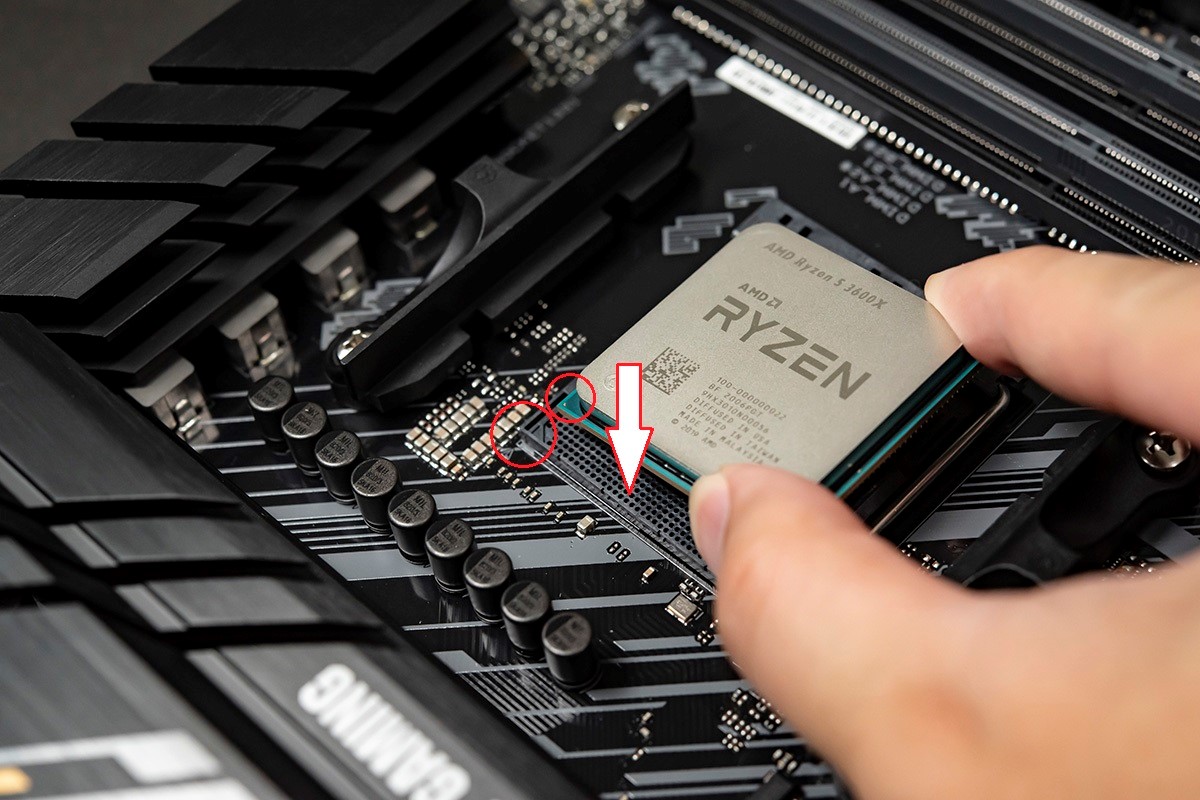
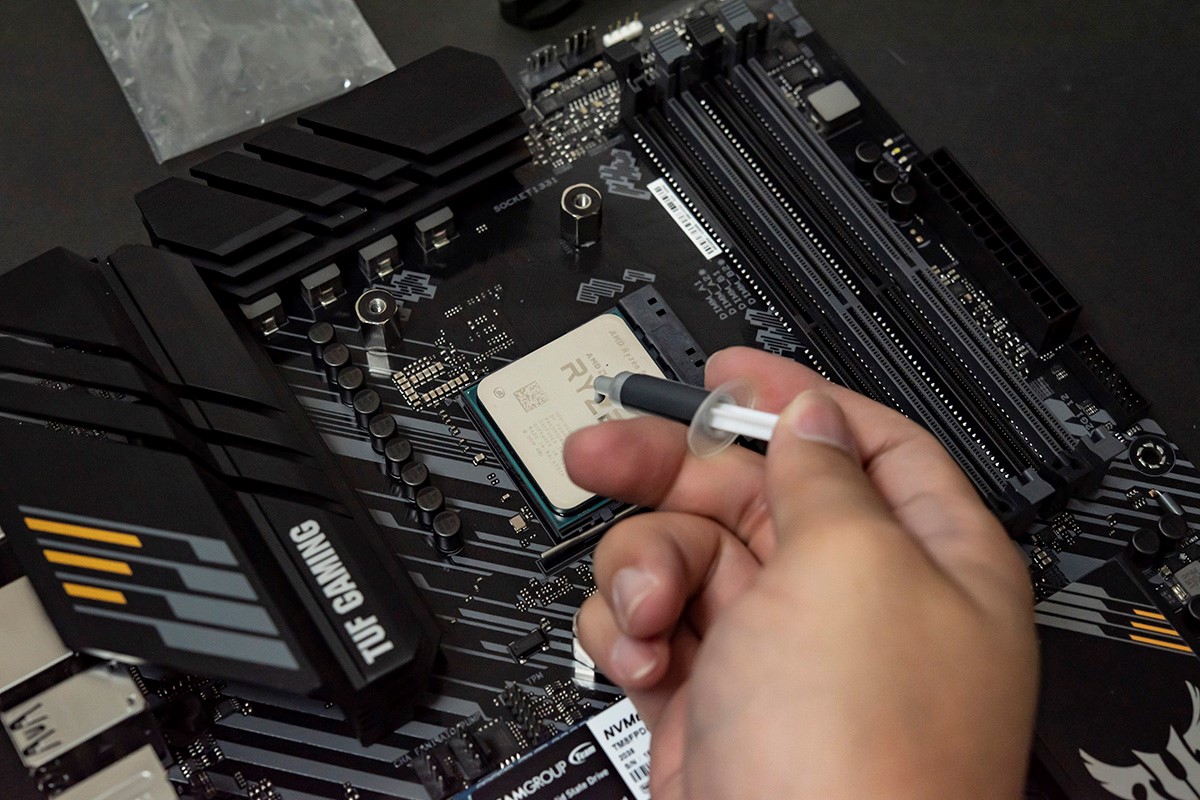
2. Install the CPU in the motherboard
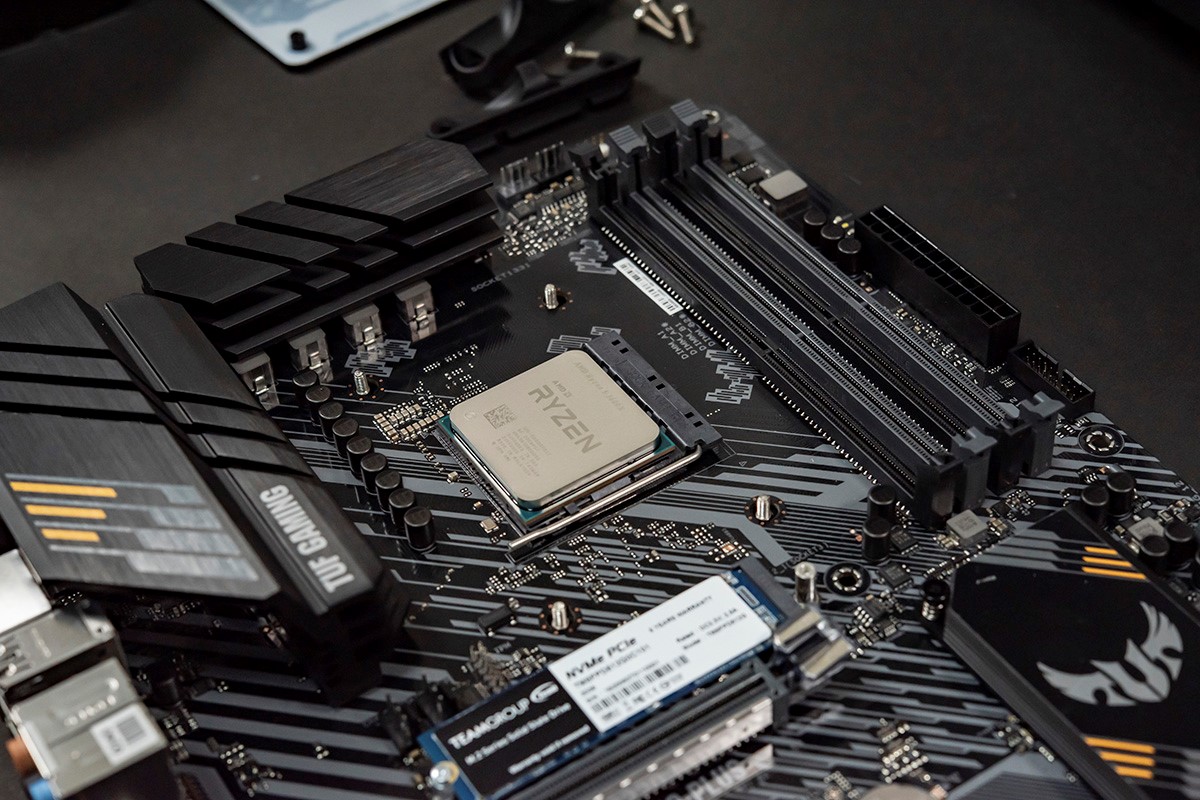
Start by lifting the lever beside the CPU socket. Next, you need to pay attention to align the CPU correctly when placing it into the socket, otherwise the pin may be broken or burned. The motherboard and CPU are now equipped with foolproof mechanism, so you can install it correctly by following the arrows shown below.
3. Lock the power supply into the case
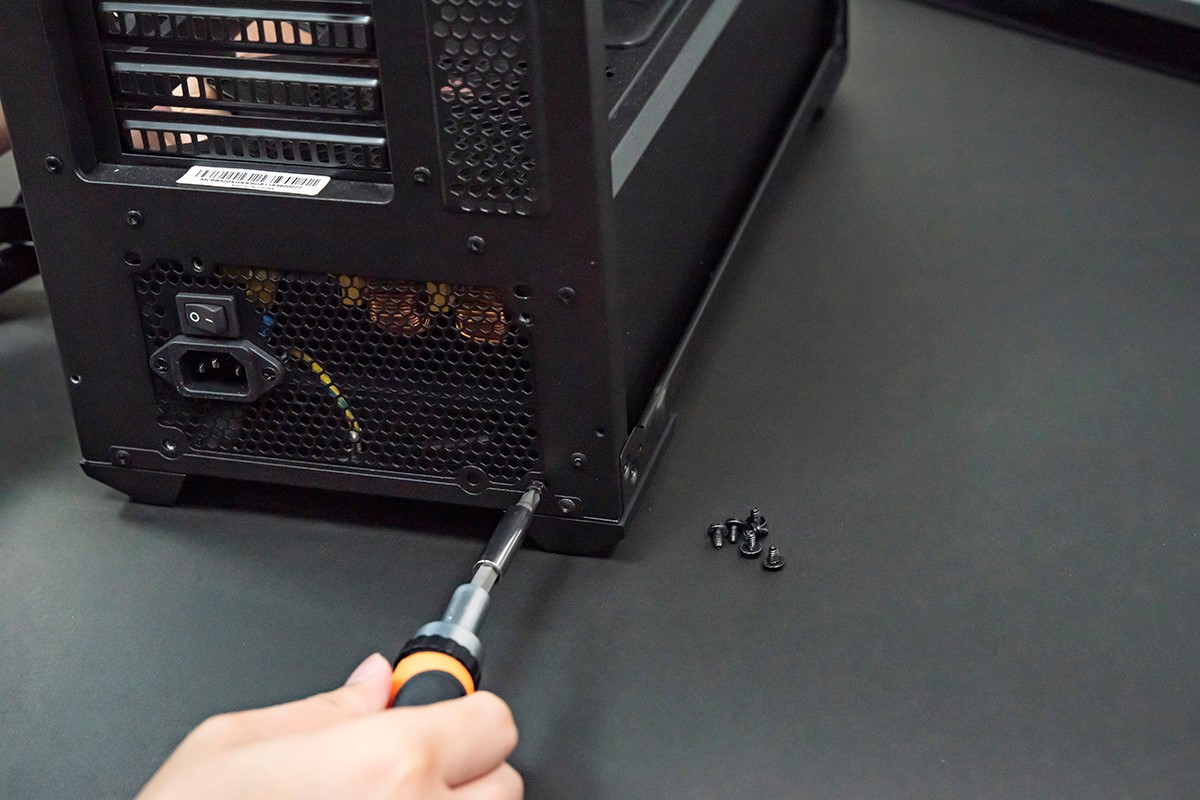
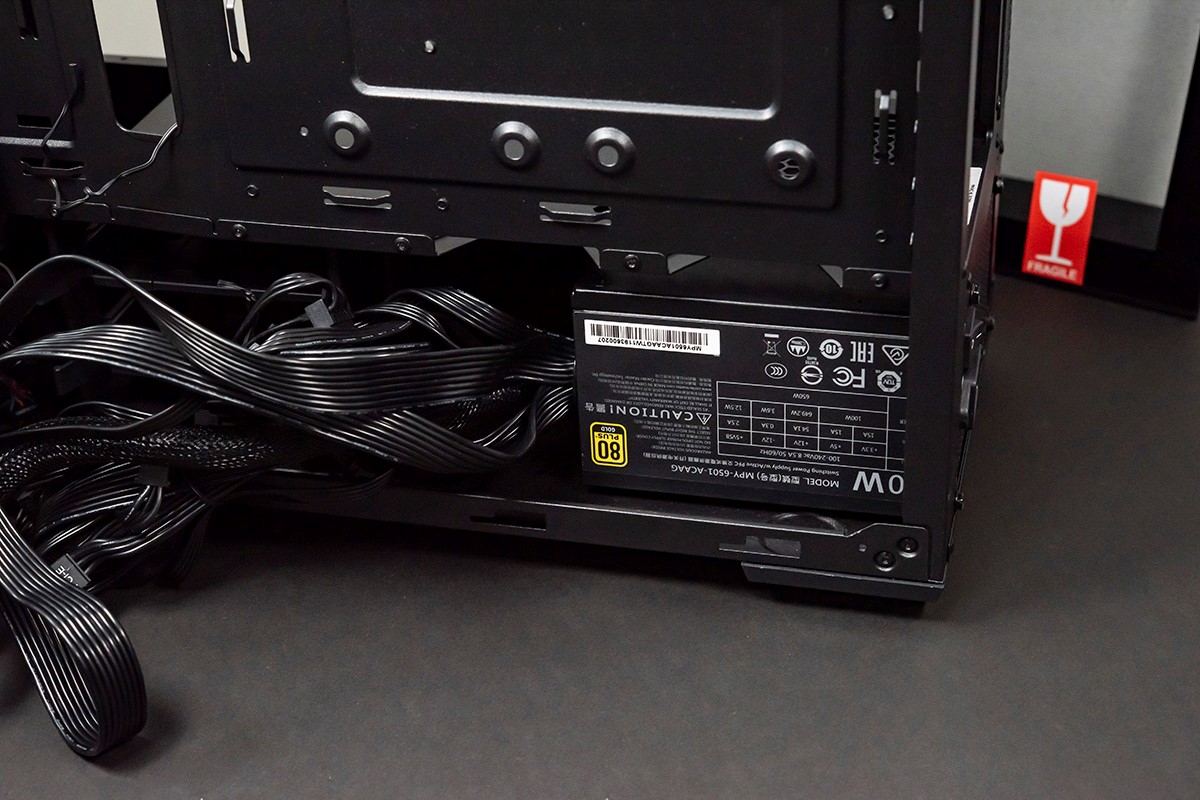
From the front of the case, there is not much space on the right side, but if you open the right side panel, you will see a space below, this is where we will place our power supply. In most cases, the sockets and switches should face outwards and the air vents should face downwards, then lock the power supply from the back of the case. Also, since this is a non-modular power supply, which means the power supply itself is connected to a large bundle of wires, so it can be installed directly, but the downside is that it can't be removed when there are too many wires. If you choose a "fully modular" power supply, since the wires need to be connected by yourself, you must make sure which wires are needed and connect them first and then lock the case, otherwise it won't be easy to plug them after the case is locked!
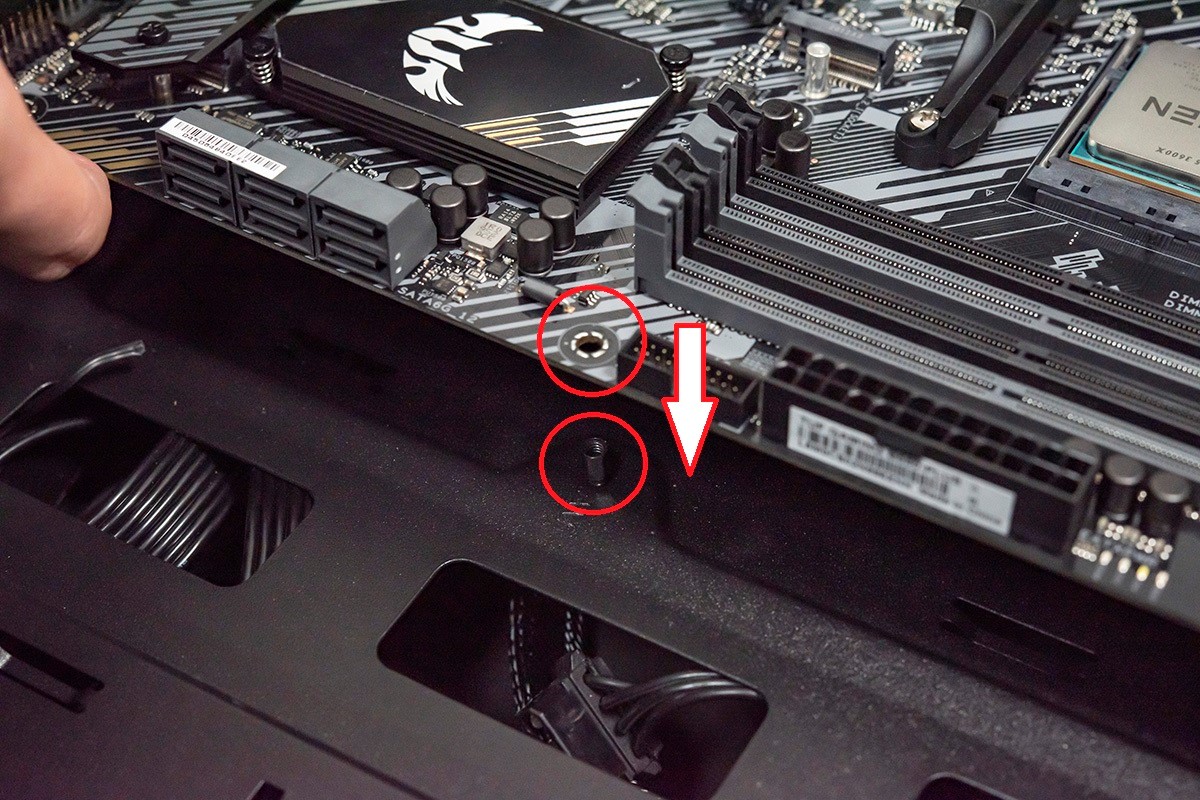
4. Lock the motherboard tightly to the case
Usually, the case has 9 screw holes corresponding to the holes of the motherboard, but not every motherboard will have 9 holes. As for myself, I usually lock 7 or 8 of them. When locking the motherboard, make sure that the CPU socket is on the top, so that the heat from the fan can be discharged out of the PC, and the graphics card will also have a place to put in.
5. Connect the power supply cable to the motherboard
The most troublesome part of the installation is organizing the messy cables. We usually pull out the CPU power cable and the mother power cable from the reserved holes of the case and plug them into the motherboard. This can avoid leaving no room to plug in cables after other components have been installed.
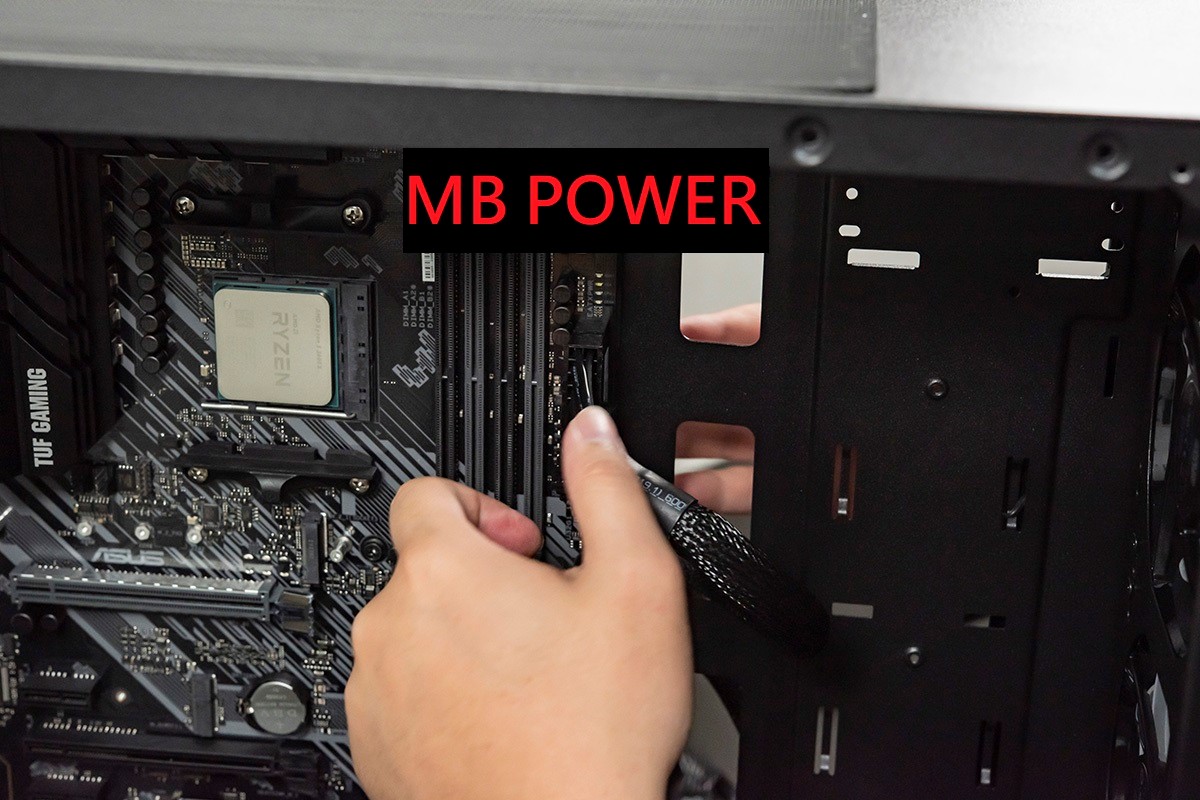
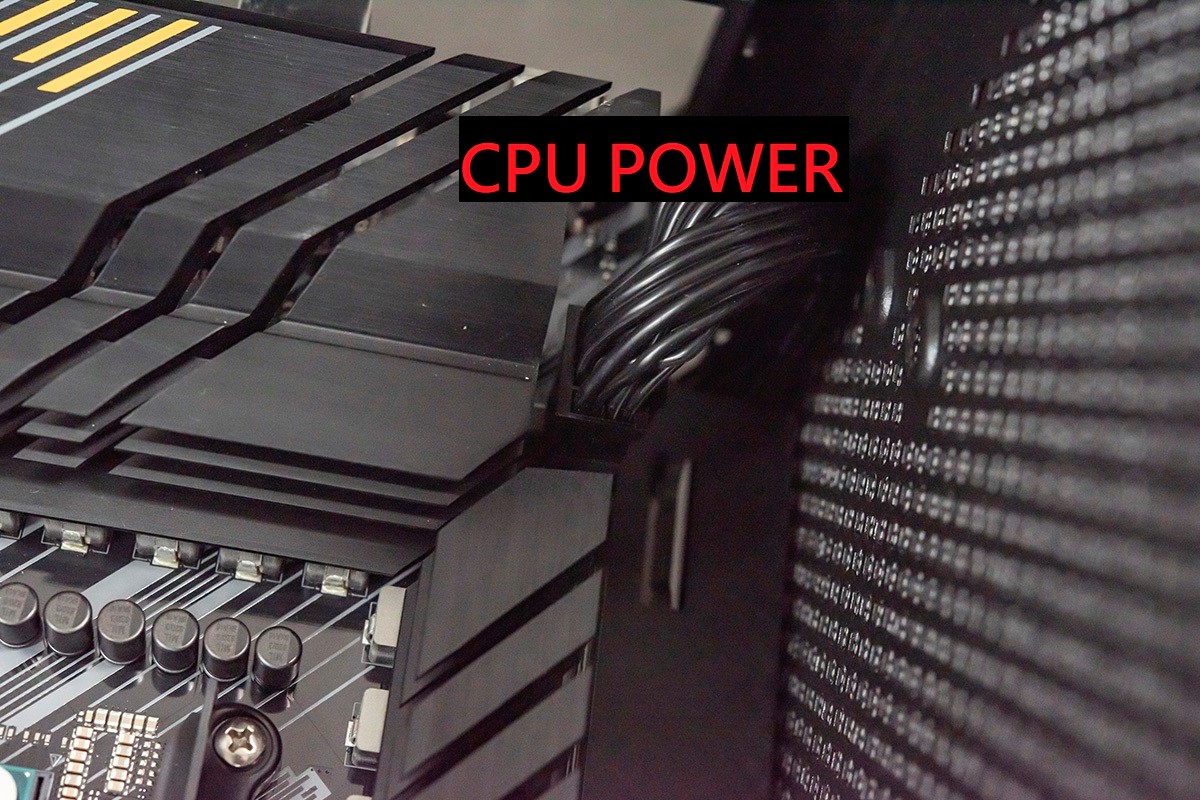
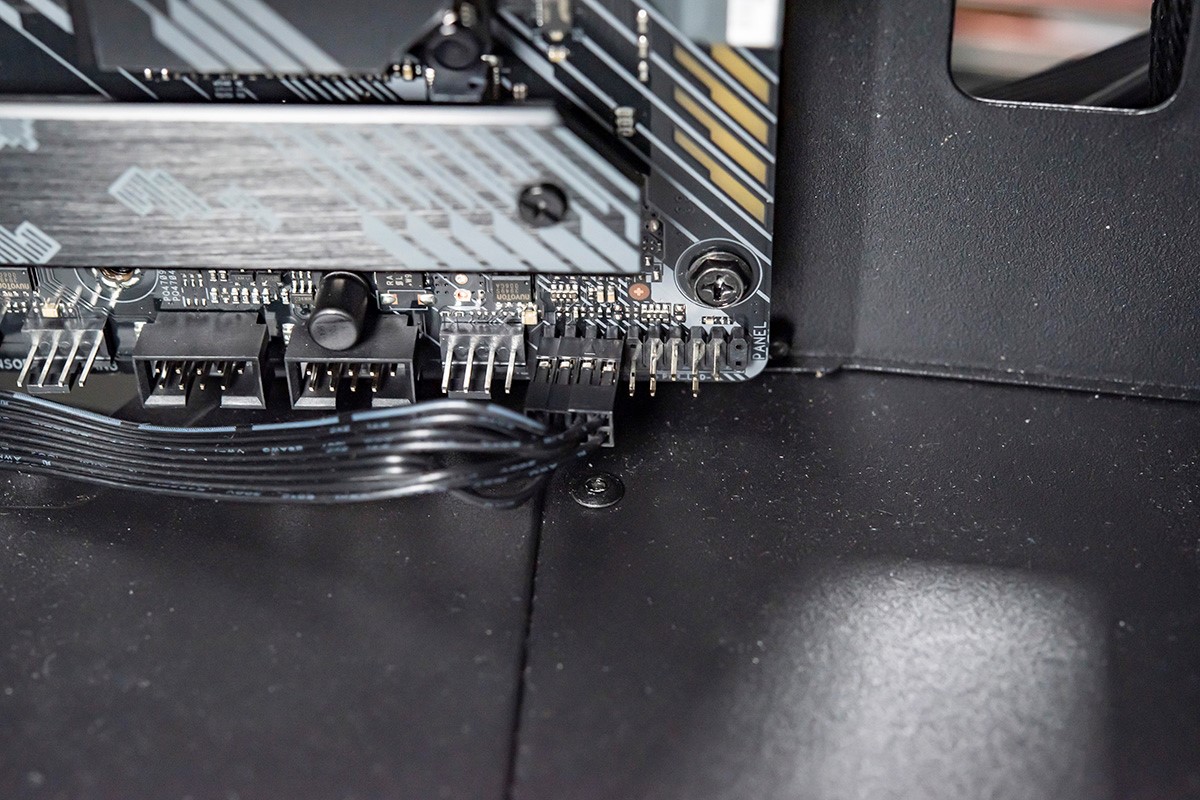
6. Connect the front panel connectors of the case to the motherboard
Almost all cases nowadays have 2~4 USB ports, power on/off and reboot buttons, etc. on the front panel. They all need to be powered and controlled by the motherboard. Since the wiring method of each motherboard is different, it is recommended to follow the user manual of the motherboard to connect them to the corresponding positions. The following is a brief introduction to the corresponding connection method of the TUF B550 PLUS motherboard.
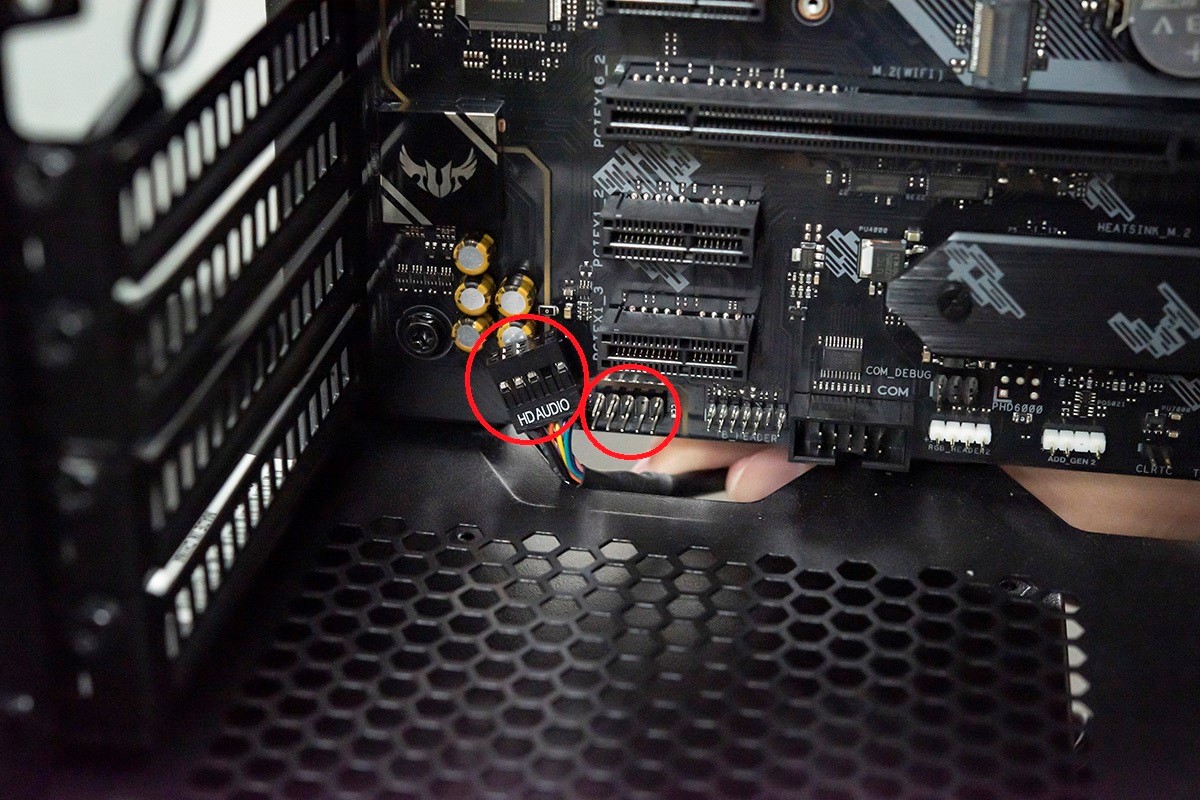
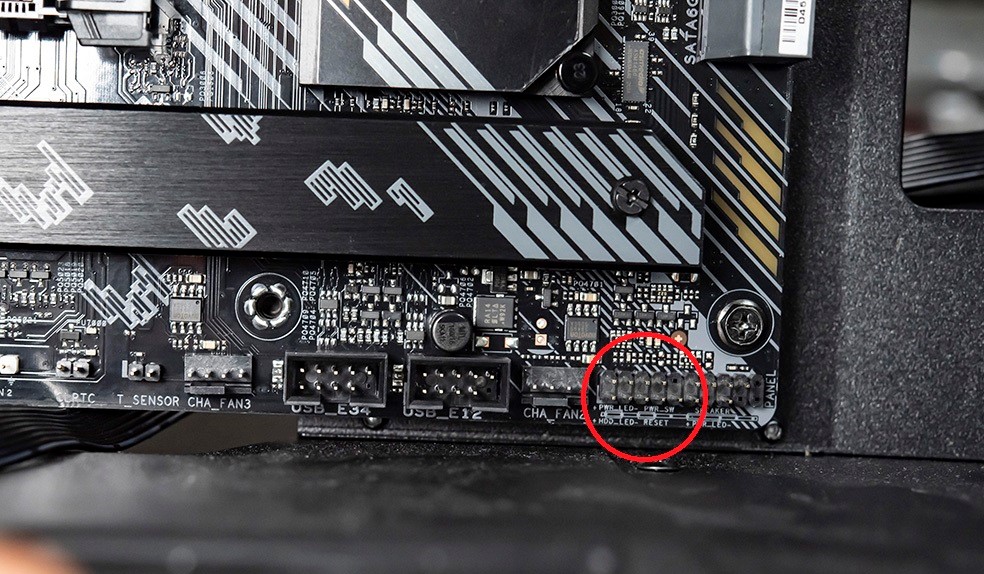
7. Install rest of the parts on the motherboard
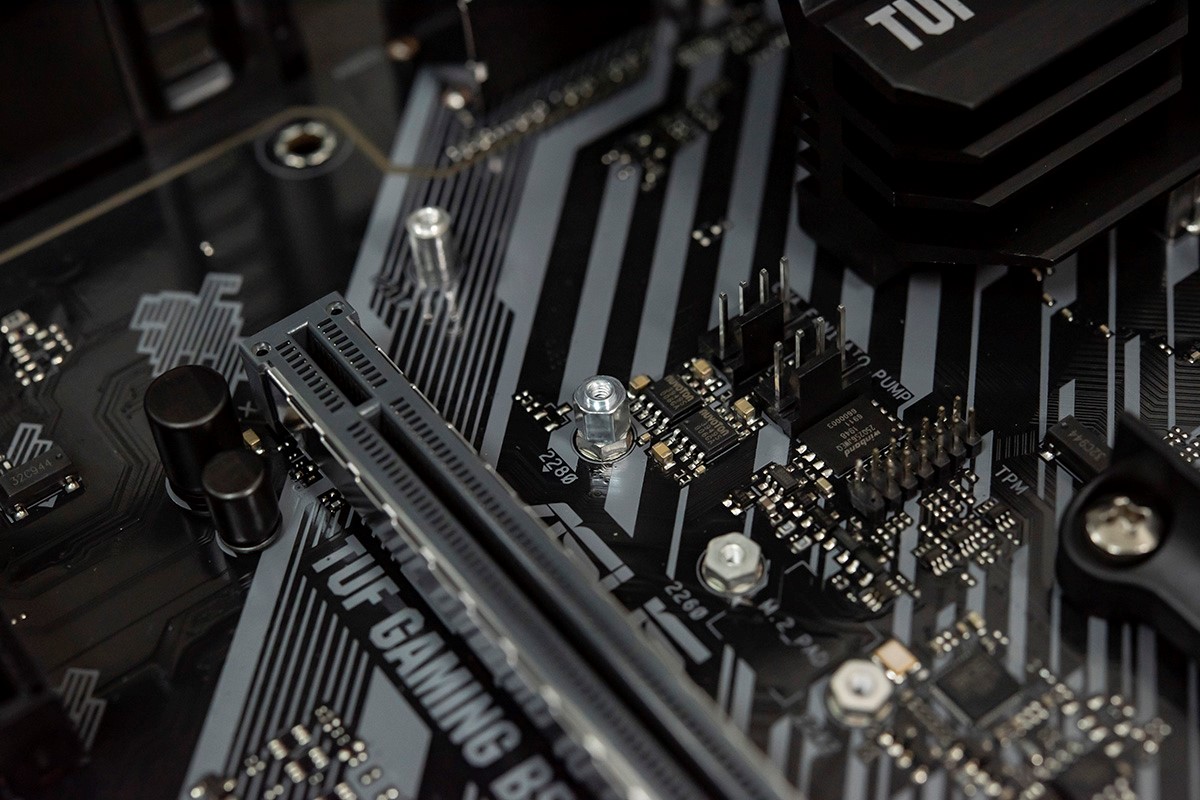
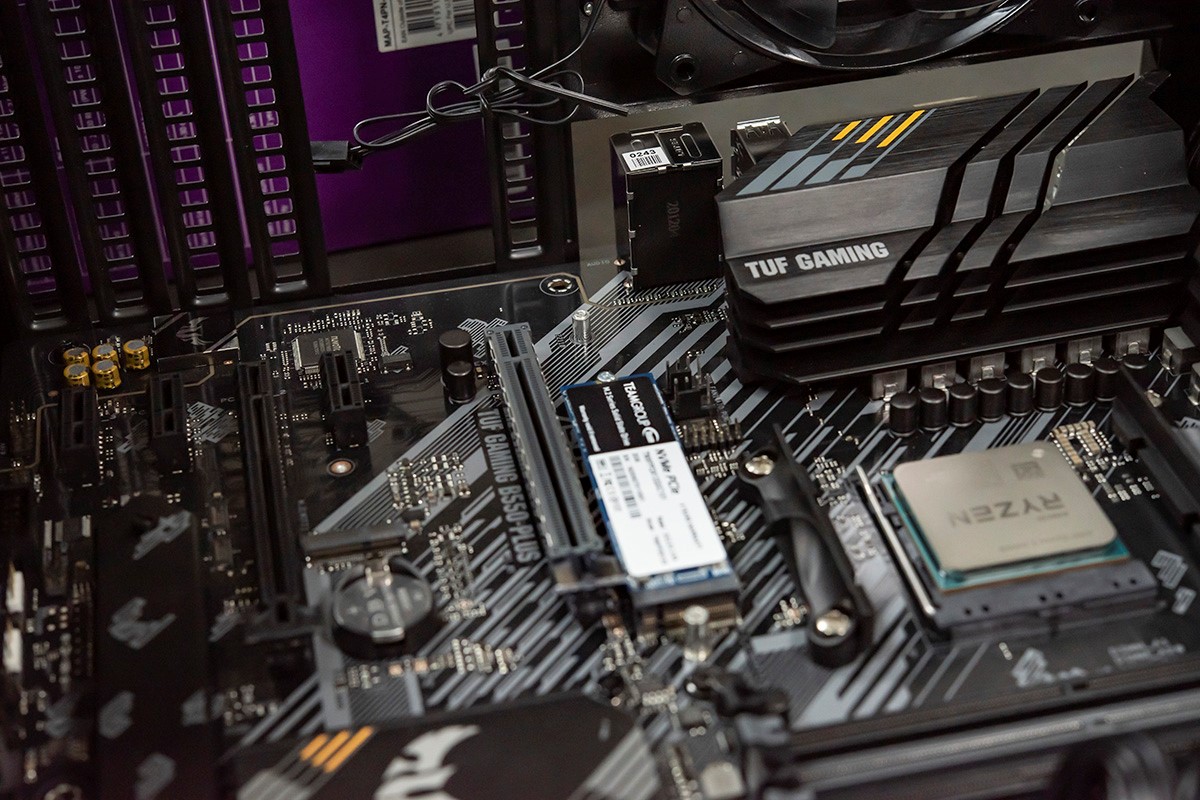
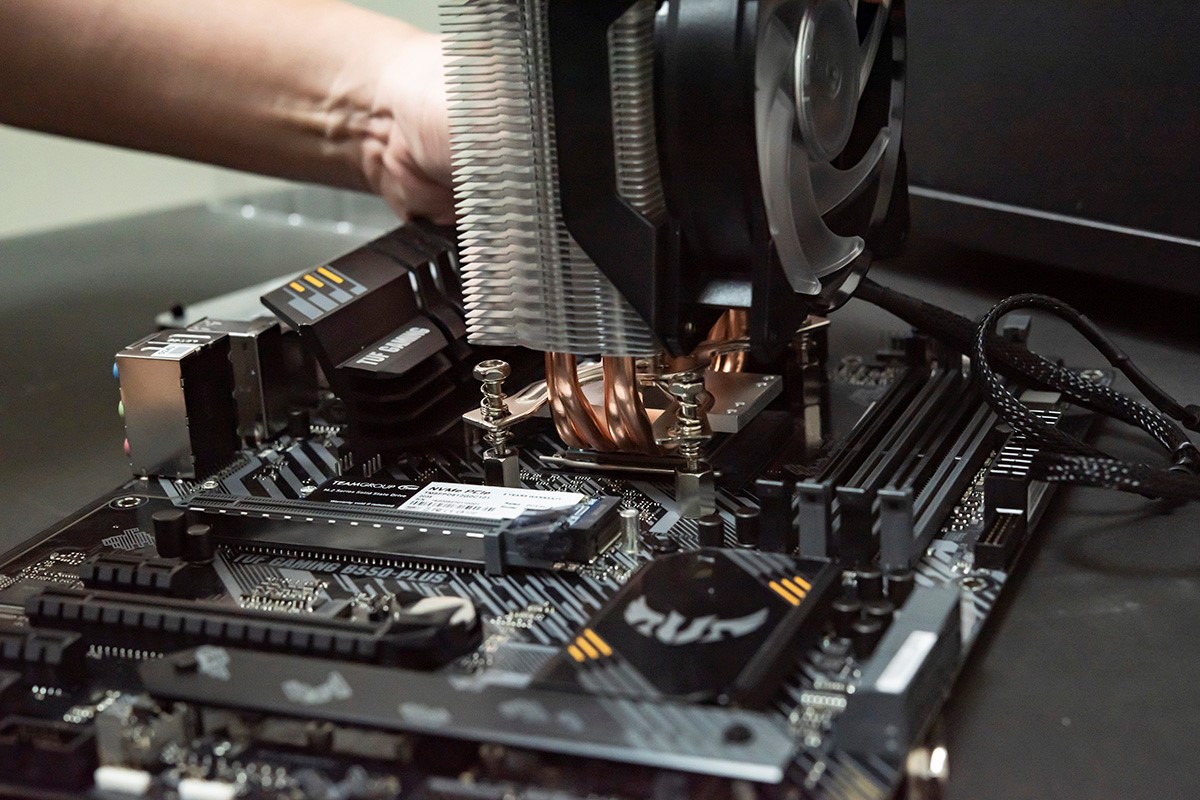
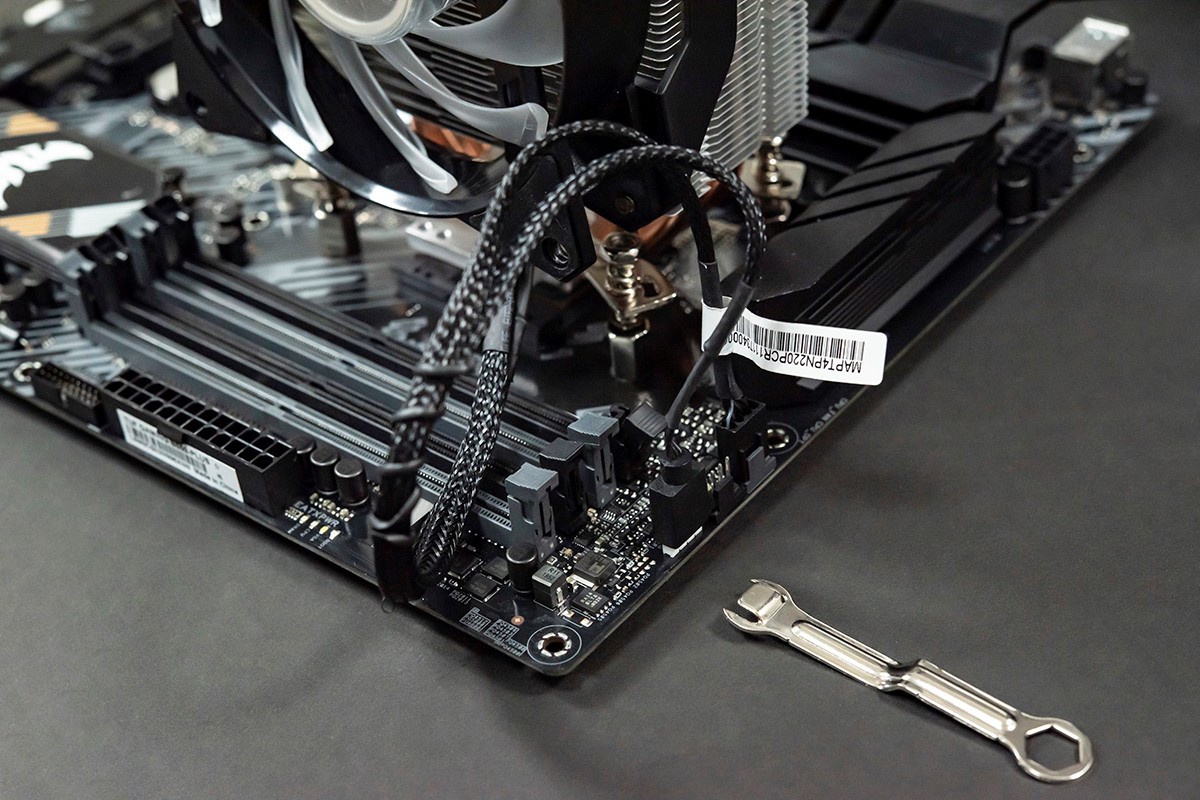
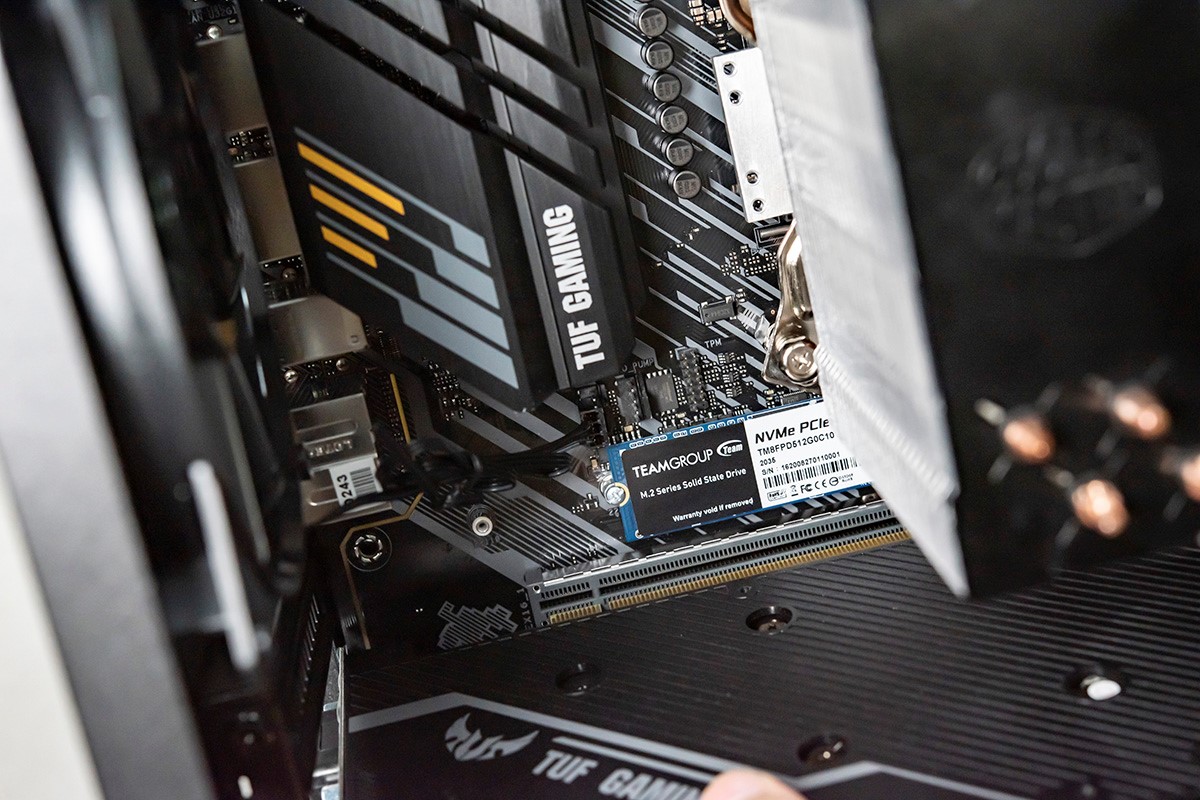
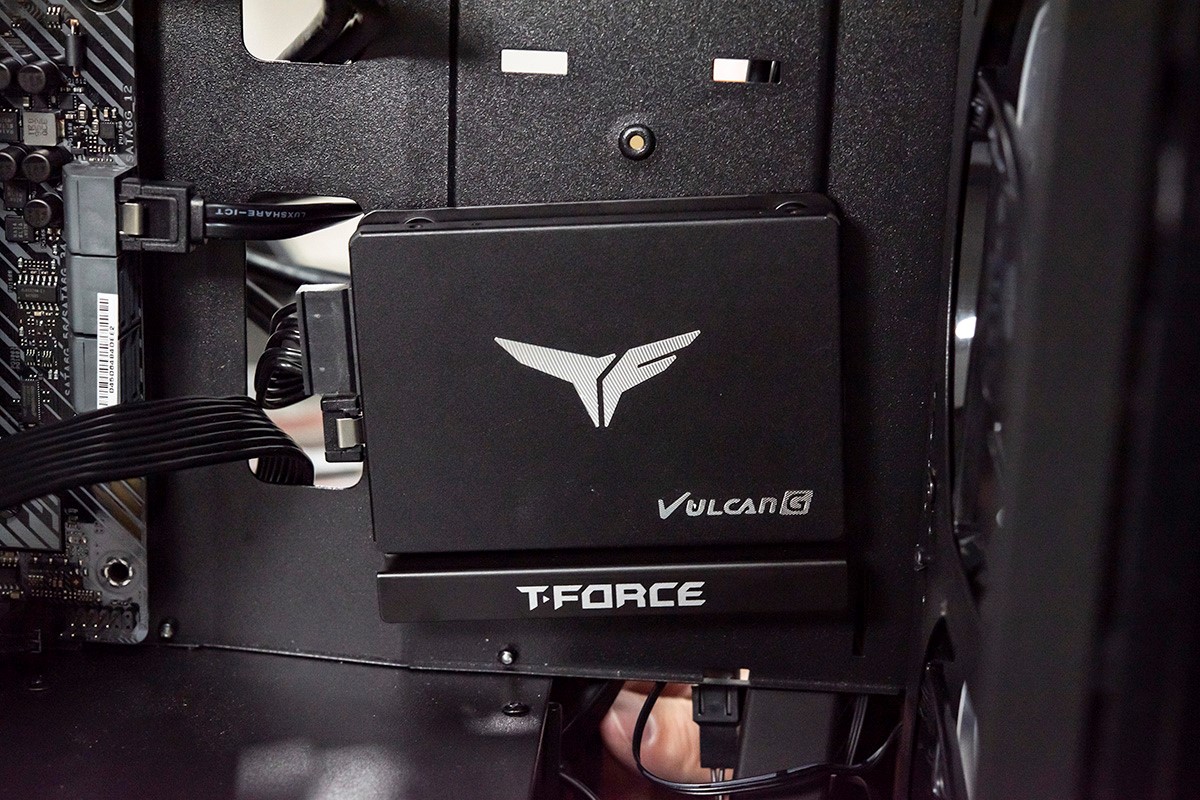
Before installing, it is recommended to lay the case flat so that it can be screwed in easily. It can be installed in the order we are used to: Install the M.2 PCIe SSD first, then the CPU cooler to the base as mentioned in the first step, followed by the graphics card, memory, and finally the 2.5" SATA SSD.
Most of the cases on the market still have the position of the 2.5" SSD on the power supply side, so the 2.5" SSD cable is usually the last thing we consider.
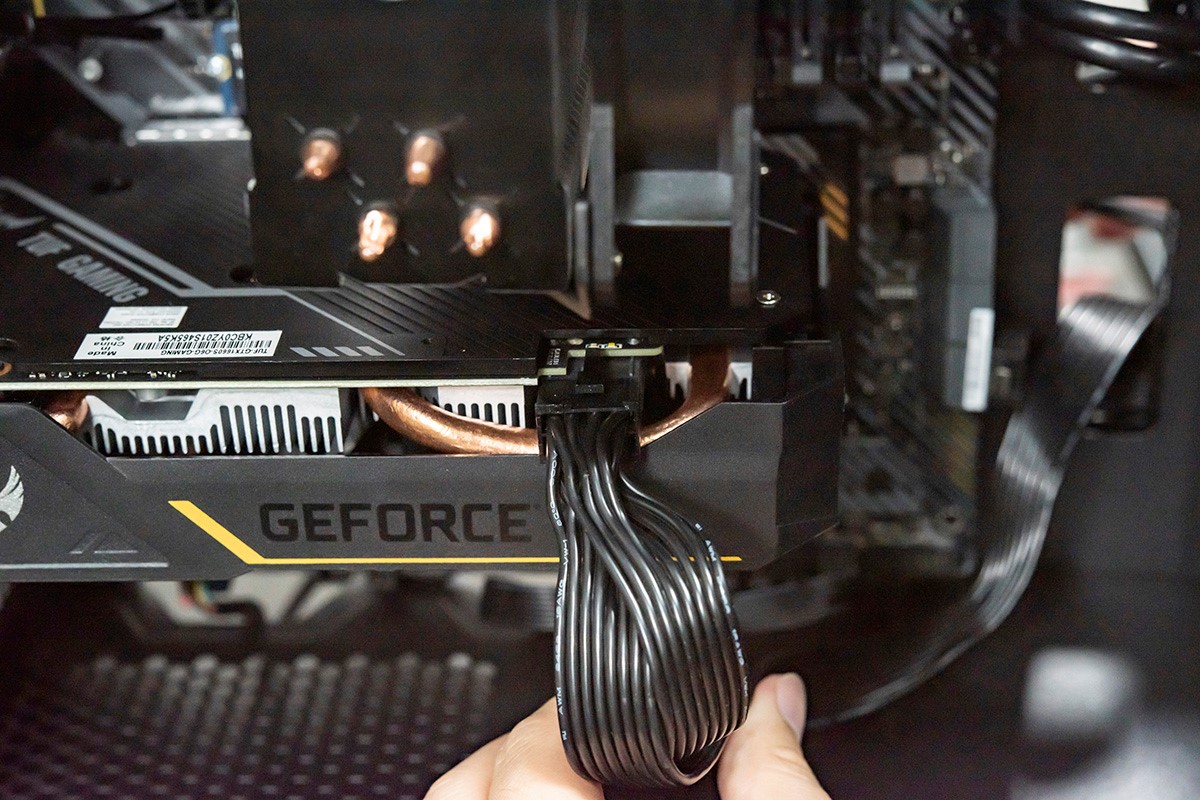
Please note here that most mid-range and above discrete graphics cards also need to be connected to the PCIe power cable of the power supply!
8. Cable management
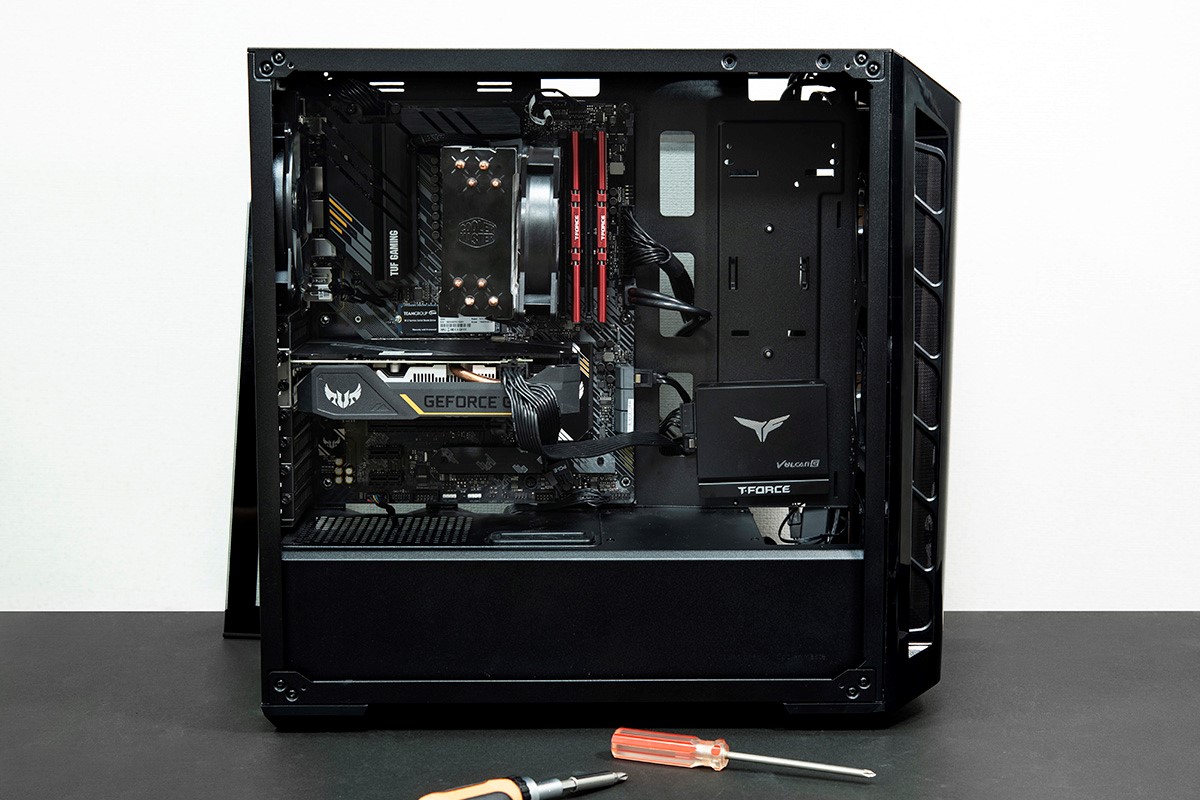
The installation is almost complete! The rest is the most painful part: cable management. After installation, there will be a lot of messy cables, so you will need to find some cable ties to tidy them up and hide them out of sight. This is the part that requires more experience.
9. Install OS & update drivers
Please support the genuine software when installing the OS. How to install the OS is explained in the "Tutorial of SSD Unboxing – The 6 Things You Should Do After Buying a New SSD".
If you are lazy to search for the drivers, you can download Driver Booster. It has the latest drivers from major manufacturers and you can install them by one click:
https://www.iobit.com/en/driver-booster.php
Conclusion
Here we explain the whole installation process, and introduce how to buy a PC for only $1,000, so that you can refer to according to different needs. All the selected products can be found on Amazon.
T-FORCE VULCAN Z 3200 2x8GB
T-FORCE VULCAN G SSD 500G
TEAMGROUP MP33 PRO 512GB
The installation process contains my own experience, and the order of the process is also based on convenience. Hope it will encourage new gamers to be more willing to try to build a PC by yourself!


