All categories

11.Jun.2025
Green Tech: Performance Meets Sustainability
05.Mar.2025
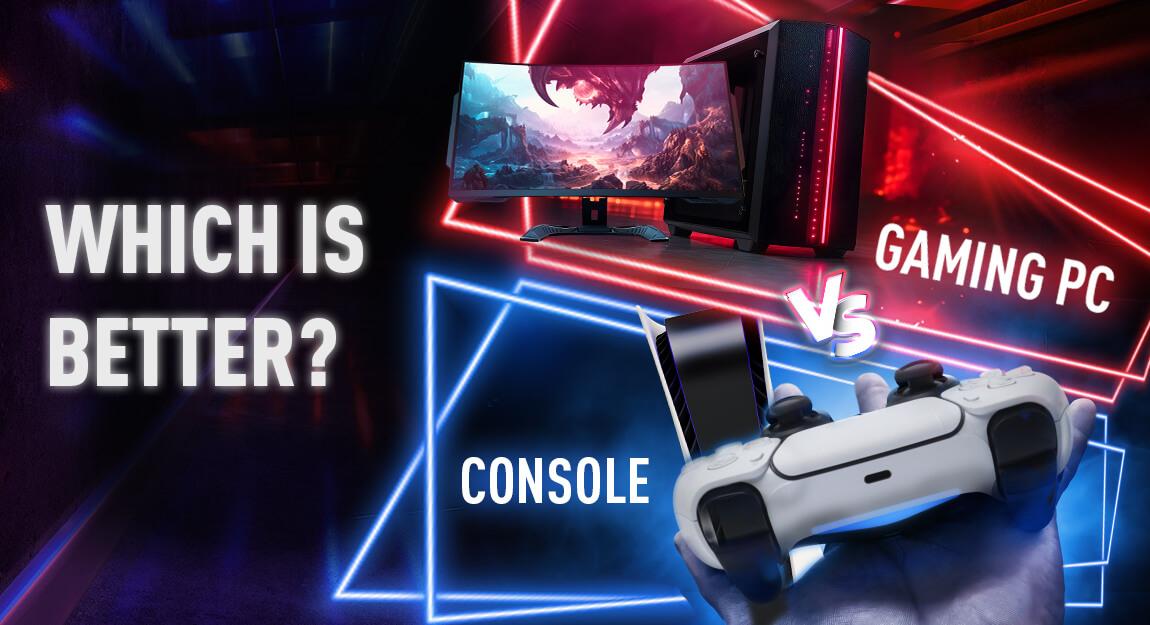
Gaming PC vs. Console: Which is Better?
12.Dec.2024
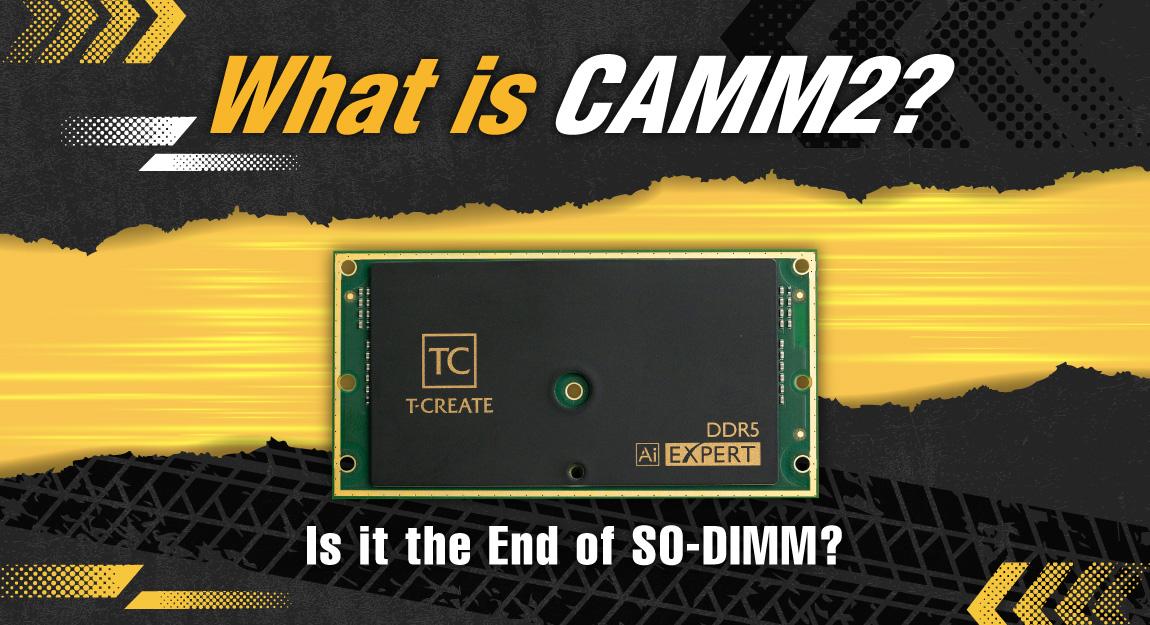
Understanding CAMM2: Is it the End of SO-DIMM?
30.Oct.2024